Managing Multiple Members on One Account
Table of Contents
To add multiple users as members on one account, you must be subscribed to an eligible plan.
A DNSimple account can be associated with one or more users. When you add someone to an account as a member, you will have the option to set their level of access to “full access” (eg. access to all resources inside an account) or “limited access” (eg. specific to each domain). The member will retain their unique login credentials and multi-factor authentication configuration.
Adding members to an account
-
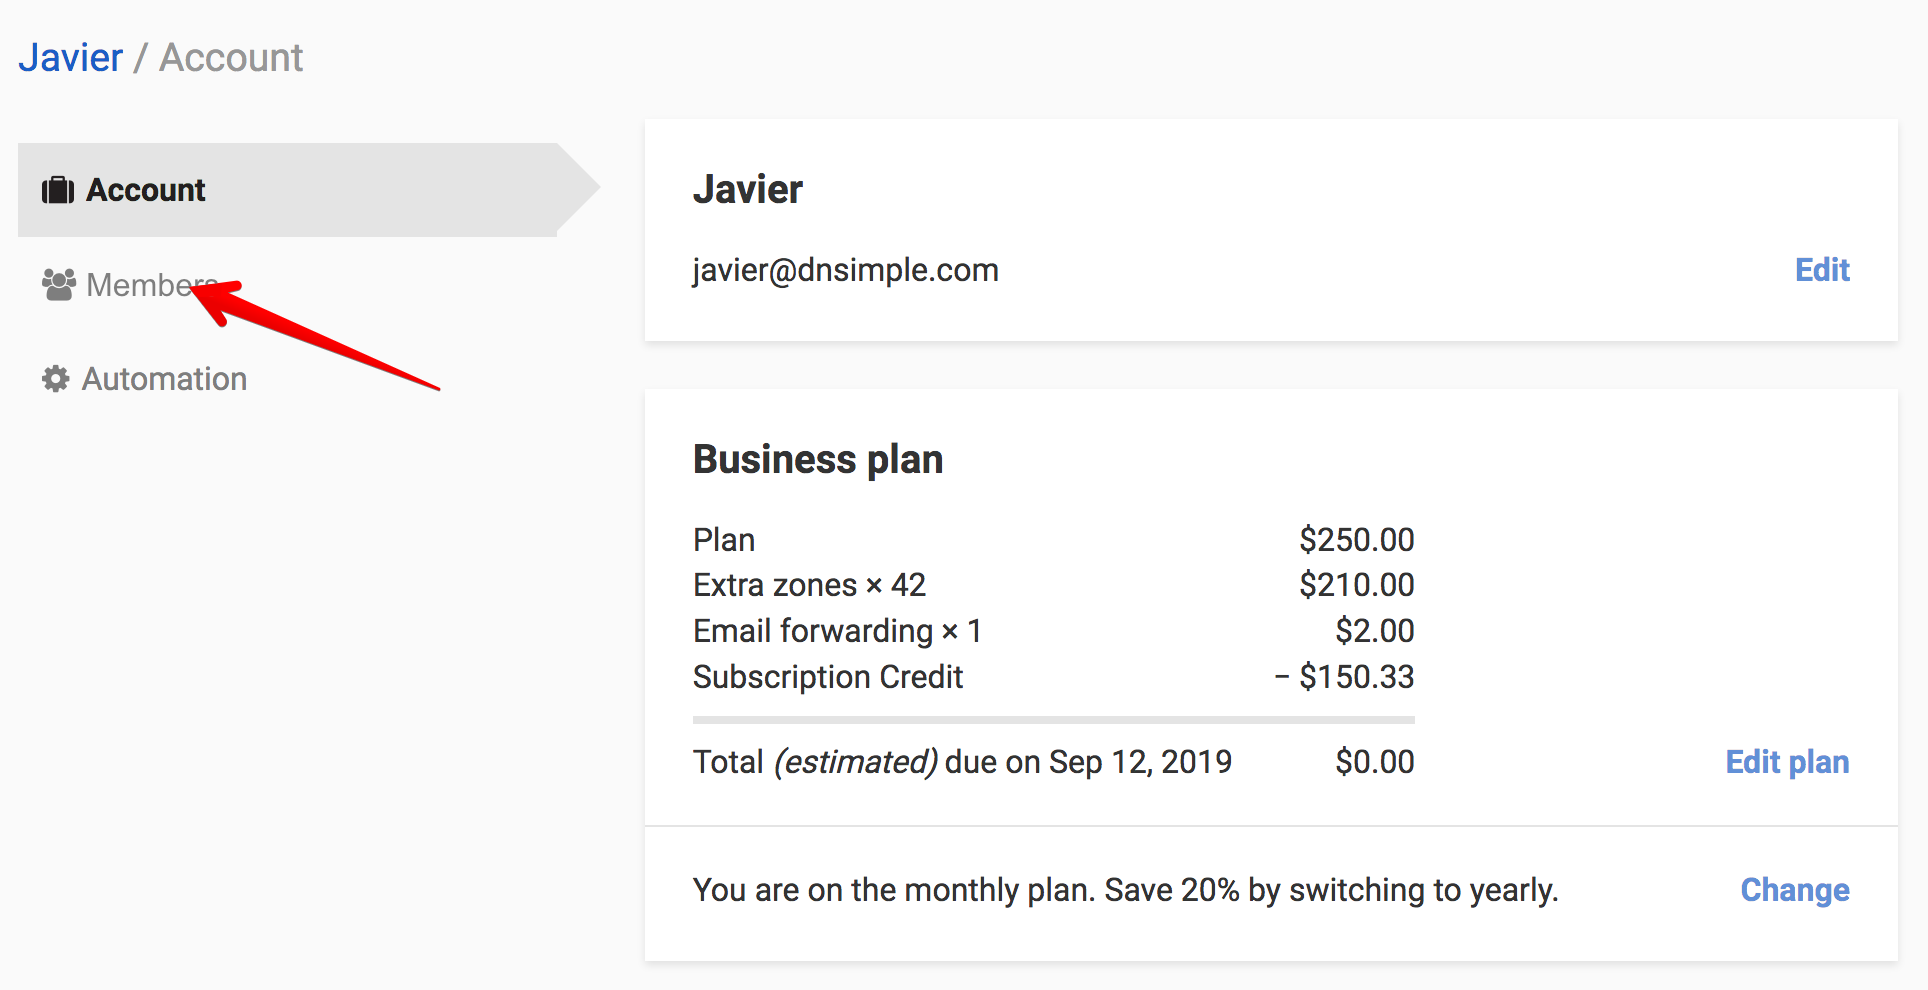
Once you’ve subscribed to an eligible plan, click the name of the account in the menu to visit the account page.

-
From the main account settings screen, select the tab.
-
Click the link. If your account needs to allocate more seats before inviting a new member, the link will display “Add seats to invite new members”. You’ll be taken to add seats to the account before you can send the invitation.
-
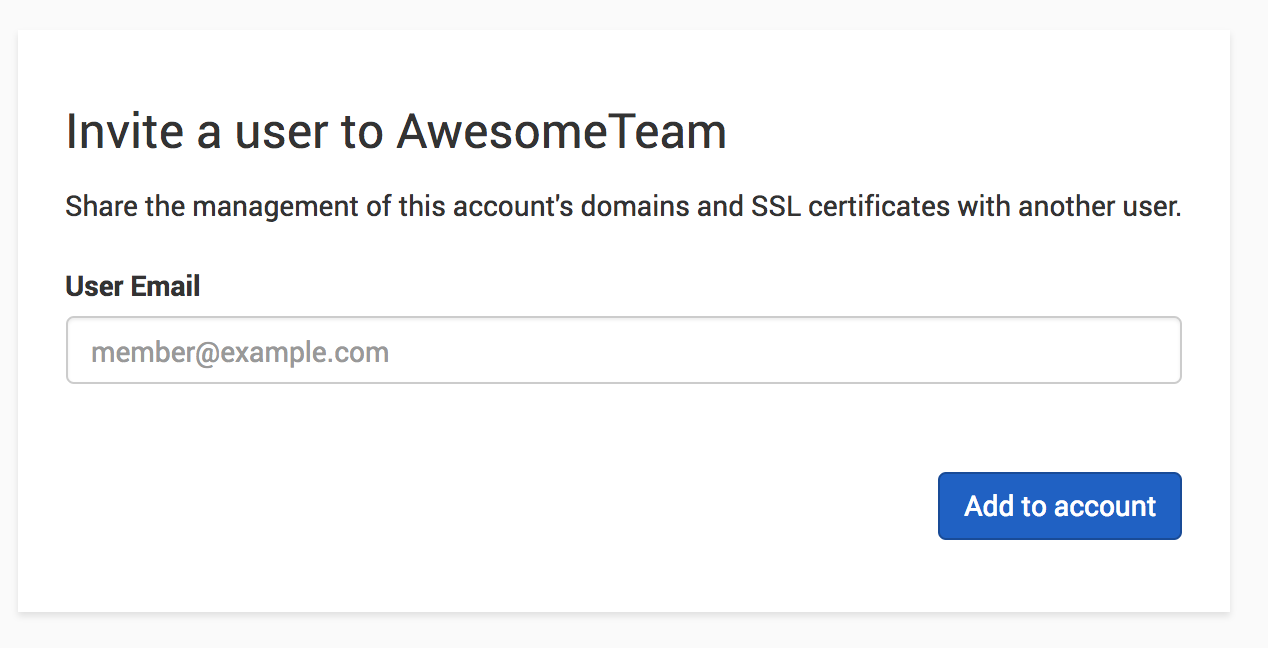
Enter the email address of the user you want to invite. It doesn’t matter if they have an account with DNSimple or not. They’ll receive an email inviting them to join as a member of the account. If you’re subscribed to an eligible plan, you can select the member’s fine-grained permissions.
-
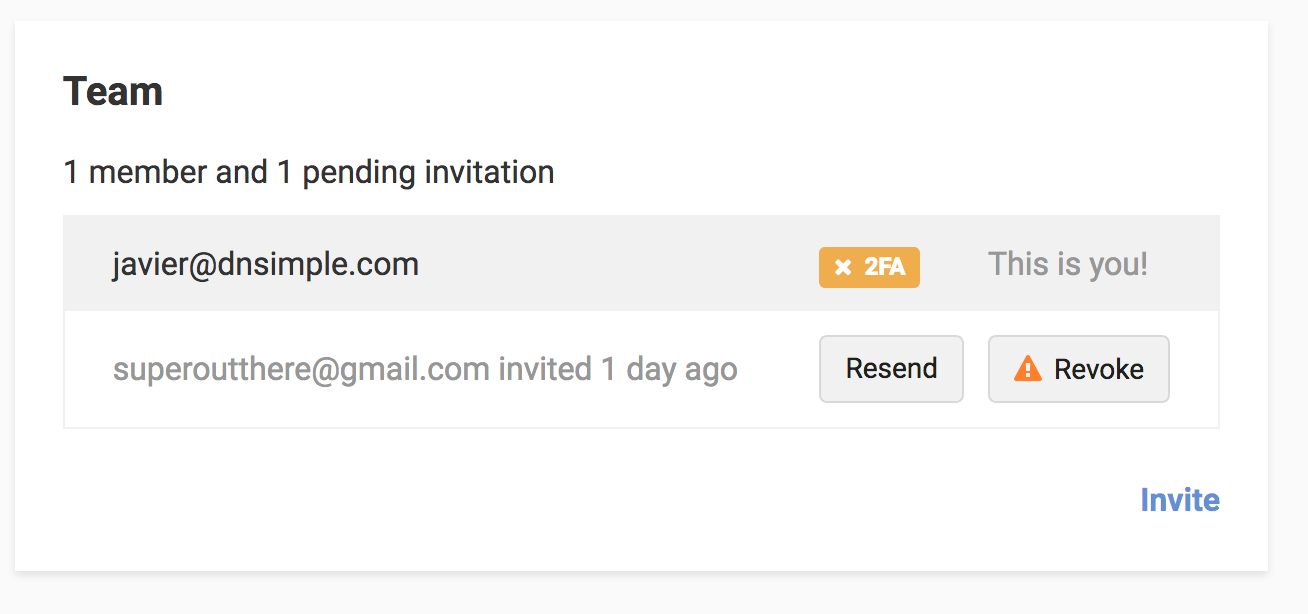
The invitation will appear in the pending invitation section until the user accepts it. If there’s something wrong with the invite, you can resend it or remove it. Removing it will cancel the invitation immediately. They’ll no longer be able to accept it.
It’s not possible to add a user whose email address is the same as the account. You must first change the account email address (we recommend a generic email address such as admin@ or billing@) before adding a user with the same email address.
Removing members from an account
-
If you want to remove a member from your account, switch to the account, and visit the settings from the menu.
-
From the main account settings screen, select the tab.
-
Click the button for the member you want to remove from the account, and confirm that you want to remove them.
-
Once you’ve removed them from the account, that user will no longer show up on the members tab, and you have an available seat for a new member. Discover more about managing your seats.
Managing member access
To share specific domains with each member, have a look at our Domain Access Control feature.