Using Cloudflare DNSSEC with DNSimple
Table of Contents
Cloudflare is a service that offers protection and acceleration of your website by routing requests through their network.
If you would like to use Cloudflare’s DNSSEC with a domain registered through DNSimple, you may follow these instructions to set your DS record at the domain registry.
Not all TLDs support DNSSEC at this time. If you receive an error while enabling your DS record, please contact support.
Enable DNSSEC at Cloudflare
To use Cloudflare’s DNSSEC, you will need to delegate your registered domain to Cloudflare’s name servers. Prior to changing the delegation, you should set up all of the appropriate DNS records at Cloudflare. Once you’ve done that you may change the delegation by visiting the page to “Manage” your domain at DNSimple, follow “Change Name Servers”, and enter Cloudflare supplied name servers.
Once the delegation is changed, you may start the process of enabling DNSSEC.
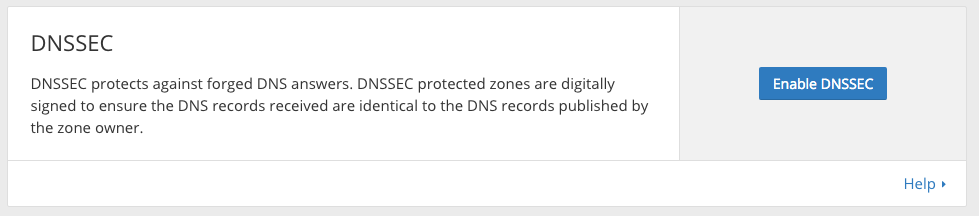
The first step is to enable DNSSEC at Cloudflare:
Copy the DS Record
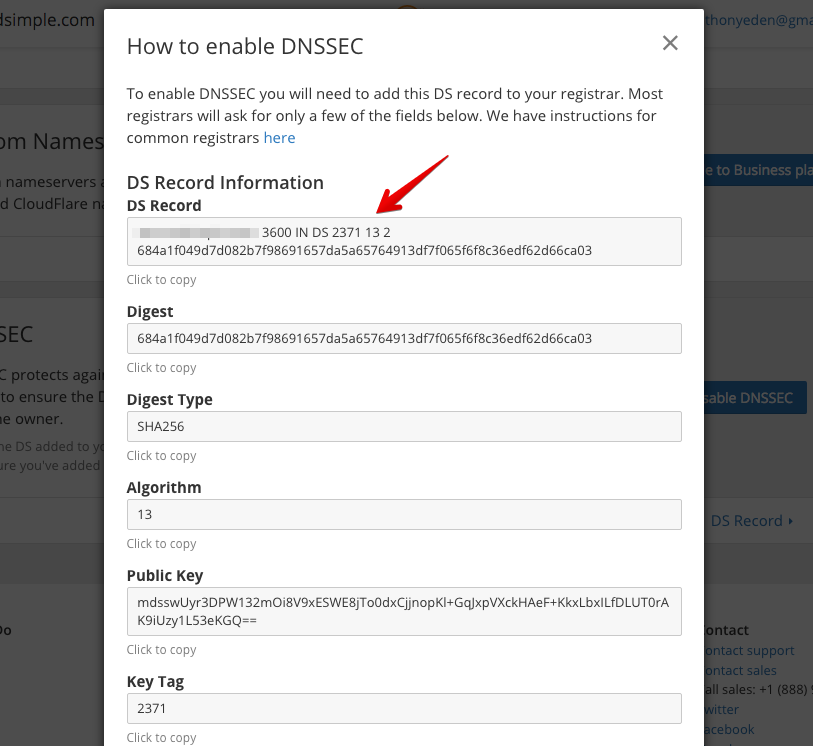
Once it is enabled, you will see information about the DS record. We have two ways to enter the information, either field-by-field entry or quick entry, which allows you to paste the entire record into a single field. For Cloudflare, just click the full DS record and it will be copied to your clipboard.
Configure Your DS Record
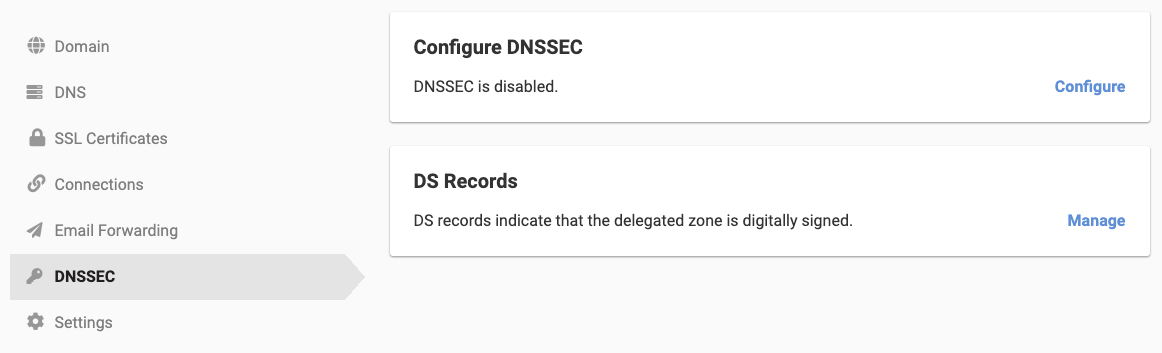
Log into to your DNSimple account and go to the domain’s management page. Click “Manage” on the DNSSEC tab.
Finally, enter the details for the DS record using the information provided by Cloudflare.
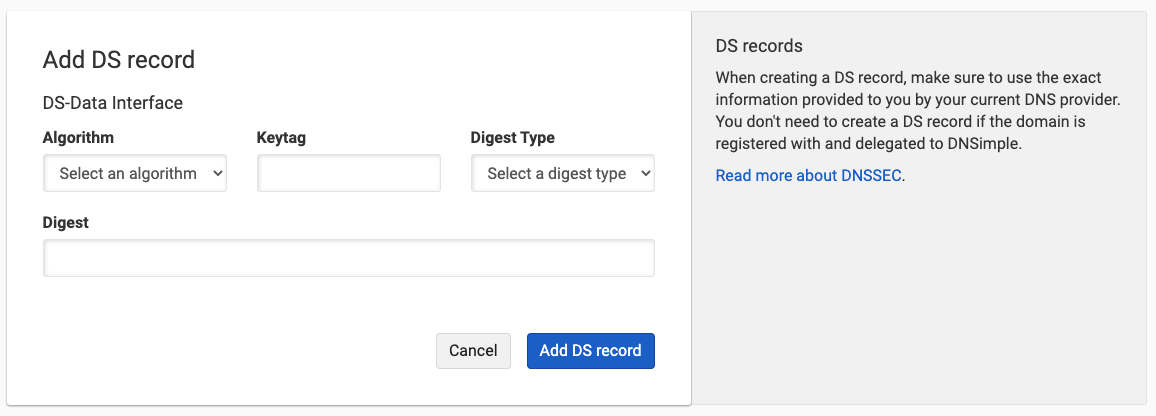
If your domain’s registry supports DNSSEC, the DS record will now be enabled.