Auto-Importing DNS Records
Auto-importing DNS records helps reduce downtime on your domain transfer or when hosting the DNS for your domain with us. Instead of manually entering DNS records or importing them in BIND format, we scan existing records and import them for you.
Note
Legacy Plans do not have access to this feature. You must be subscribed to one of our current plans to use this tool.
We can import these DNS record types:
Note
Not all domain providers let you export your records in this standard format. As an alternative, you can manually import records from a zone file or export your records to a zone file for backup purposes.
We prompt you to auto-import DNS records when:
- A domain transfer is about to start.
- Adding a domain for DNS management.
You can auto-import the zone for your domain any time by clicking on Auto-import DNS from the Record Editor.
How to auto-import DNS records
- If you have multiple accounts, use the account switcher at the top-right corner to select the appropriate account.
- From the Domain Names list, click the domain you want to manage.
- On the domain page, click Edit DNS at the top-right to open the Record Editor.
-
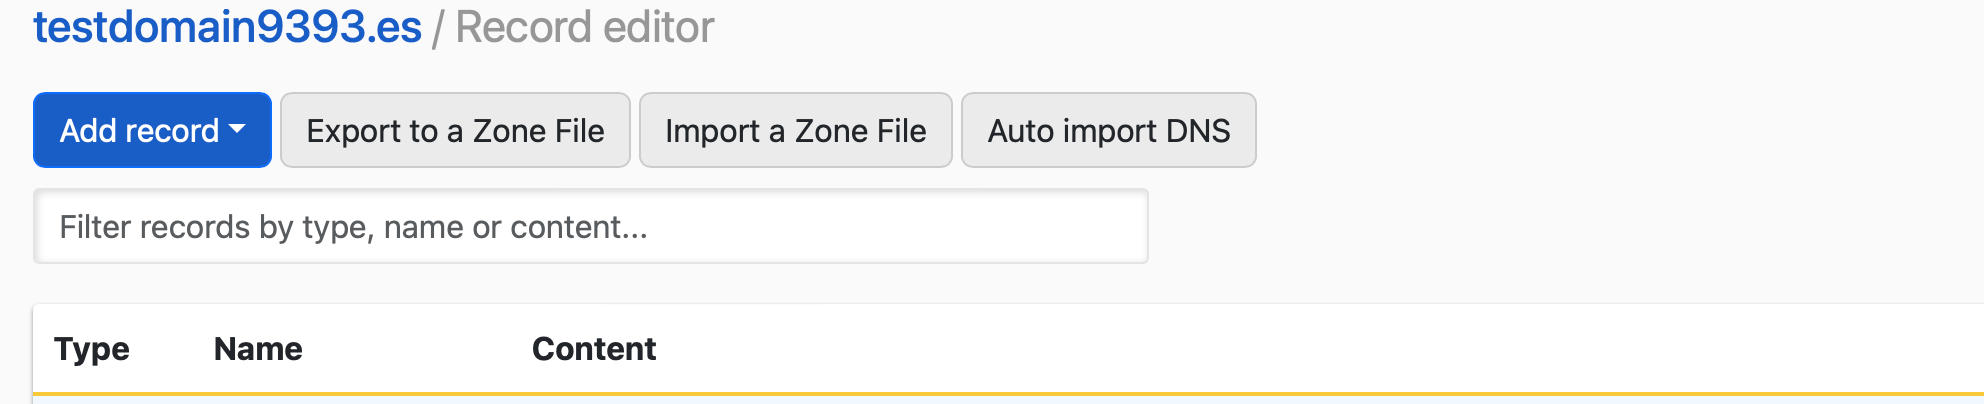
In the Record Editor, click Import/Export, then choose Auto-import DNS from the dropdown.
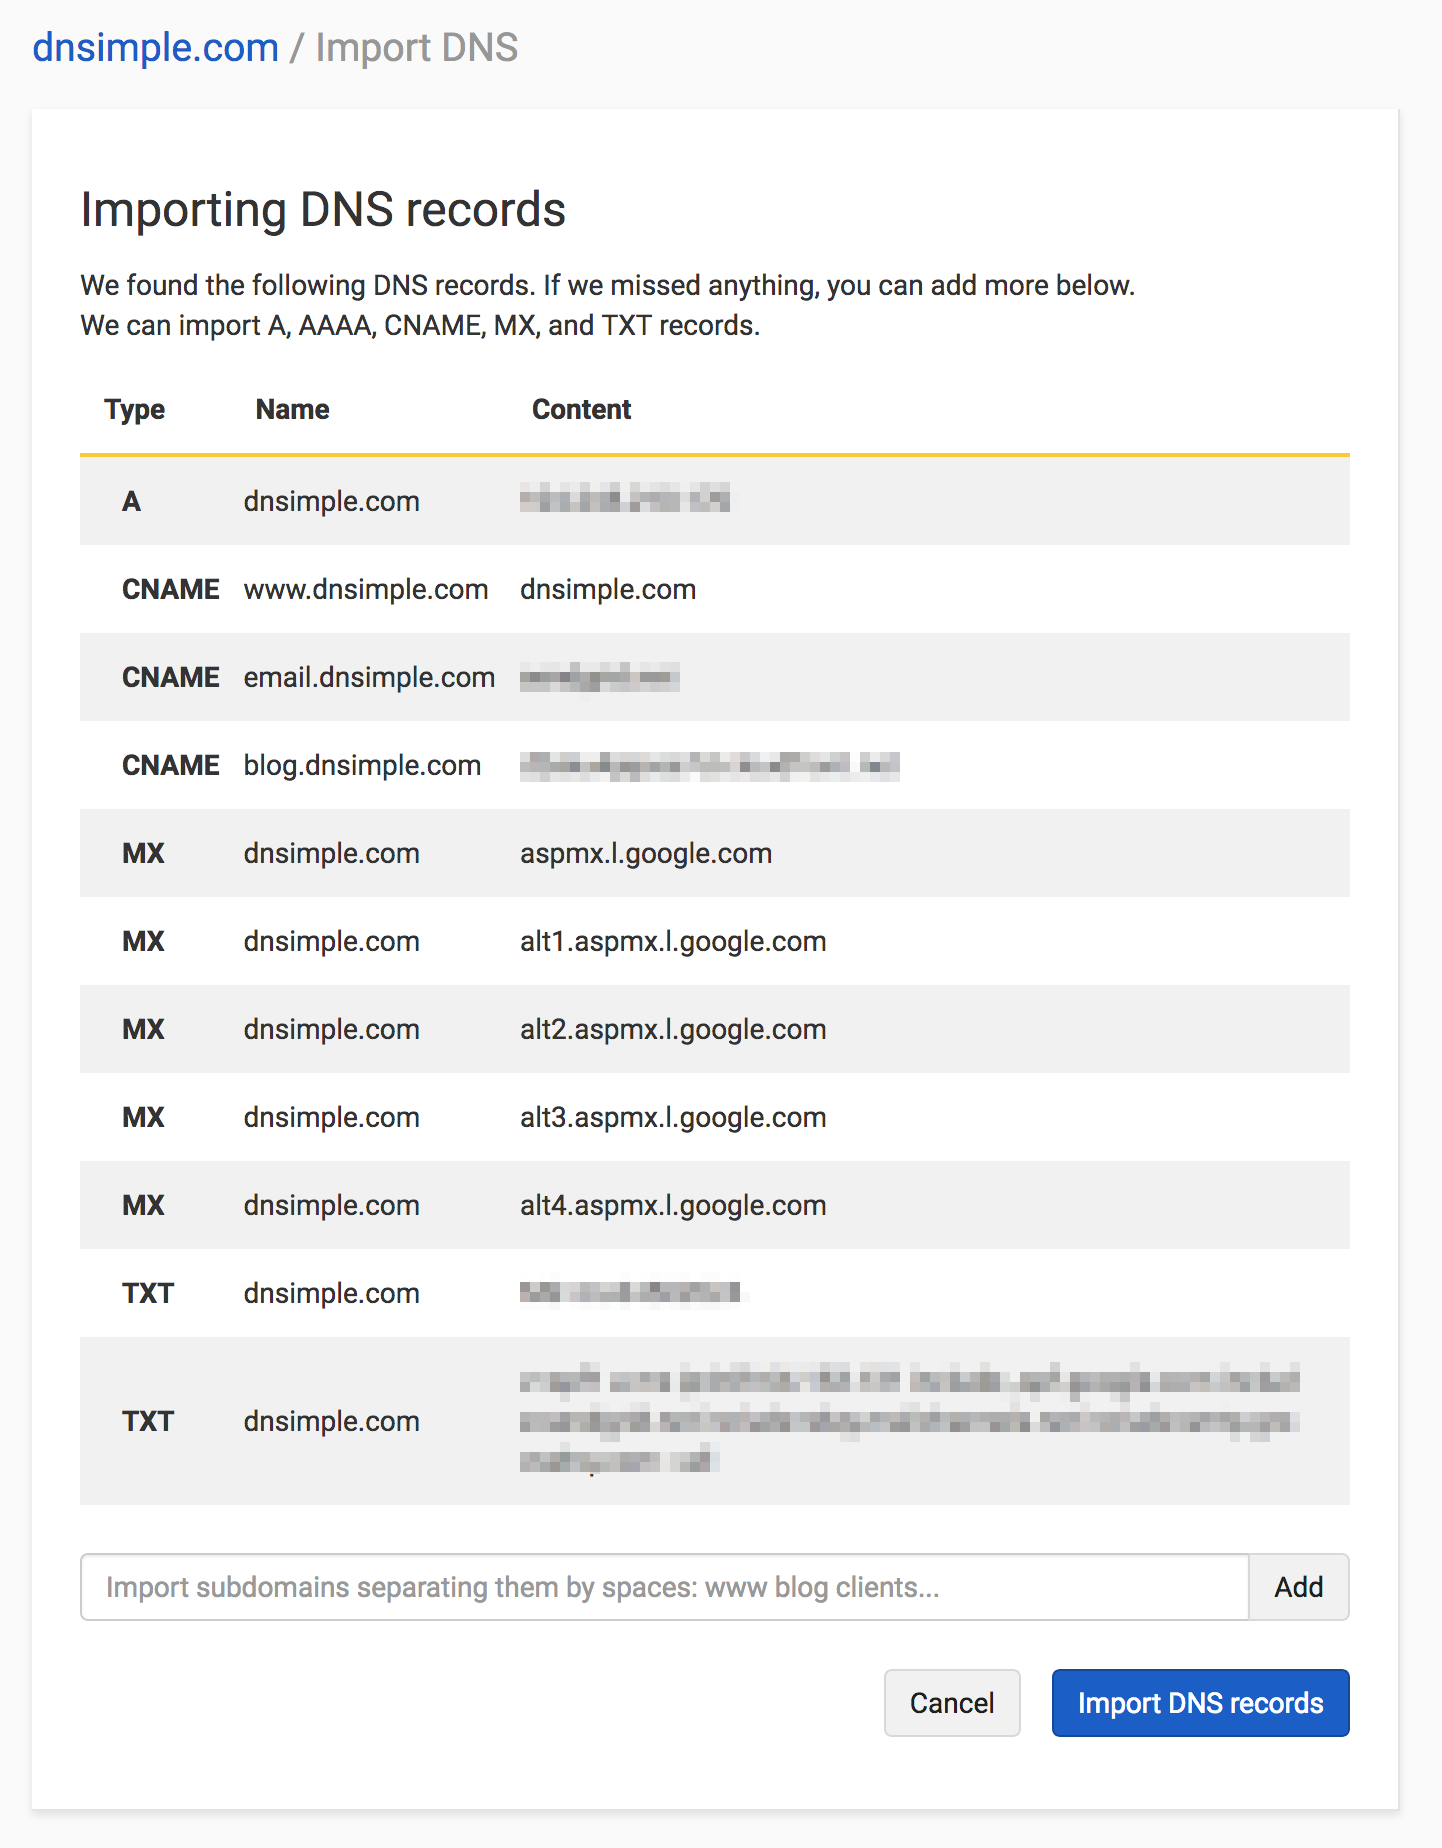
- DNSimple scans your domain’s existing records and displays them in a table.
- DNSimple automatically checks for common subdomains, like
www,blog, andemail. You can also add custom subdomains at the bottom of the form.
- DNSimple automatically checks for common subdomains, like
- Once you have all the necessary records, click Import DNS records to add them to your domain zone.
Managing conflicts
If auto-importing a record conflicts with an existing record on your domain, we ask you to confirm which record to keep. By default, we do not override the records on your domain — you must select the record that applies in your context.
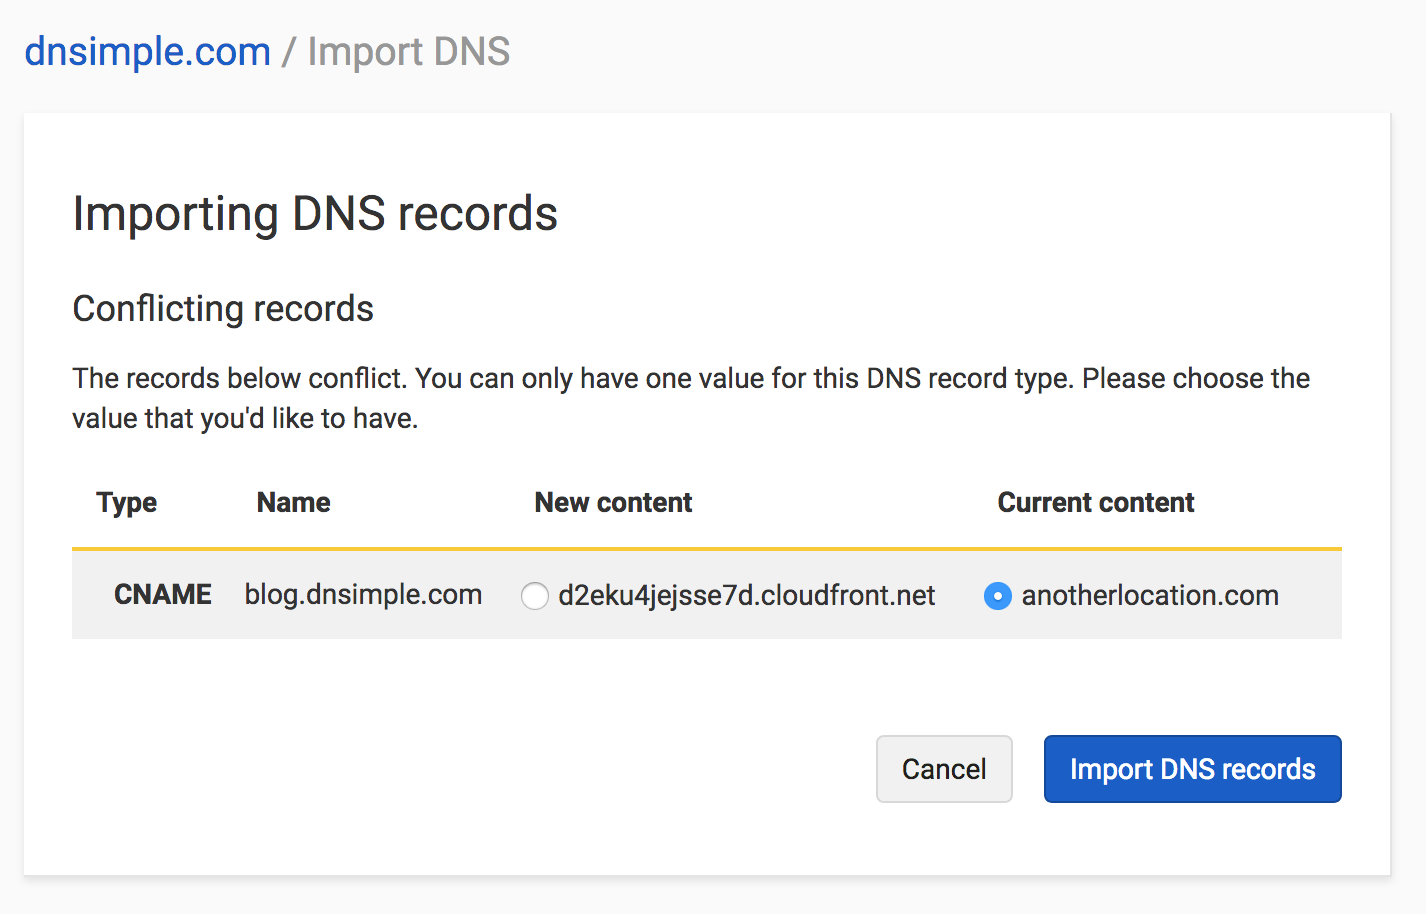
After choosing which record to keep, click Import DNS records to add them to your domain zone.
Have more questions?
If you have any questions about how to auto-import your DNS records, just contact support, and we will be happy to help.