Heroku Connector
Table of Contents
- Video walk-through
- Creating a connection
- After configuration
- Connection monitoring
- Have more questions?
The Heroku Connector links a domain in your DNSimple account to an app on Heroku and creates the DNS records the app needs. For what a connector is and how it differs from an integration, see What Are Connectors?.
Note
The tab appears only for users who can manage the account. If you do not see it, you have domain-level access rather than account-level access.
Video walk-through
Creating a connection
Connect a domain to a Heroku app
- Choose the relevant domain from your domain list.
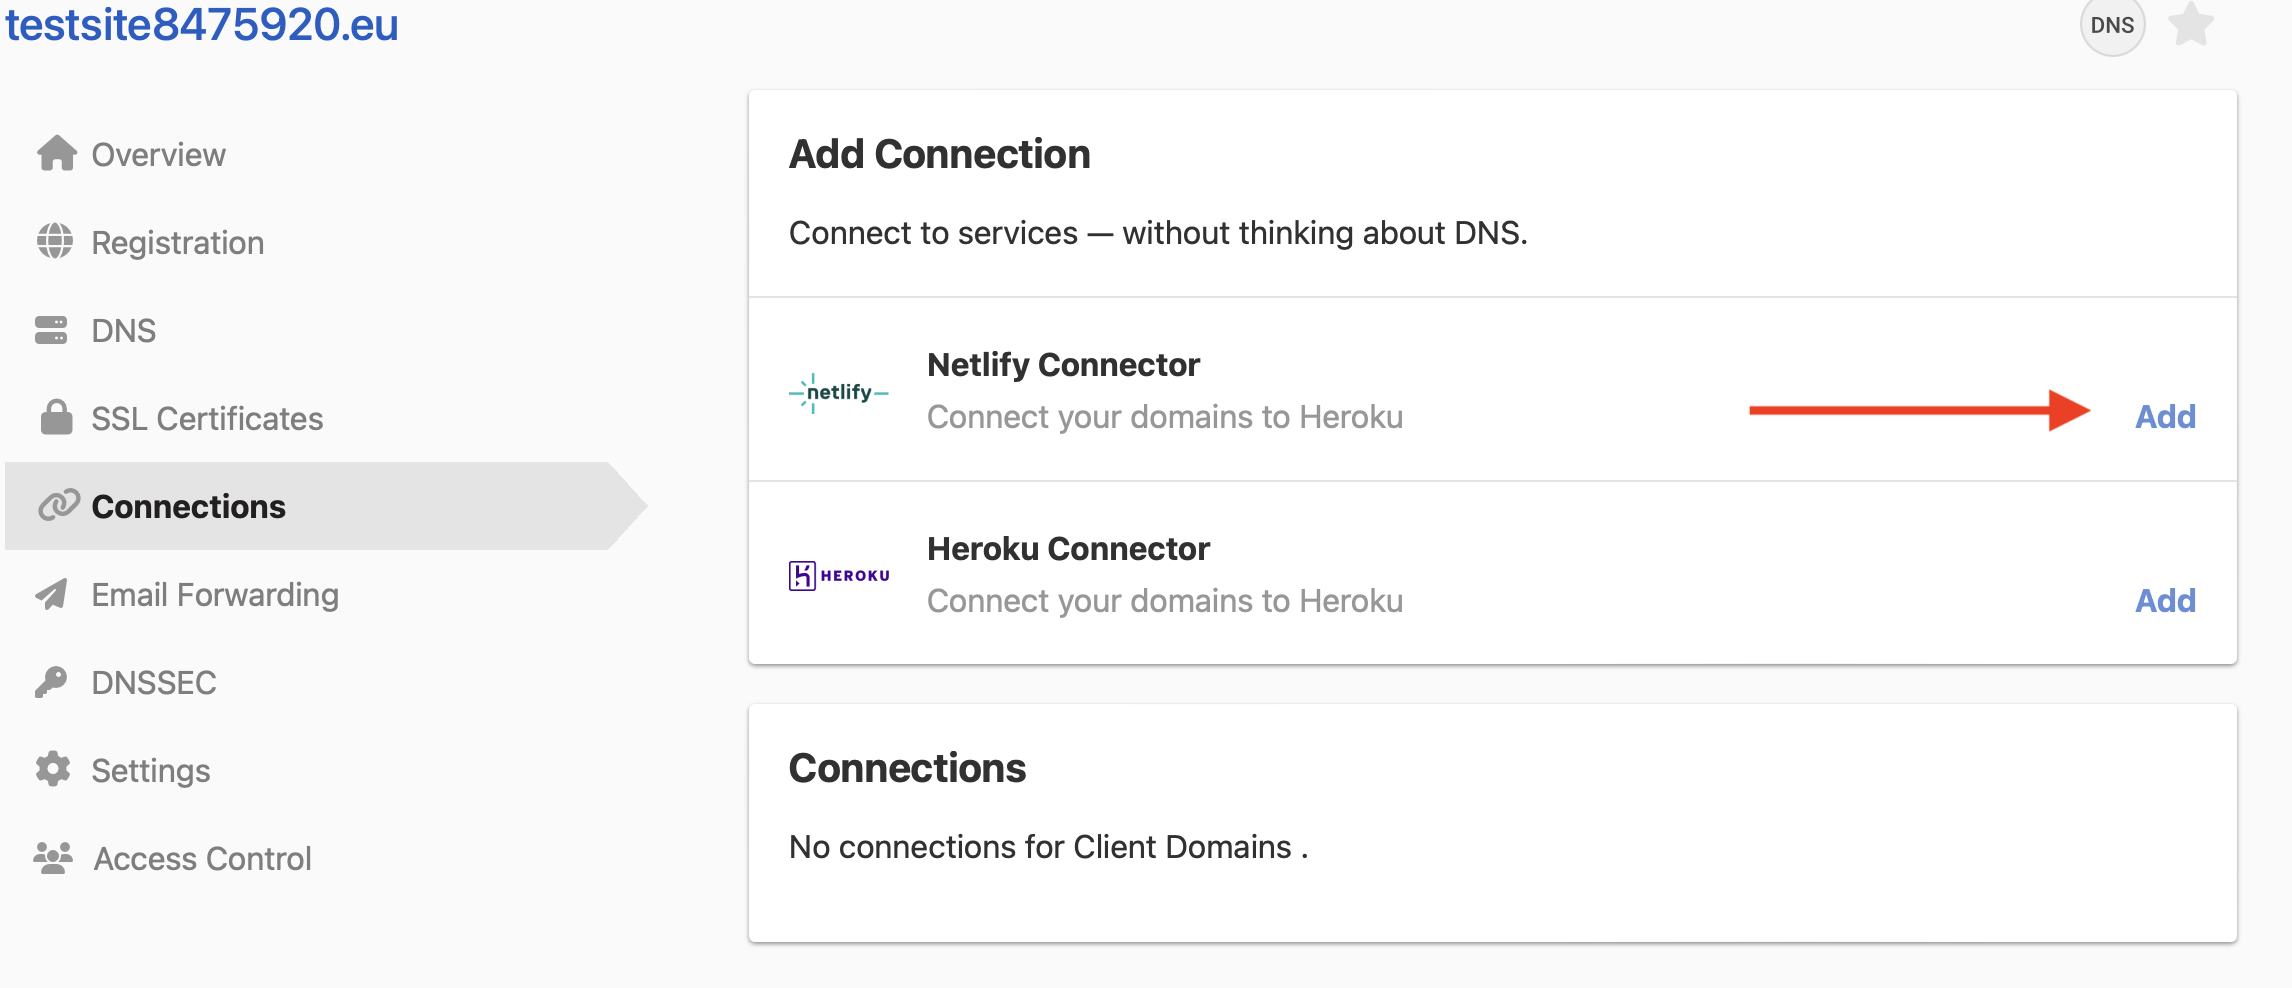
- Click the tab on the left side.
-
Under , click in the Heroku Connector section.
-
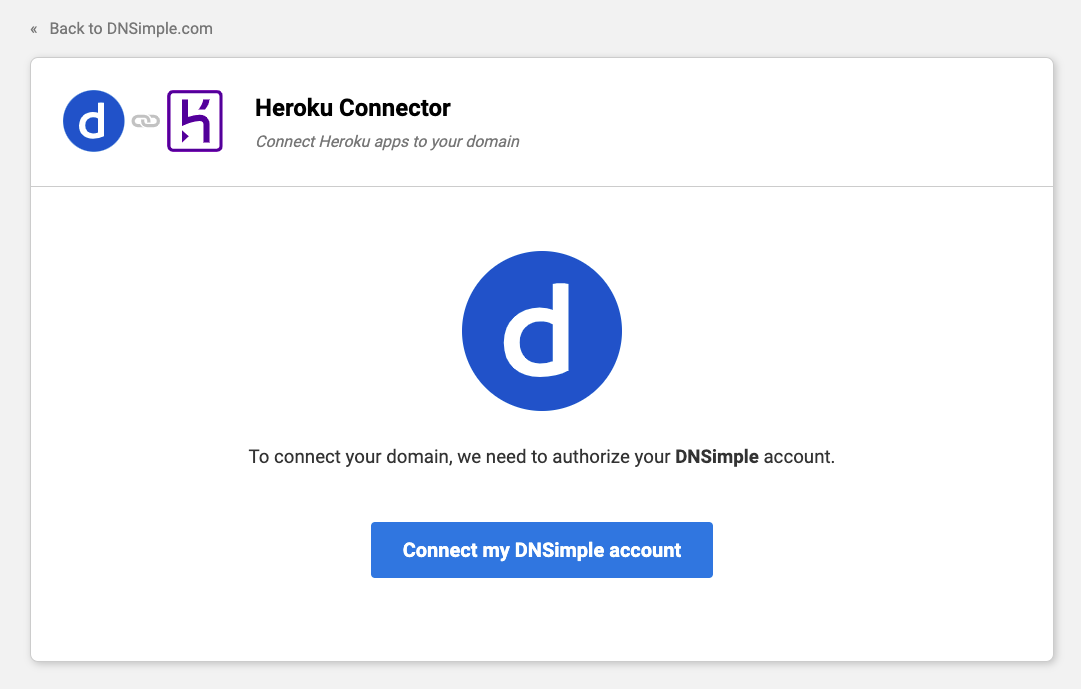
Authorize your DNSimple account to give the connector permission to access your domains and DNS records.
-
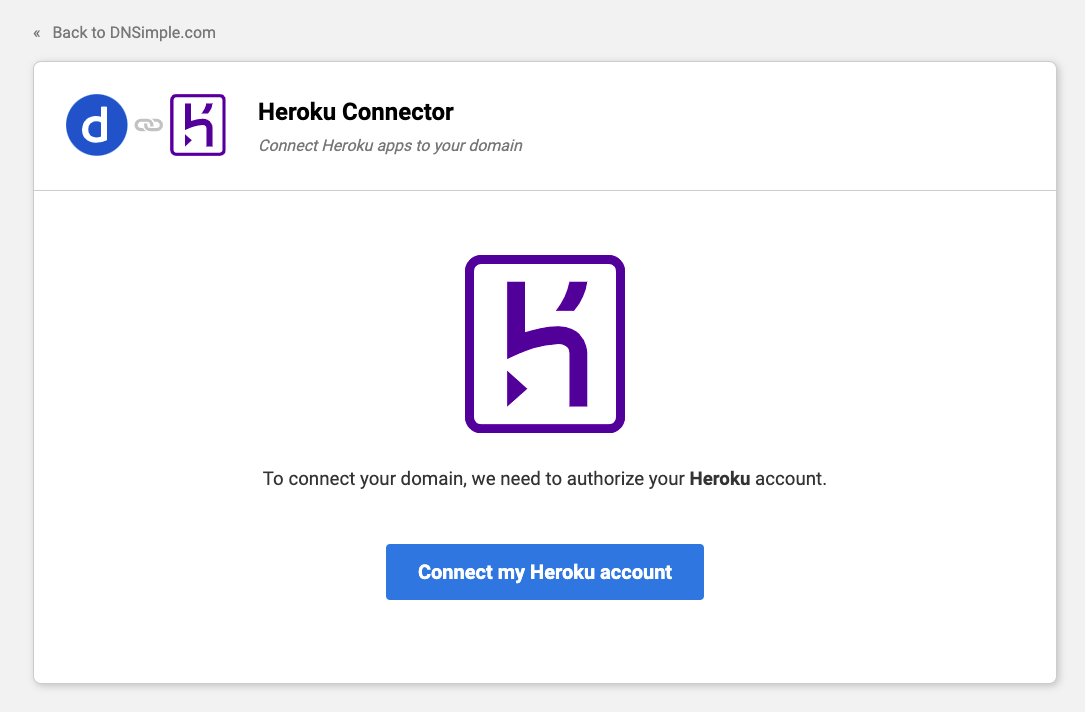
Authorize your Heroku account to give the connector permission to access your Heroku apps.
-
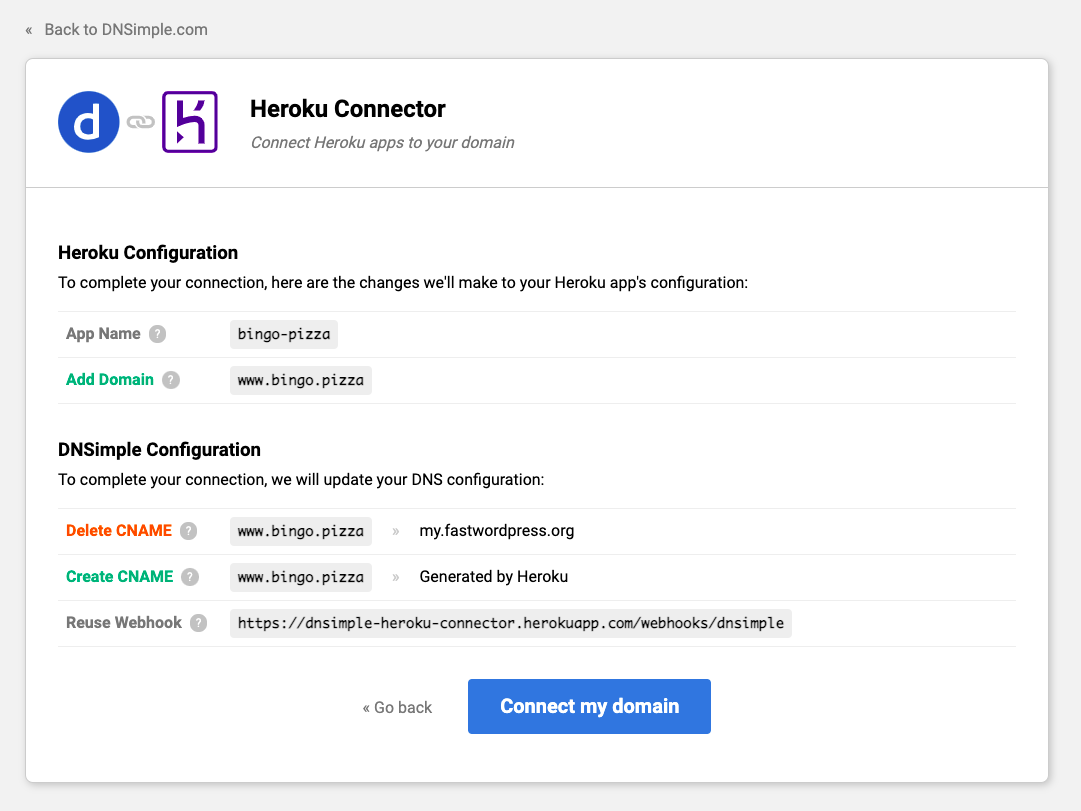
Choose your Heroku app and set its mounting point. The mounting point is the address where your app is served. To use the domain apex, for example
example.com, leave it blank.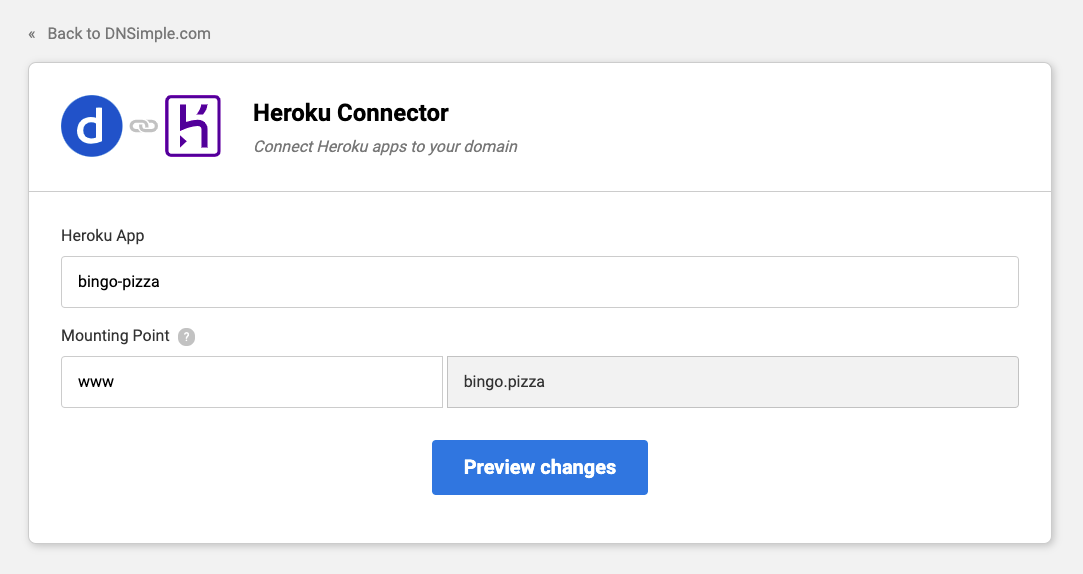
-
Review the connection configuration. To confirm the information is correct, click .
After configuration
When your domain is connected, you are redirected back to the domain’s tab, with a new card for the connection. The card shows a green dot next to your domain, along with other information.

From this tab you can view the connection’s metadata or disconnect the Heroku connector from your domain. To connect additional Heroku apps to the same domain, click and repeat the process.
Connection monitoring
DNSimple checks connections on an ongoing basis. If a connection breaks, because the DNS records were removed or the configuration changed on the Heroku side, we send an email to your account notification email with instructions for fixing it and a link to the page where the domain can be reconnected.
Have more questions?
If you have any questions, or need assistance connecting your domains to Heroku, just contact support, and we’ll be happy to help.