I got an ECC-signed certificate but want RSA
DNSimple provides SSL certificates using elliptic curve keys by default, but there are some situations or requirements where you still need to use an RSA key as the certificate signing key.
The following sections explain what you need to do to get your SSL certificates signed with RSA keys.
Let’s Encrypt certificates
SSL certificates issued by Let’s Encrypt can’t be reissued, which means that you will need to order a new certificate or manually renew an existing one. Follow these steps:
- Ensure auto-renewal is disabled on the certificate you want to replace.
- Renew the certificate if it’s about to expire. Otherwise, order a new certificate.
- Make sure you select the radio button for
RSA
- Make sure you select the radio button for
Check out our guides about ordering and renewing Let’s Encrypt certificates.
Sectigo certificates
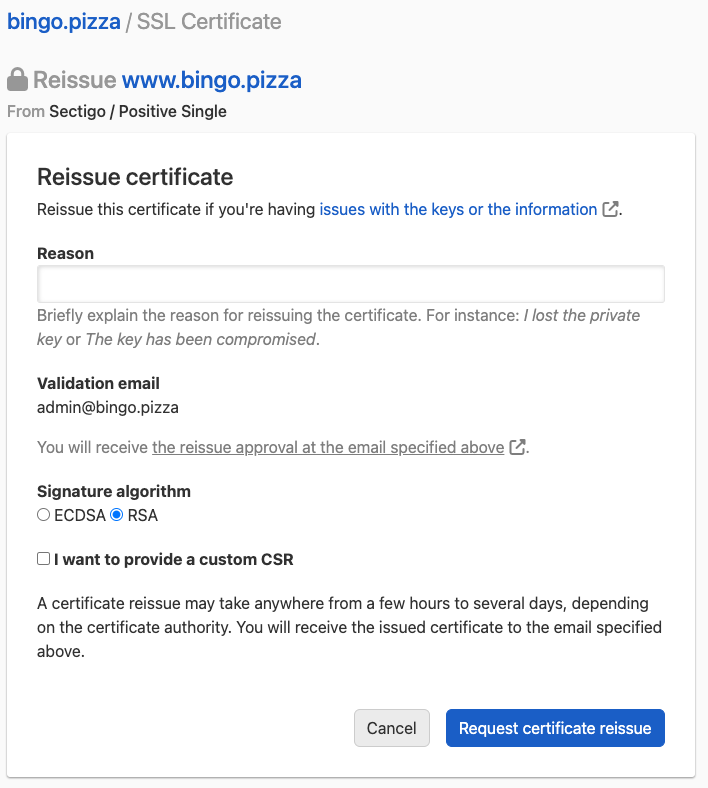
You can follow the regular process for reissuing a Standard SSL Certificate, which lets you choose RSA as the signature algorithm. Make sure:
- The reason explains that you need a RSA-based certificate.
- The radio button for
RSAis selected. - Copy the
CSR_FILE.pemcontent into the text area.

Once the certificate is reissued, you will have to go through the steps of configuring, verifying, and installing the certificate to receive the certificate.