Add DNSMadeEasy as a secondary DNS server
For an overview of SecondaryDNS, have a look at our introduction article.
Requirements
- An active account with DNSMadeEasy. Every DNSMadeEasy plan allows for secondary DNS Setup.
- Your domain is pointing to the DNSimple name servers.
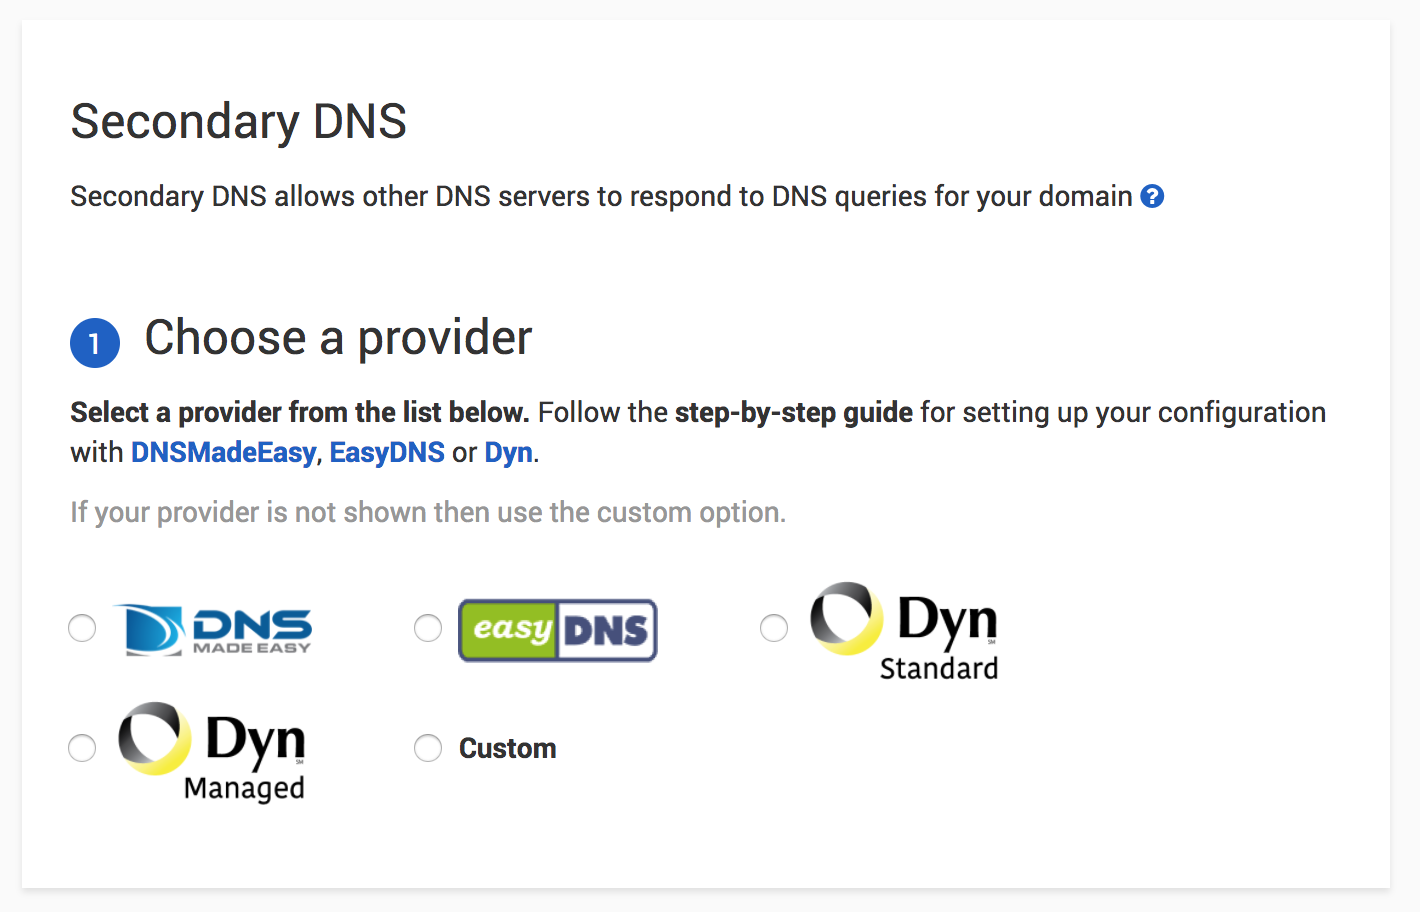
You can get started with Secondary DNS from the DNS section of the domain management page.

Select DNSMadeEasy as the provider. Click Enable at the bottom of the form. The name servers and IP addresses DNSMadeEasy is expecting are already filled in for you.
A confirmation message will tell you Secondary DNS has been enabled from the DNSimple side.

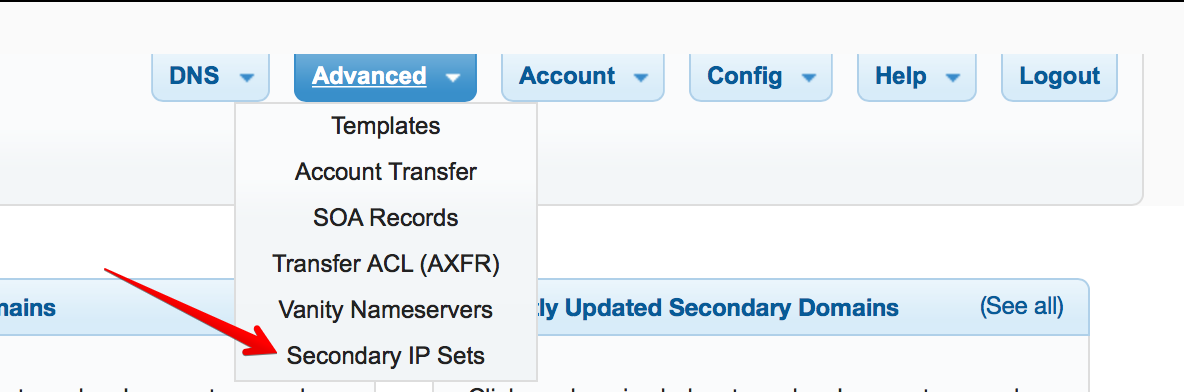
Log into your DNSMadeEasy account. The first thing you’ll do is to create the IP set that enables zone communication between DNSimple and DNSMadeEasy. From the top navigation menu, select Advanced, then Secondary IP Sets.
Note
At the time of writing, DNSMadeEasy only accepts IPv4 for Secondary DNS
Add a new IPv4 set with the following values:
- Name: axfr.dnsimple.com
- IPs:
18.189.127.127

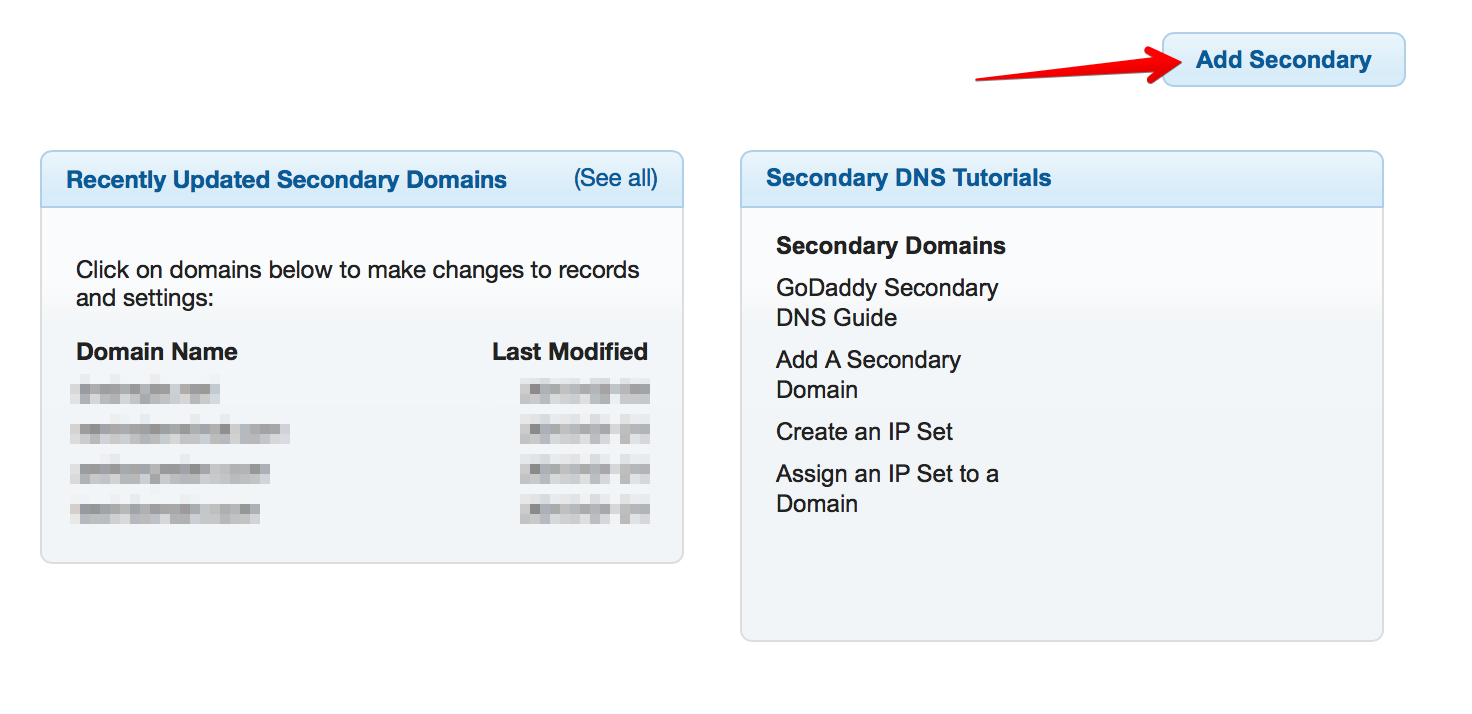
Now add the domain. From the top navigation menu, select DNS then Secondary DNS.

Click on Add Secondary.
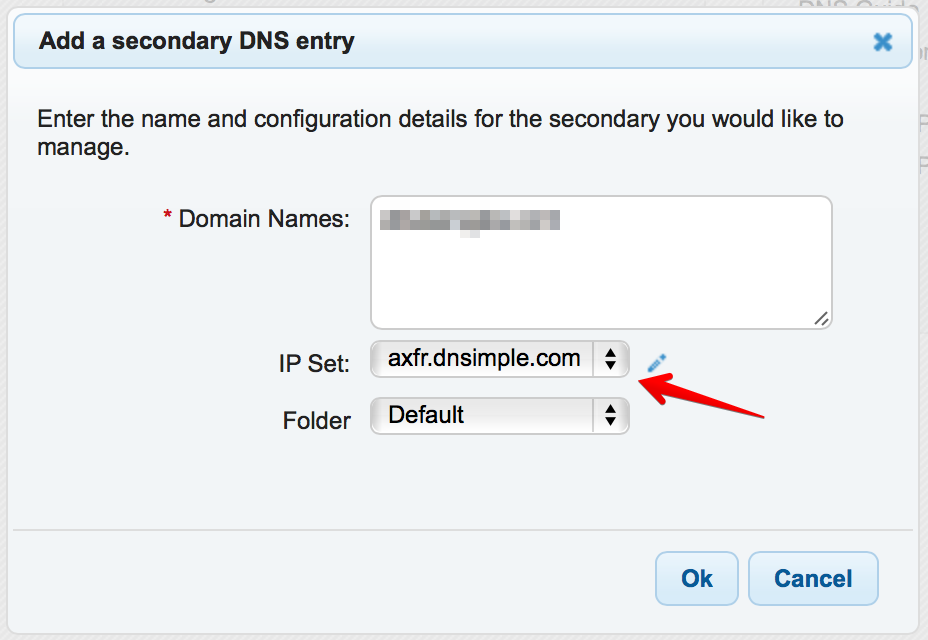
In the popup, type your domain name, and select the IP set you just created.
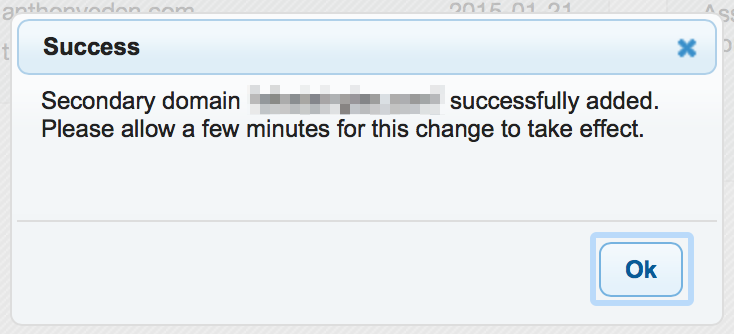
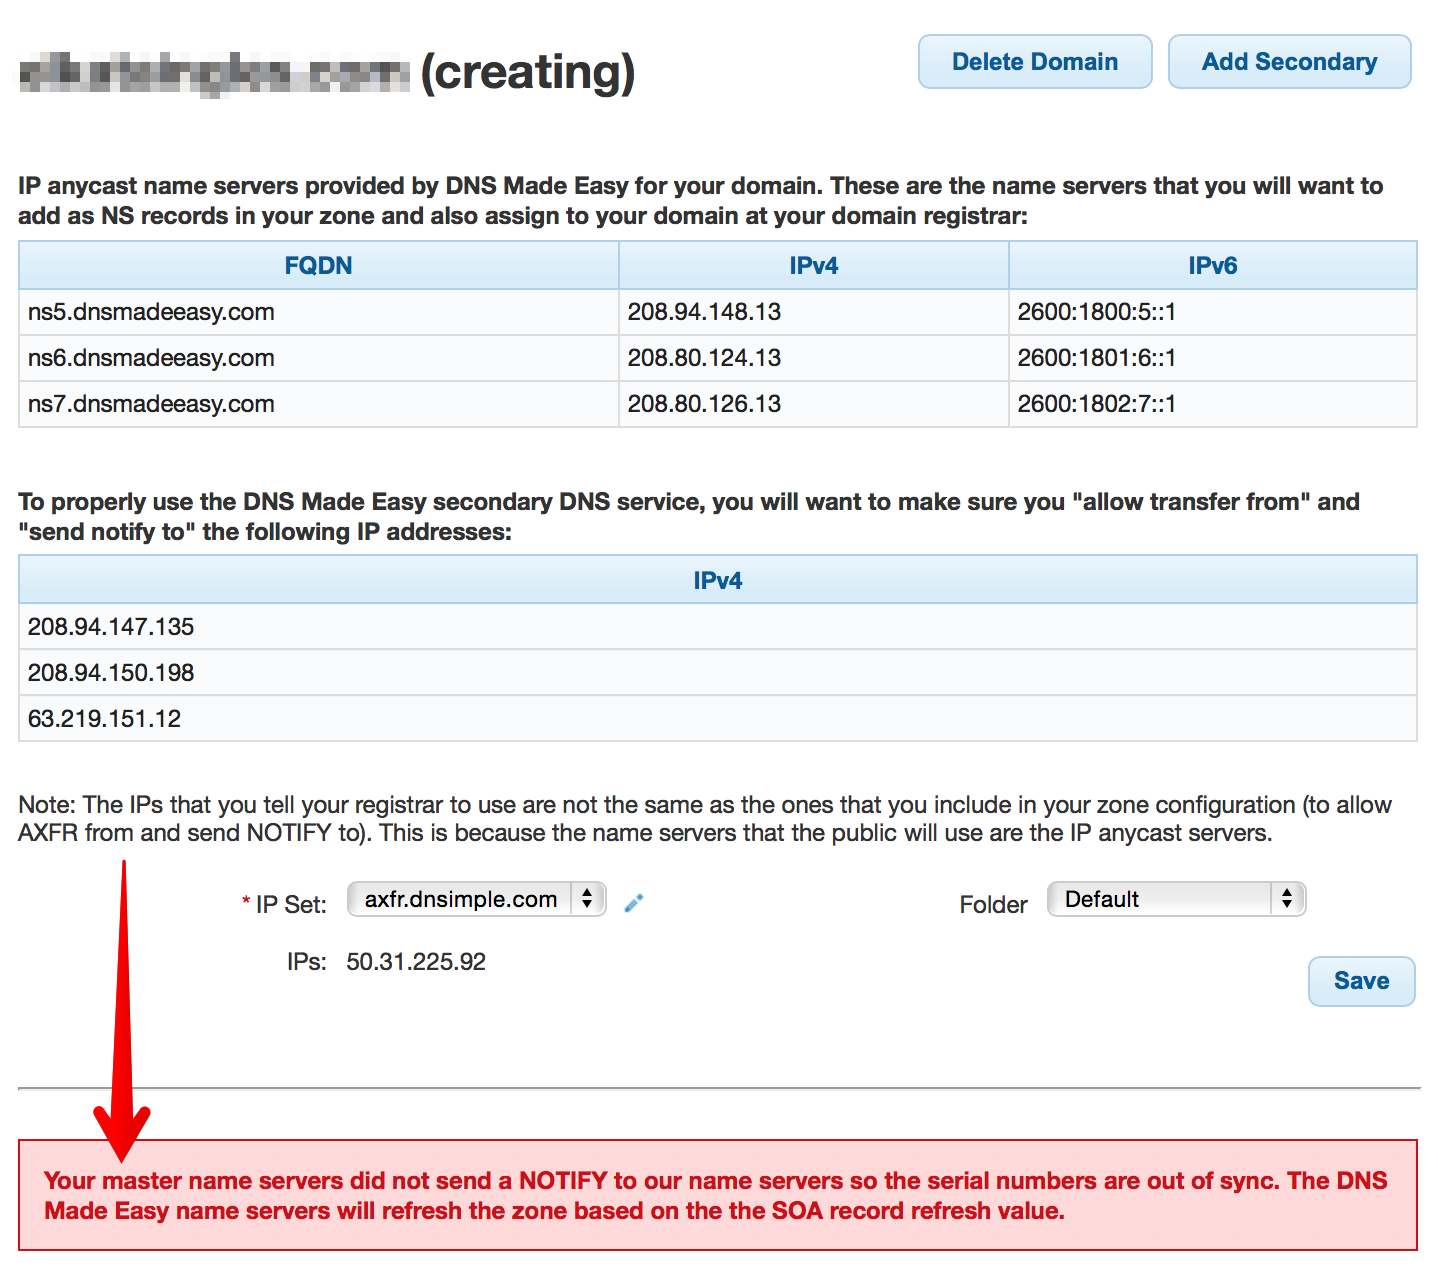
If the configuration is correct, a success message will appear. You’ll be taken to the detail page for your domain.
At the bottom of the screen, you might see an error message that the zone is out of sync. You may need to wait a few minutes for the zones to synchronize.
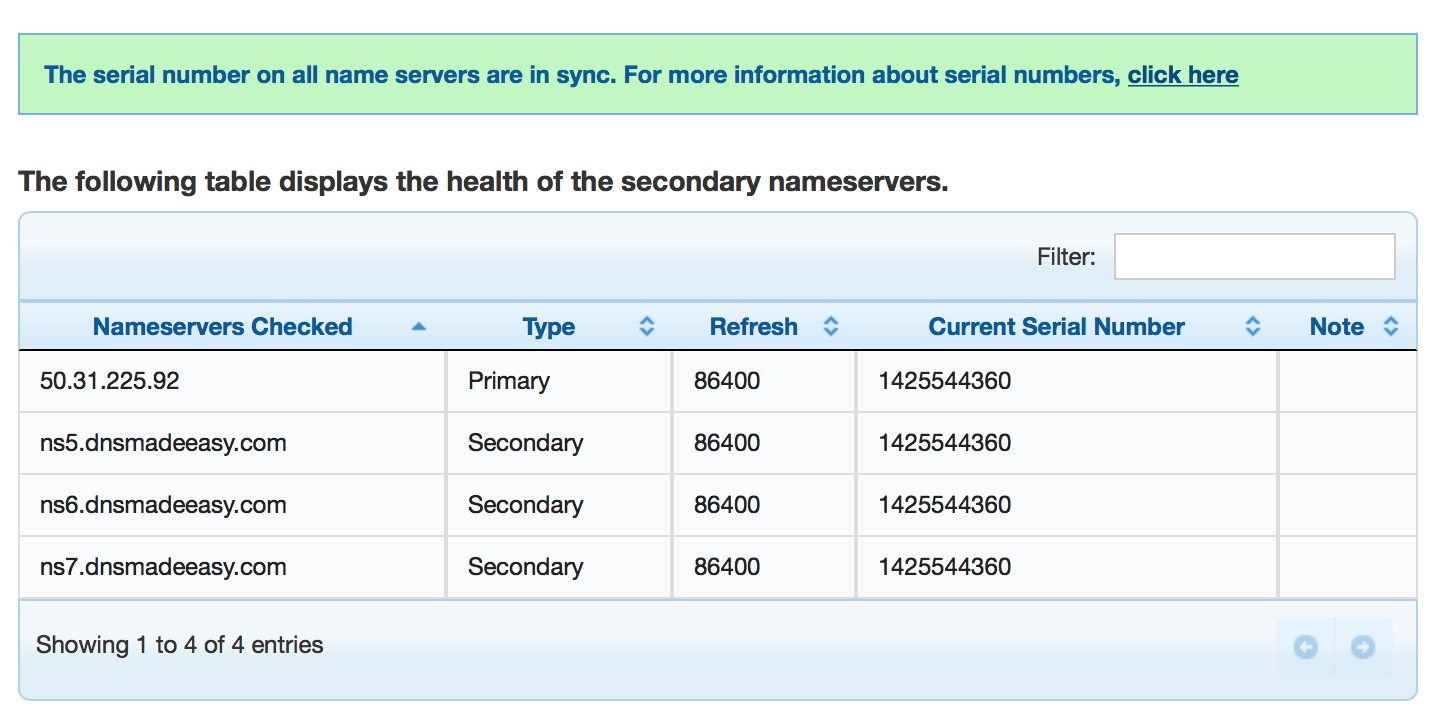
Refresh the page after a few minutes. If the configuration is working properly, you should see a section showing you the health of the secondary name servers.
Another way to verify your configuration is by using dig and querying one of the DNSMadeEasy name servers. Read more about dig in our overview article.
From your terminal, type the following dig command, replacing example.com with your domain:
$ dig @ns5.dnsmadeeasy.com example.com soa
The query should return all the DNSimple and DNSMadeEasy name servers in the AUTHORITY SECTION.
; <<>> DiG 9.8.3-P1 <<>> @ns5.dnsmadeeasy.com example.com soa
; (1 server found)
;; global options: +cmd
;; Got answer:
;; ->>HEADER<<- opcode: QUERY, status: NOERROR, id: 33777
;; flags: qr aa rd; QUERY: 1, ANSWER: 1, AUTHORITY: 7, ADDITIONAL: 0
;; WARNING: recursion requested but not available

;; QUESTION SECTION:
;example.com.   IN  SOA

;; ANSWER SECTION:
example.com.  3600  IN  SOA axfr.dnsimple.com. admin.dnsimple.com. 1425544360 86400 7200 604800 300

;; AUTHORITY SECTION:
example.com.  3600  IN  NS  ns2.dnsimple-edge.net.
example.com.  3600  IN  NS  ns6.dnsmadeeasy.com.
example.com.  3600  IN  NS  ns7.dnsmadeeasy.com.
example.com.  3600  IN  NS  ns3.dnsimple.com.
example.com.  3600  IN  NS  ns5.dnsmadeeasy.com.
example.com.  3600  IN  NS  ns4.dnsimple-edge.org.
example.com.  3600  IN  NS  ns1.dnsimple.com.

;; Query time: 55 msec
;; SERVER: 208.94.148.13#53(208.94.148.13)
;; WHEN: Thu Mar  5 09:40:40 2015
;; MSG SIZE  rcvd: 228
Congratulations, your secondary DNS is now working with DNSMadeEasy.