Billing Settings
Table of Contents
Use Billing Settings to customize the billing details shown on your DNSimple invoices. You can add company information, a tax ID, and a billing address for future invoices.
On Teams plans and higher, you can also set a separate billing email for invoices. This is different from the notification email, which is used for other account messages.
Note
On Solo and Solo Pro plans, invoices are sent to the account notification email, or to account administrators if none is set. A separate billing email is only available on Teams plans and higher.
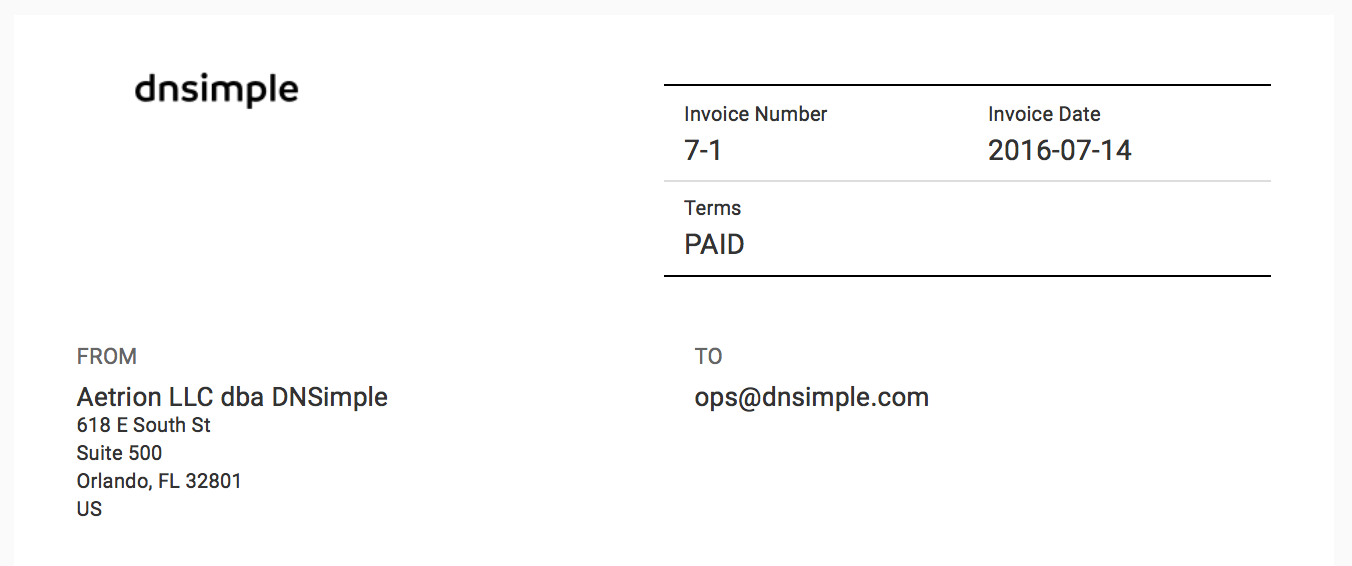
Customizing billing information
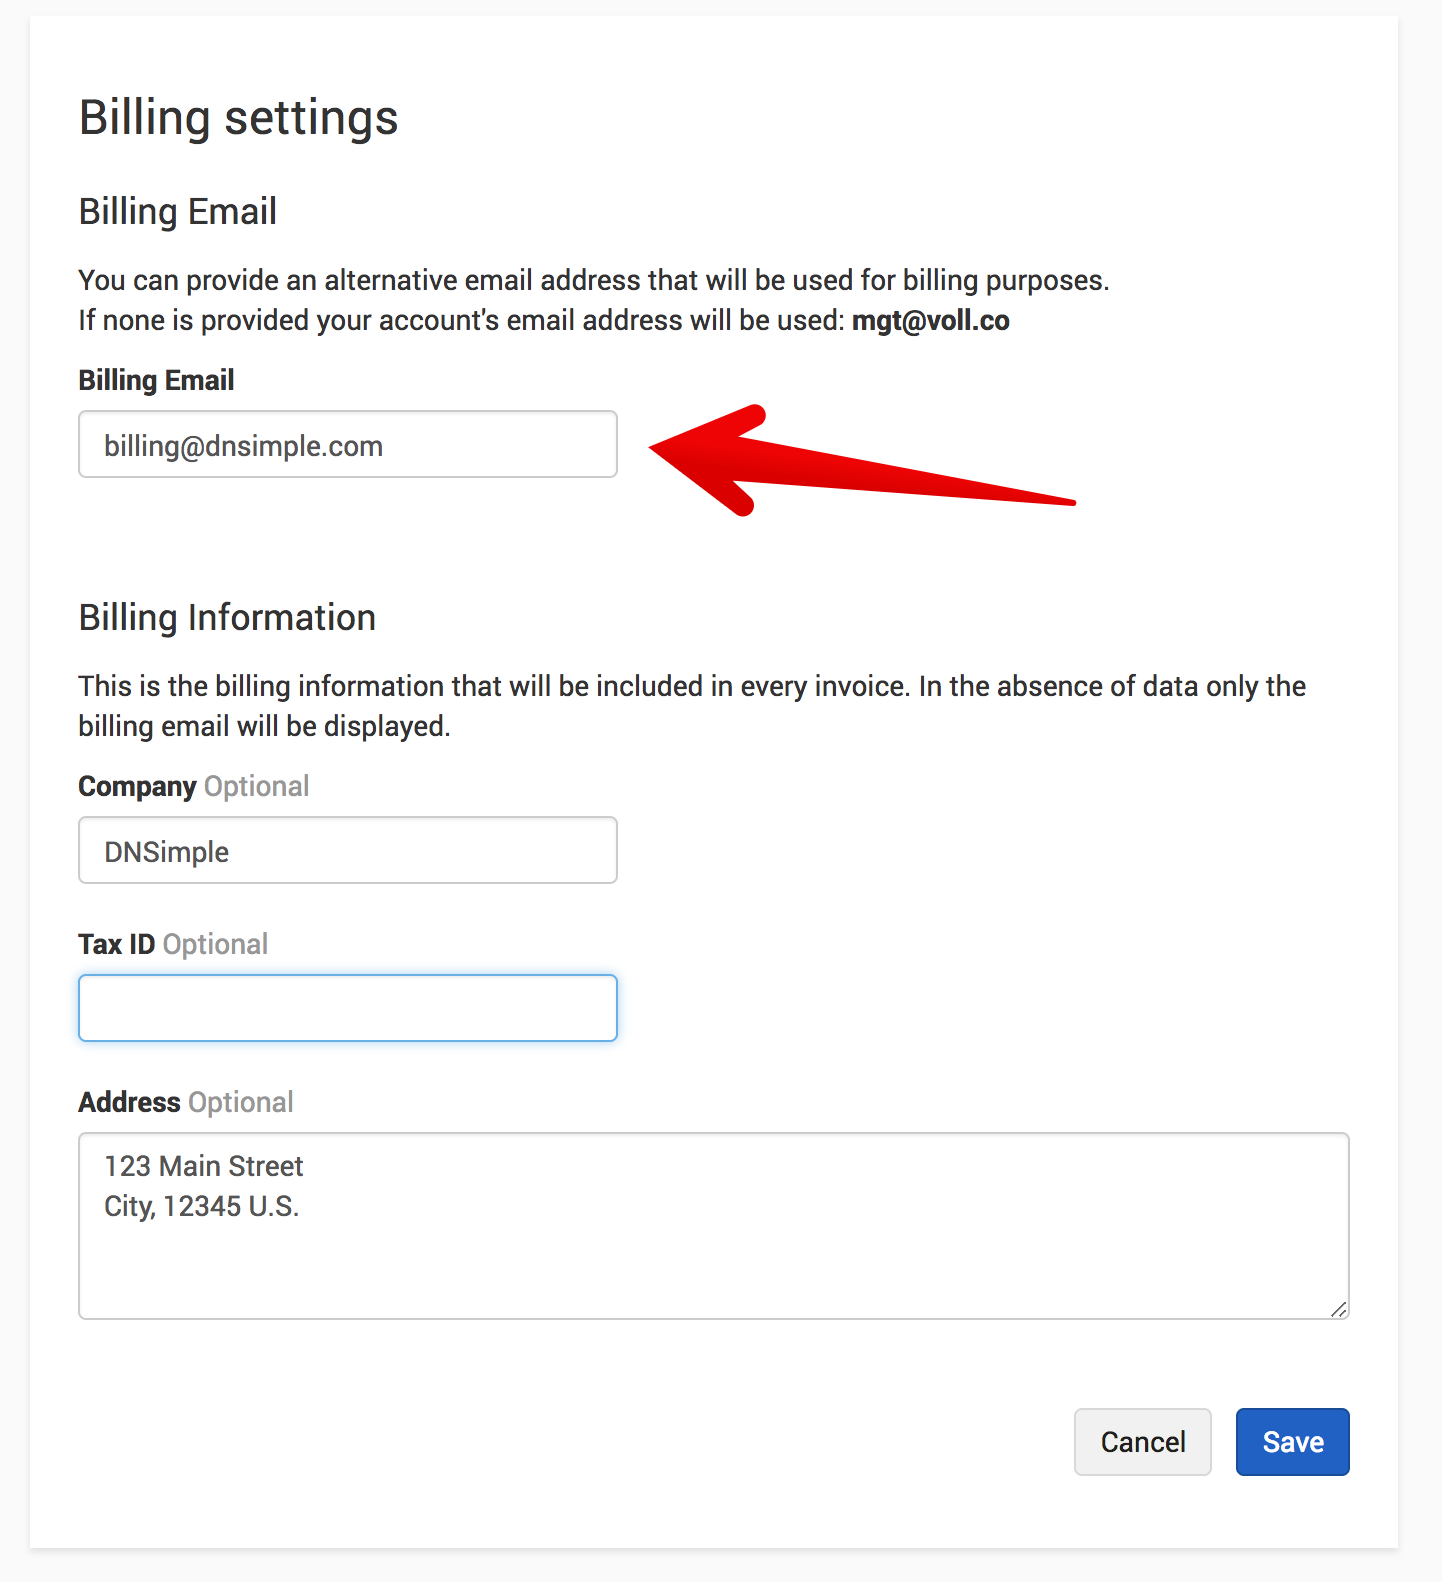
You can add or update the following billing details for future invoices:
- Company
- Tax ID
- Address
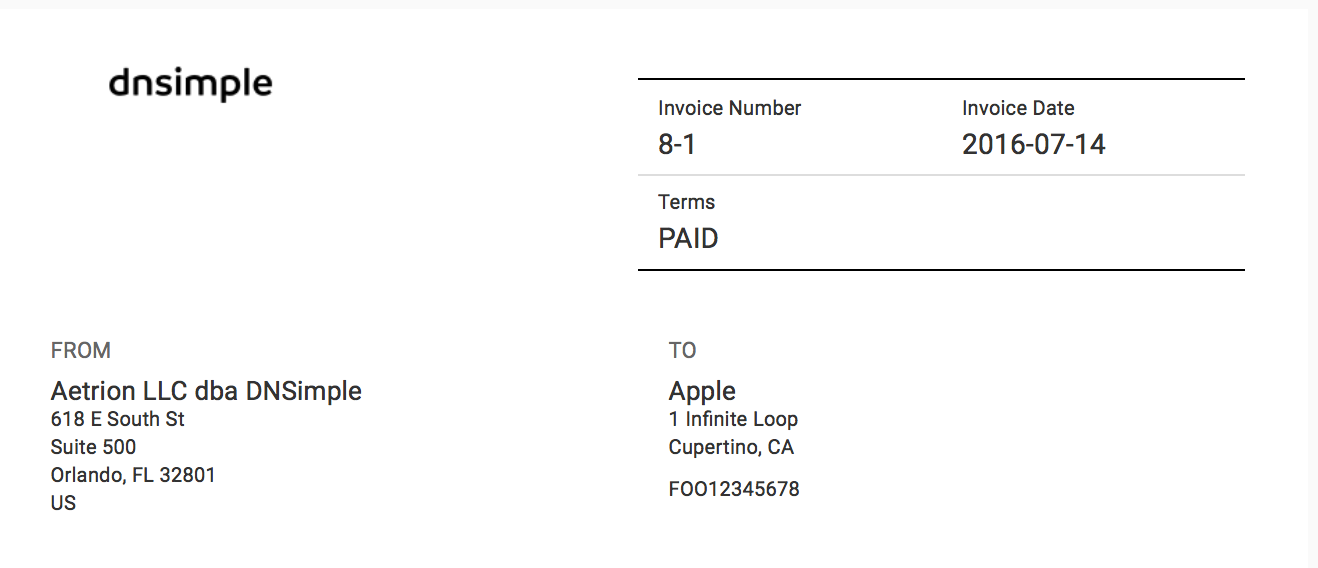
Note
The account owner can modify this information at any time. Changes to billing information only apply to future invoices. They do not update invoices that have already been issued.
If you need to change the billing information for an existing invoice, contact support.
To update your billing settings
- Choose the relevant account from the account switcher.
- Click the gear icon next to the account name to open .
- Click the tab.
-
Scroll to the section, then click .
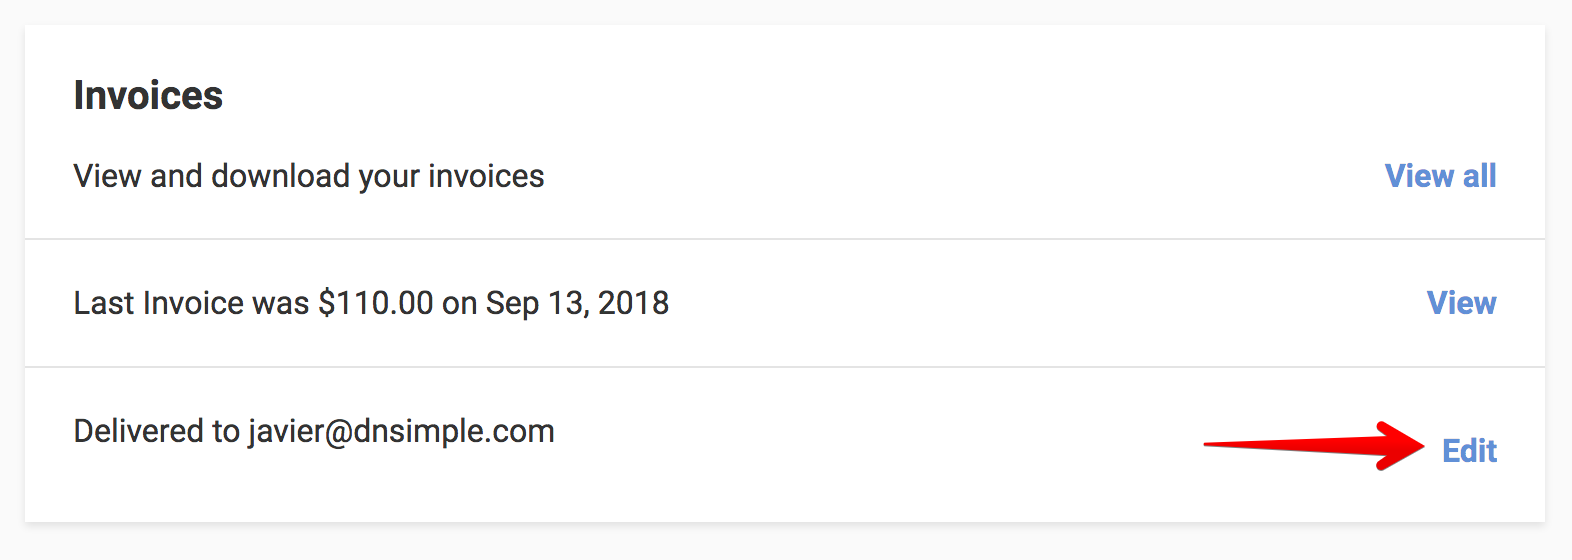
- You will see your current billing information (it will be empty if this is the first time you are editing it).
-
Fill in the form, and click when you are finished.
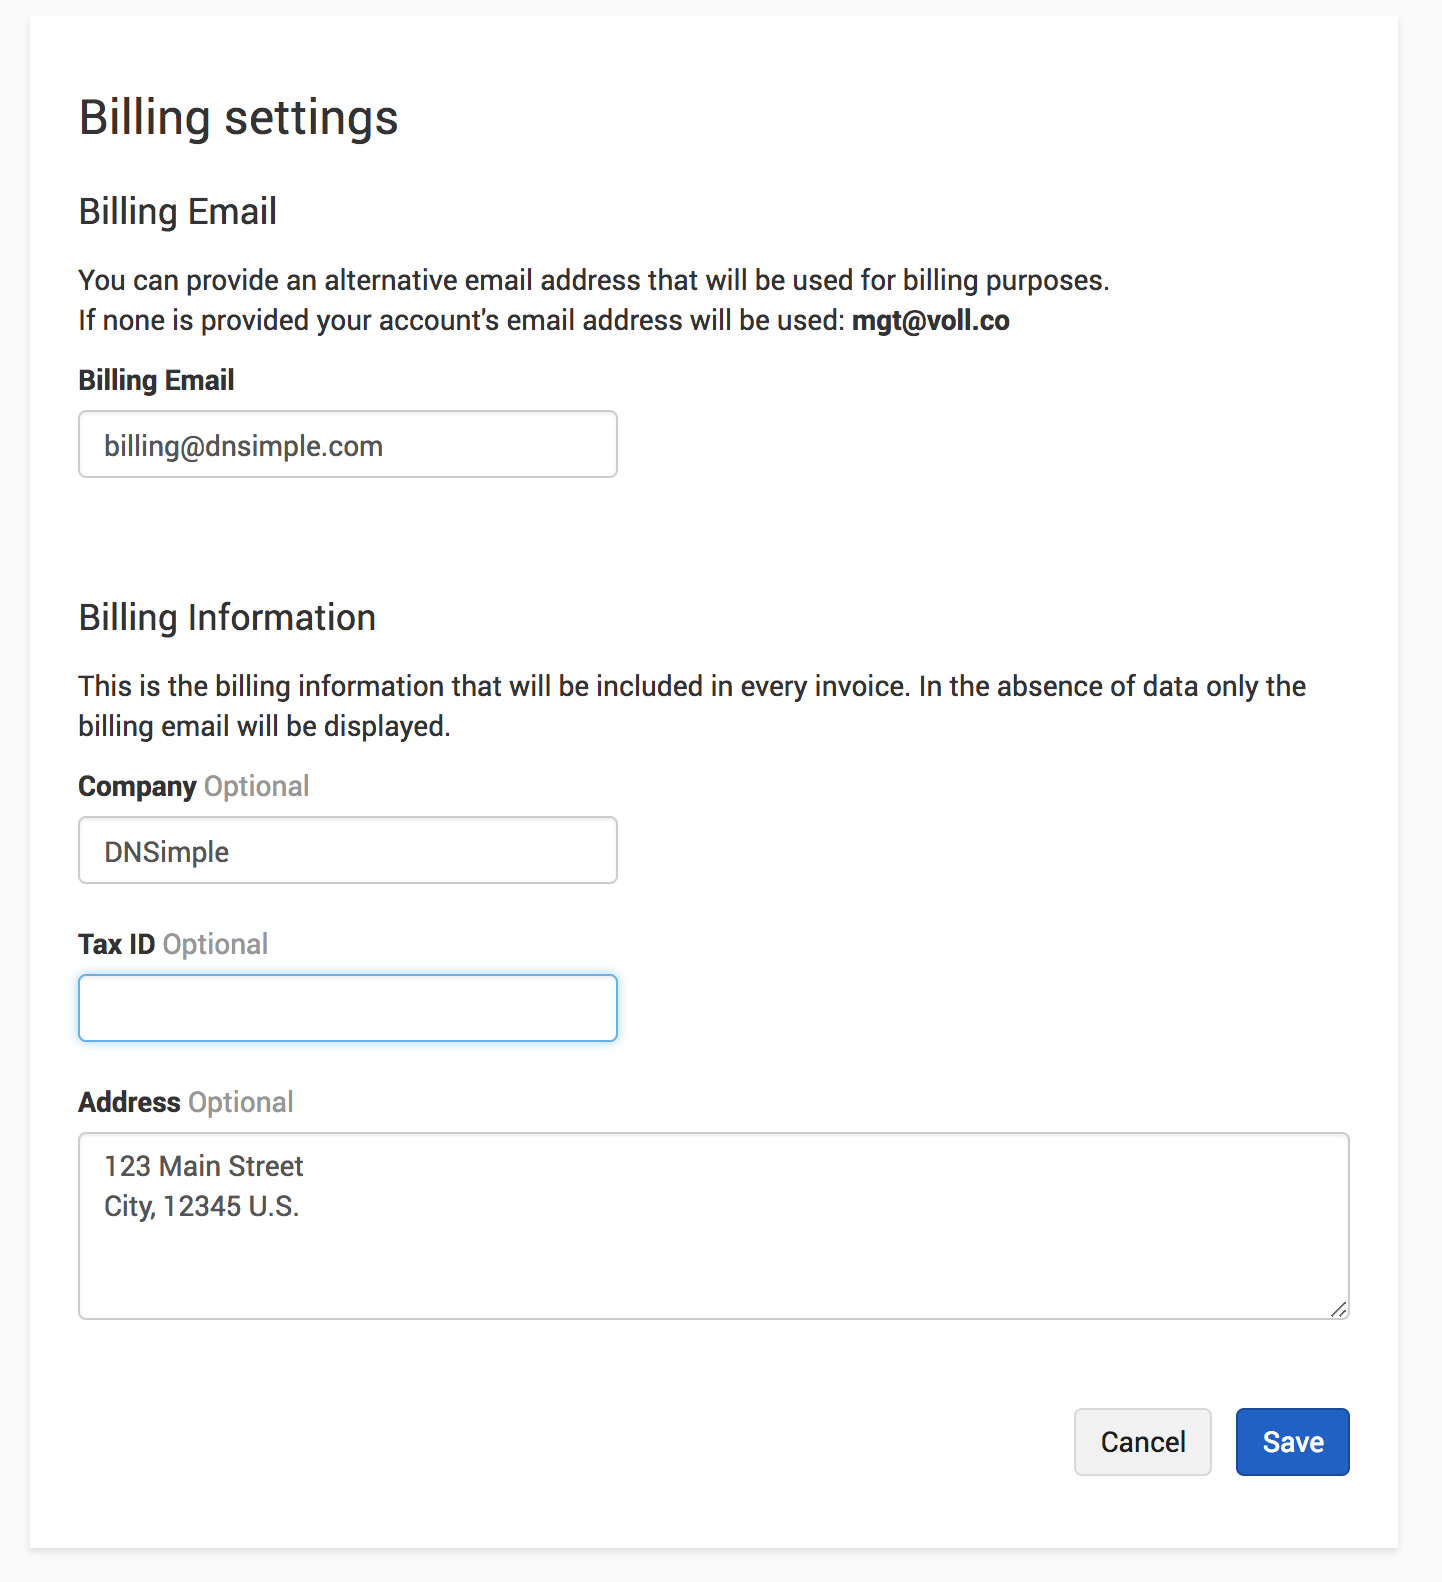
All future invoices will display the information you provided.
Note
On Solo and Solo Pro plans, you cannot set a separate billing email address. Invoice emails are delivered to the account notification email, or to account administrators if none is set.
On Teams plans and higher, the billing email only controls where invoice emails are delivered. It does not give the recipient authorized access to the account, and DNSimple cannot share account information with them unless they are also added as an account member with the appropriate access.
Changing the billing email
If you are on a Teams plan or higher, DNSimple can deliver invoices to a different email address from your user email. This is not available on Solo and Solo Pro plans.
Note
Only account administrators can change the billing email address.
To change your billing email
- Choose the relevant account from the account switcher.
- Click the gear icon next to the account name to open .
- Click the tab.
-
Scroll to the section, then click .
- Enter the billing email address you want to use for invoices.
-
Update the email, and click when you are finished.
Have more questions?
If you have questions about your billing settings, contact support, and we will be happy to help.