WordPress One-click Service
Table of Contents
WordPress lets you share with the world, your community, or your closest friends.
If you have accounts with DNSimple and WordPress, you can use DNSimple’s One-click Services to set up the DNS records required by WordPress.
Enabling WordPress service
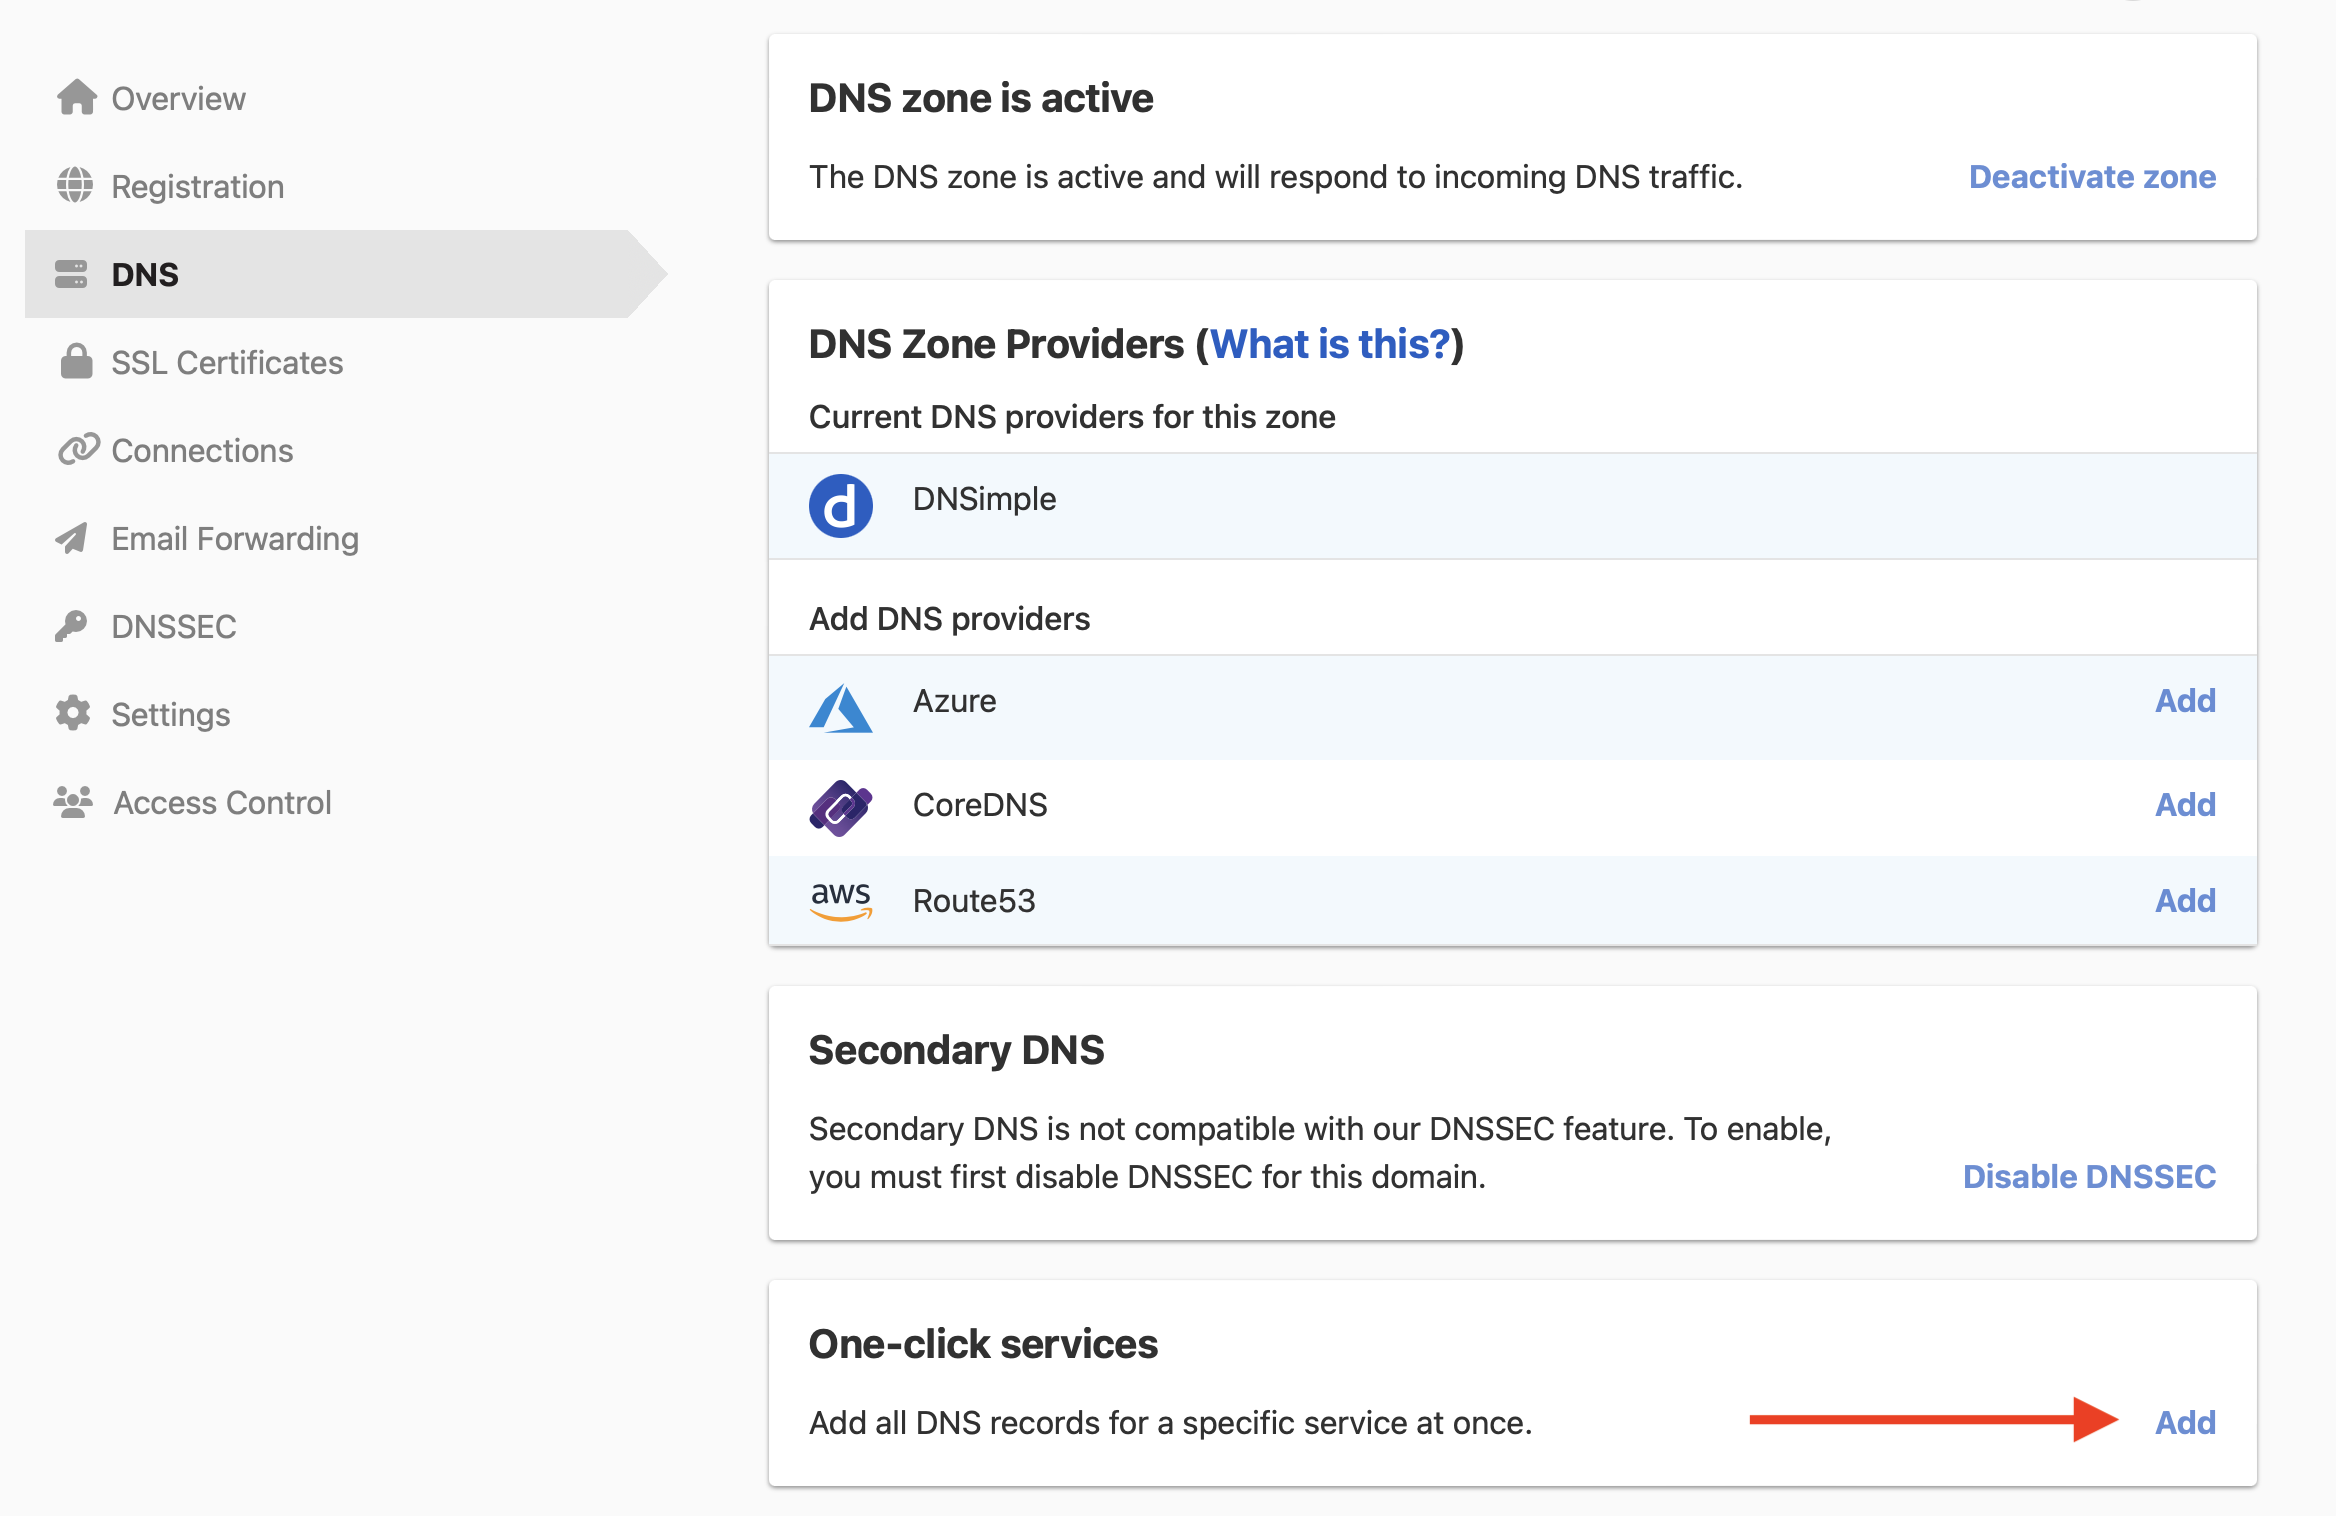
- From the domain list, click on the domain name you want to update.
- Click the DNS tab on the left side.
- Scroll down to the One-click services card, and click Add.
Select the Hosting tab, and scroll down to the WordPress service. Click Add.

Enter your WordPress.com subdomain, then click Complete WordPress Setup.
The service has been added. You can remove it any time by following the steps in how to remove a service.
Setting up at WordPress
Follow the steps to map your domain to your WordPress site.
Have more questions?
If you have additional questions or need any assistance with our One-click Services, just contact support, and we’ll be happy to help.