Netlify Connector
Table of Contents
- Video walk-through
- Creating a connection
- After configuration
- Connection monitoring
- Have more questions?
Netlify unites an entire ecosystem of modern tools and services into a single, simple workflow for building high performance sites and apps. With DNSimple’s Netlify Connector, you can easily connect your domains to Netlify, and set up the required DNS records and Netlify configuration, without having to think about DNS.
Video walk-through
Creating a connection
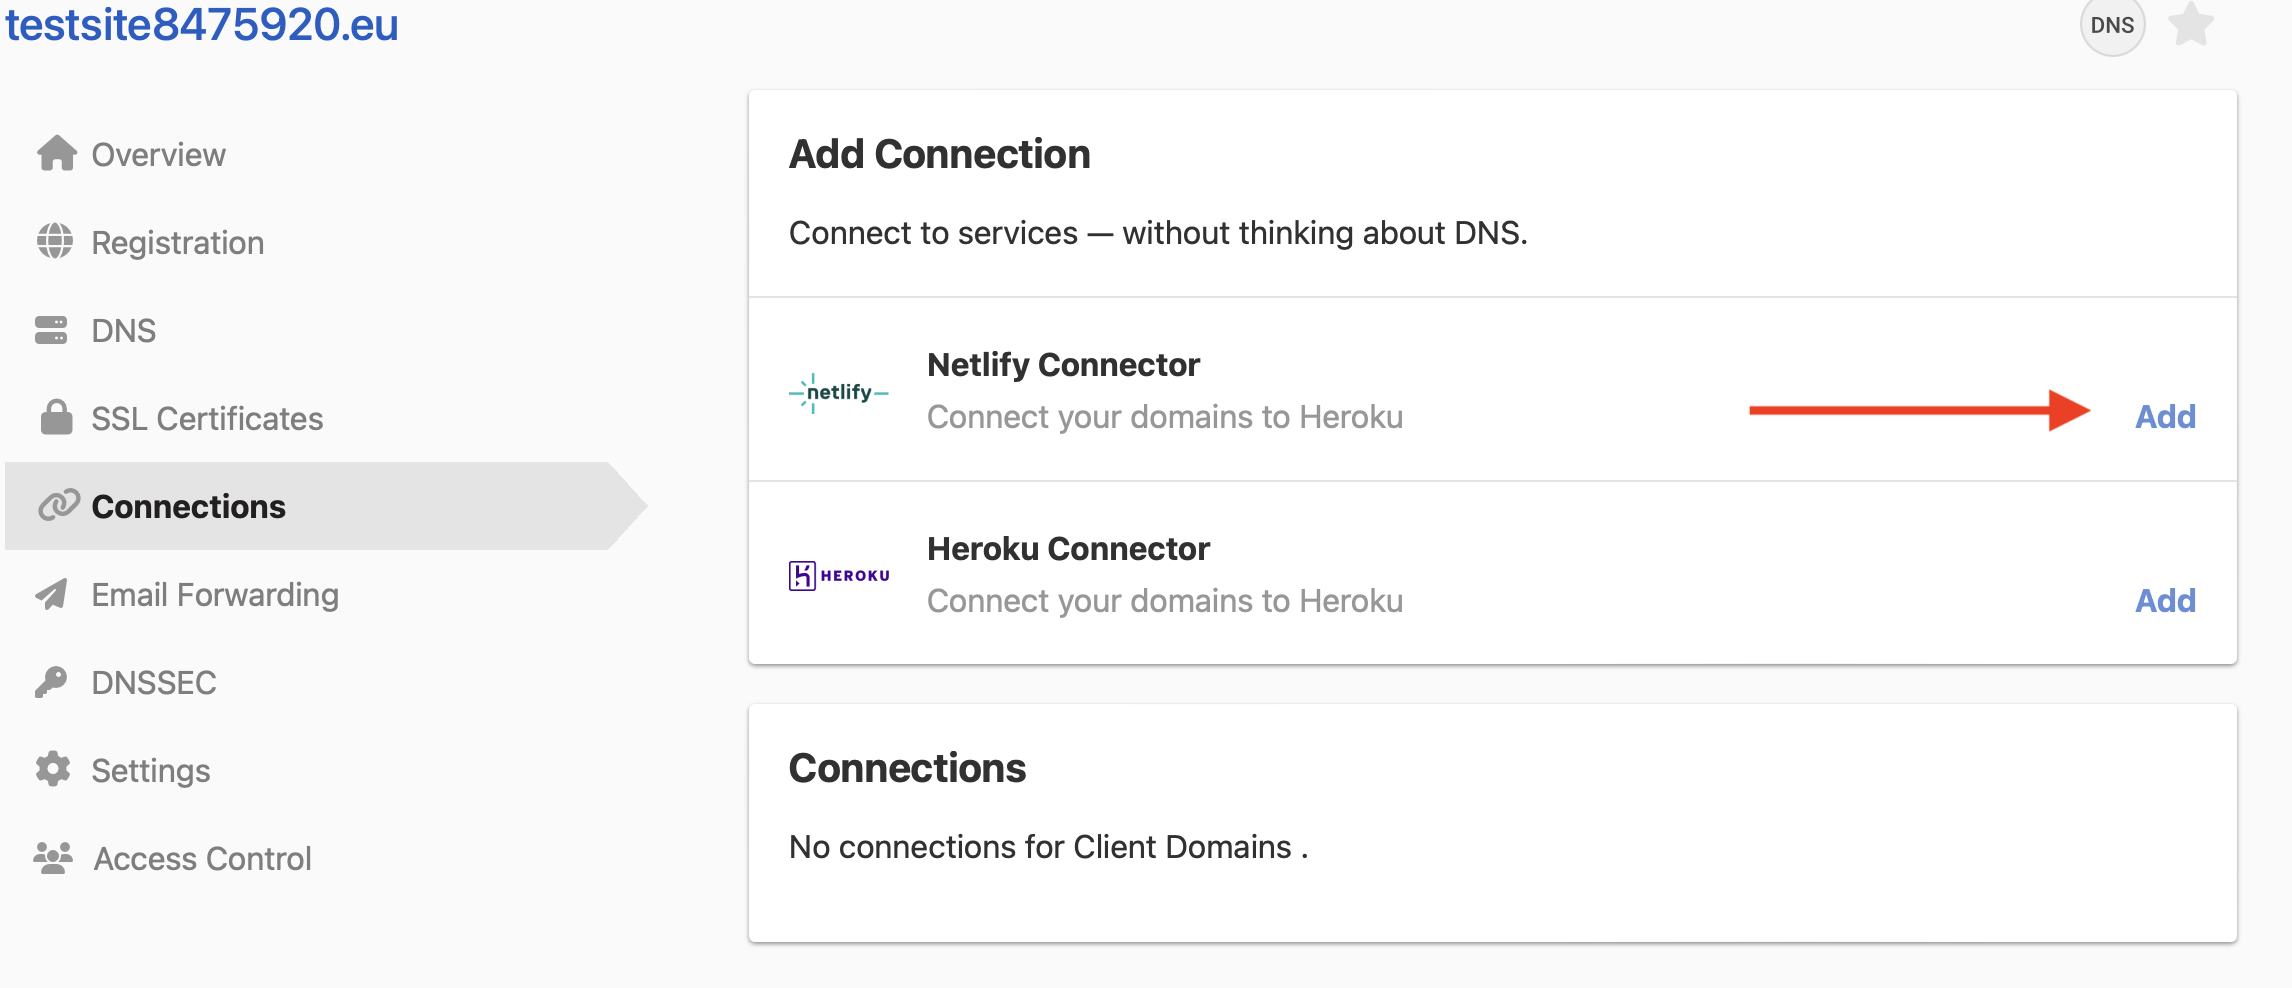
- Choose the relevant domain from your Domain List.
- Click the Connections tab on the left side.
-
Under Add Connection, click Add in the Netlify Connector section.
-
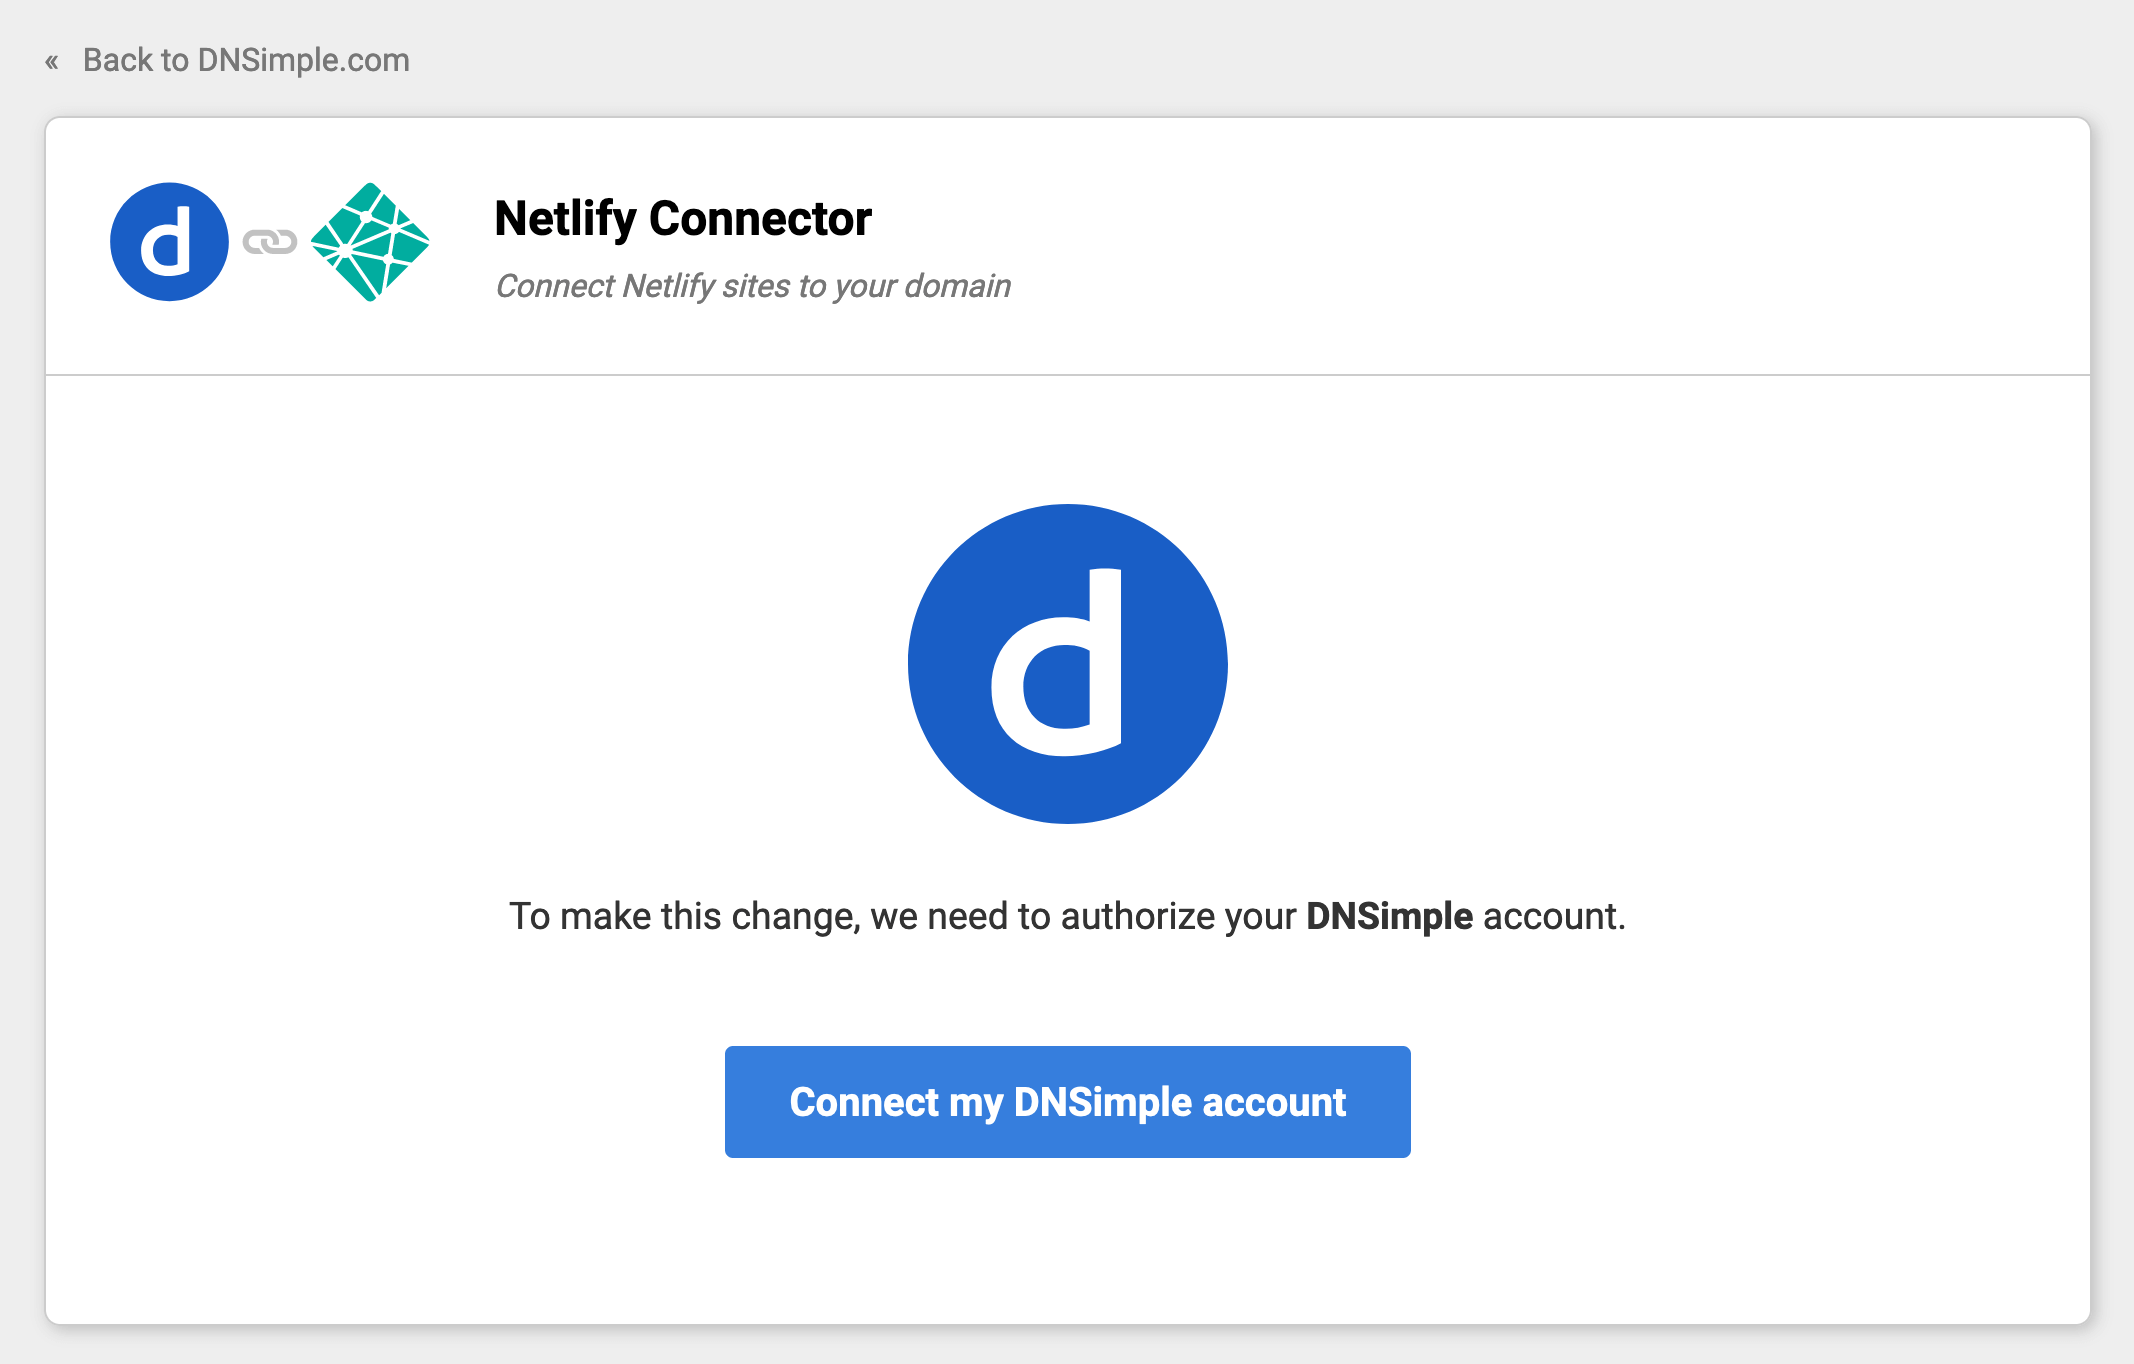
Authorize your DNSimple account to give the connector permission to access your domains and DNS records.
-
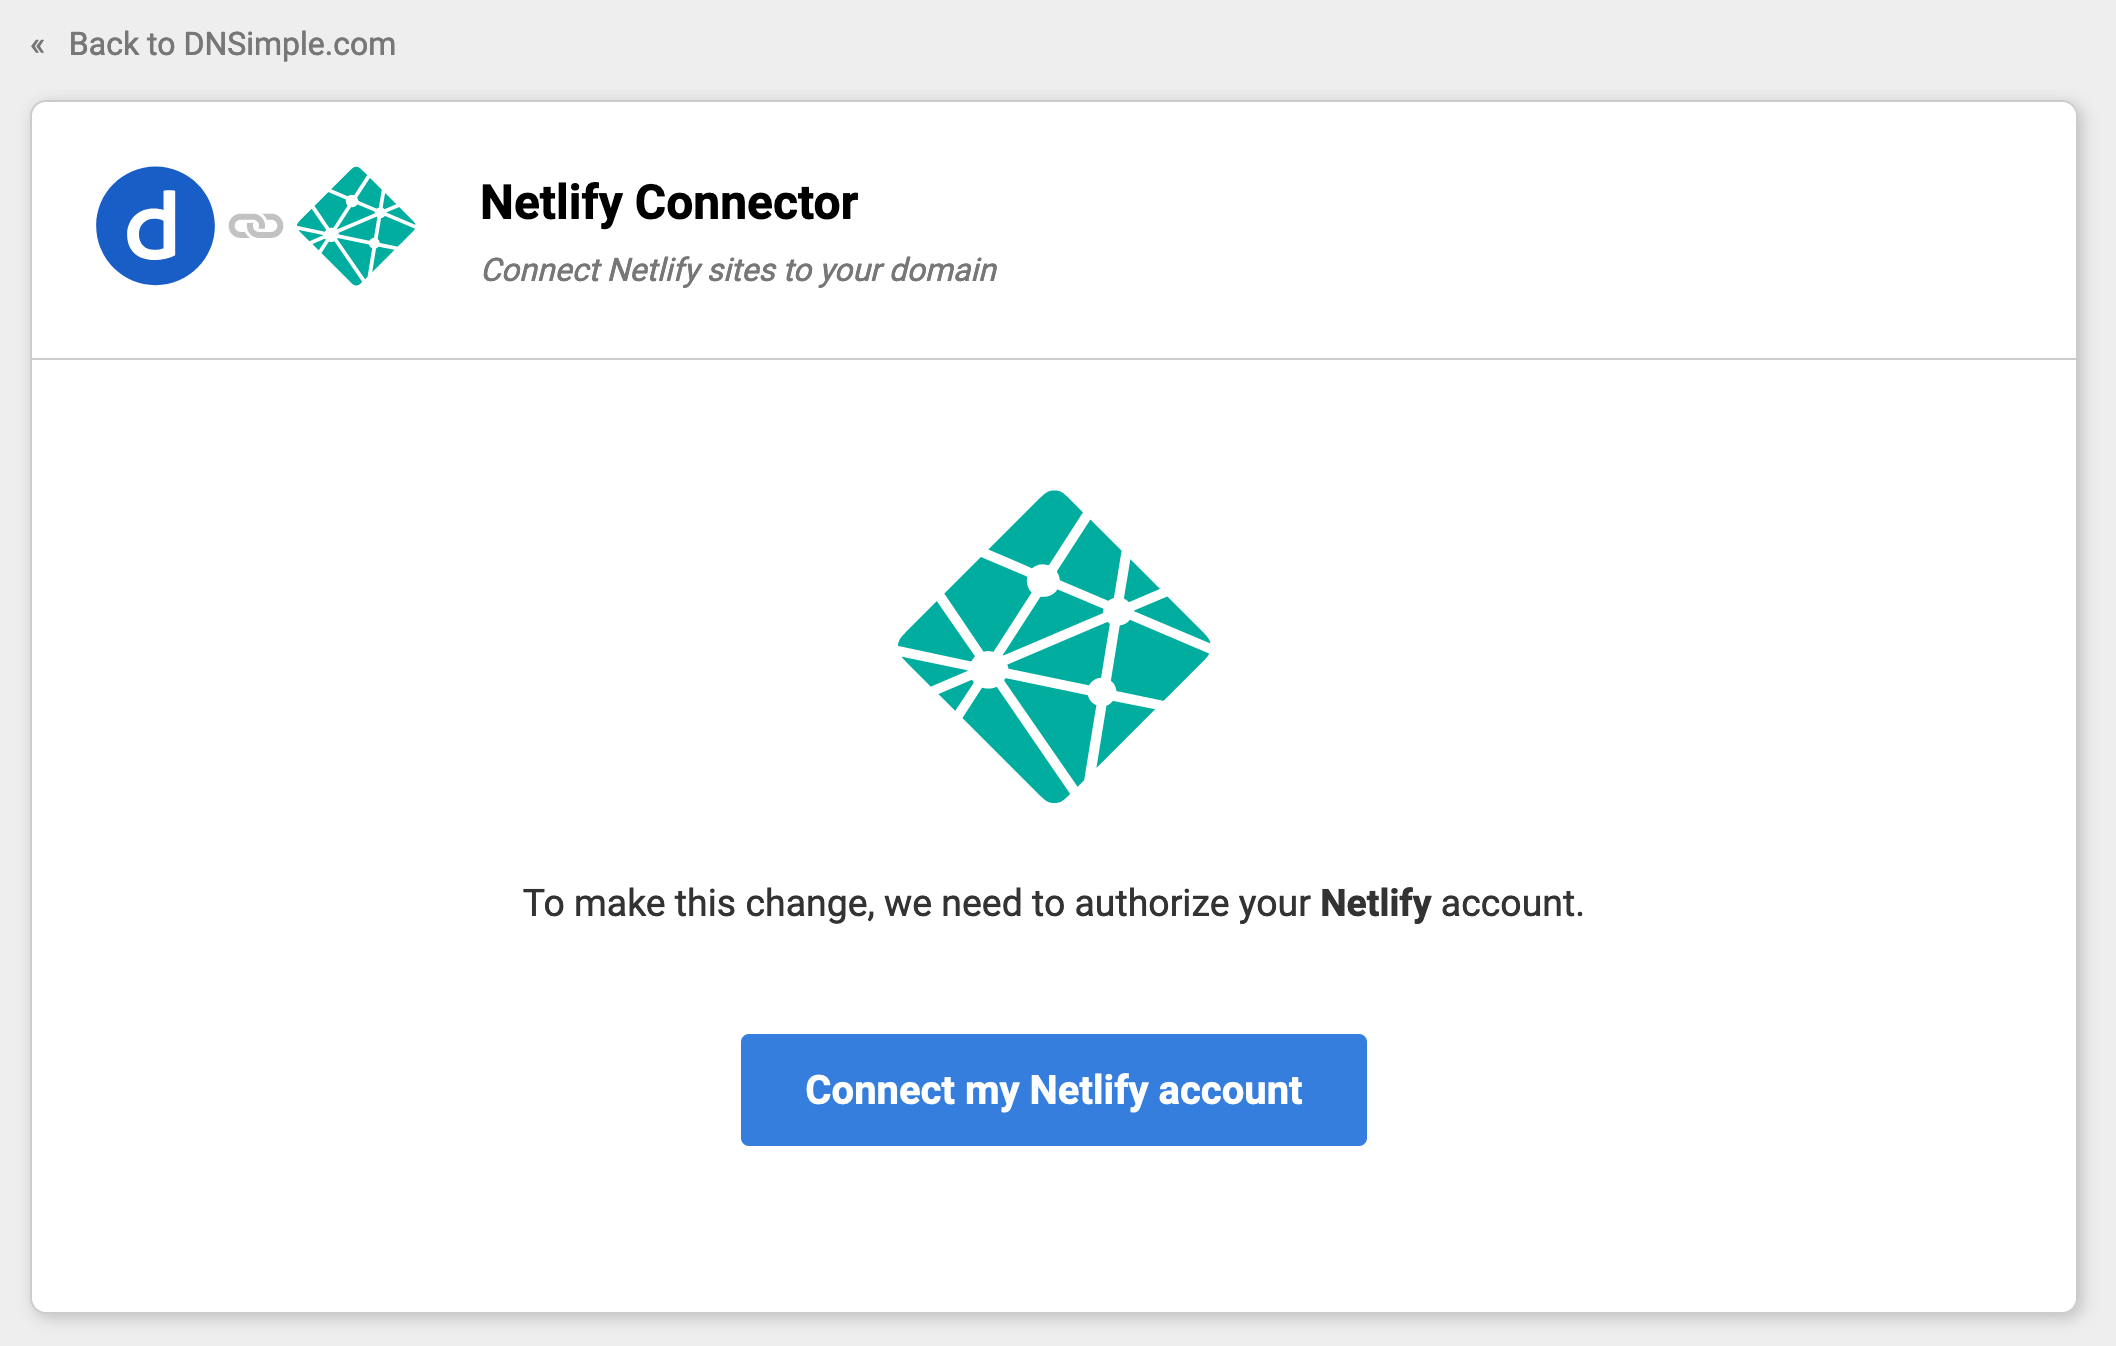
Authorize your Netlify account to give the connector permission to access your Netlify apps.
-
Choose your Netlify site, and set its mounting point.
[!NOTE]
A mounting point is the address where your Netlify site is served. If you want to use the domain apex, e.g.example.com, leave this blank.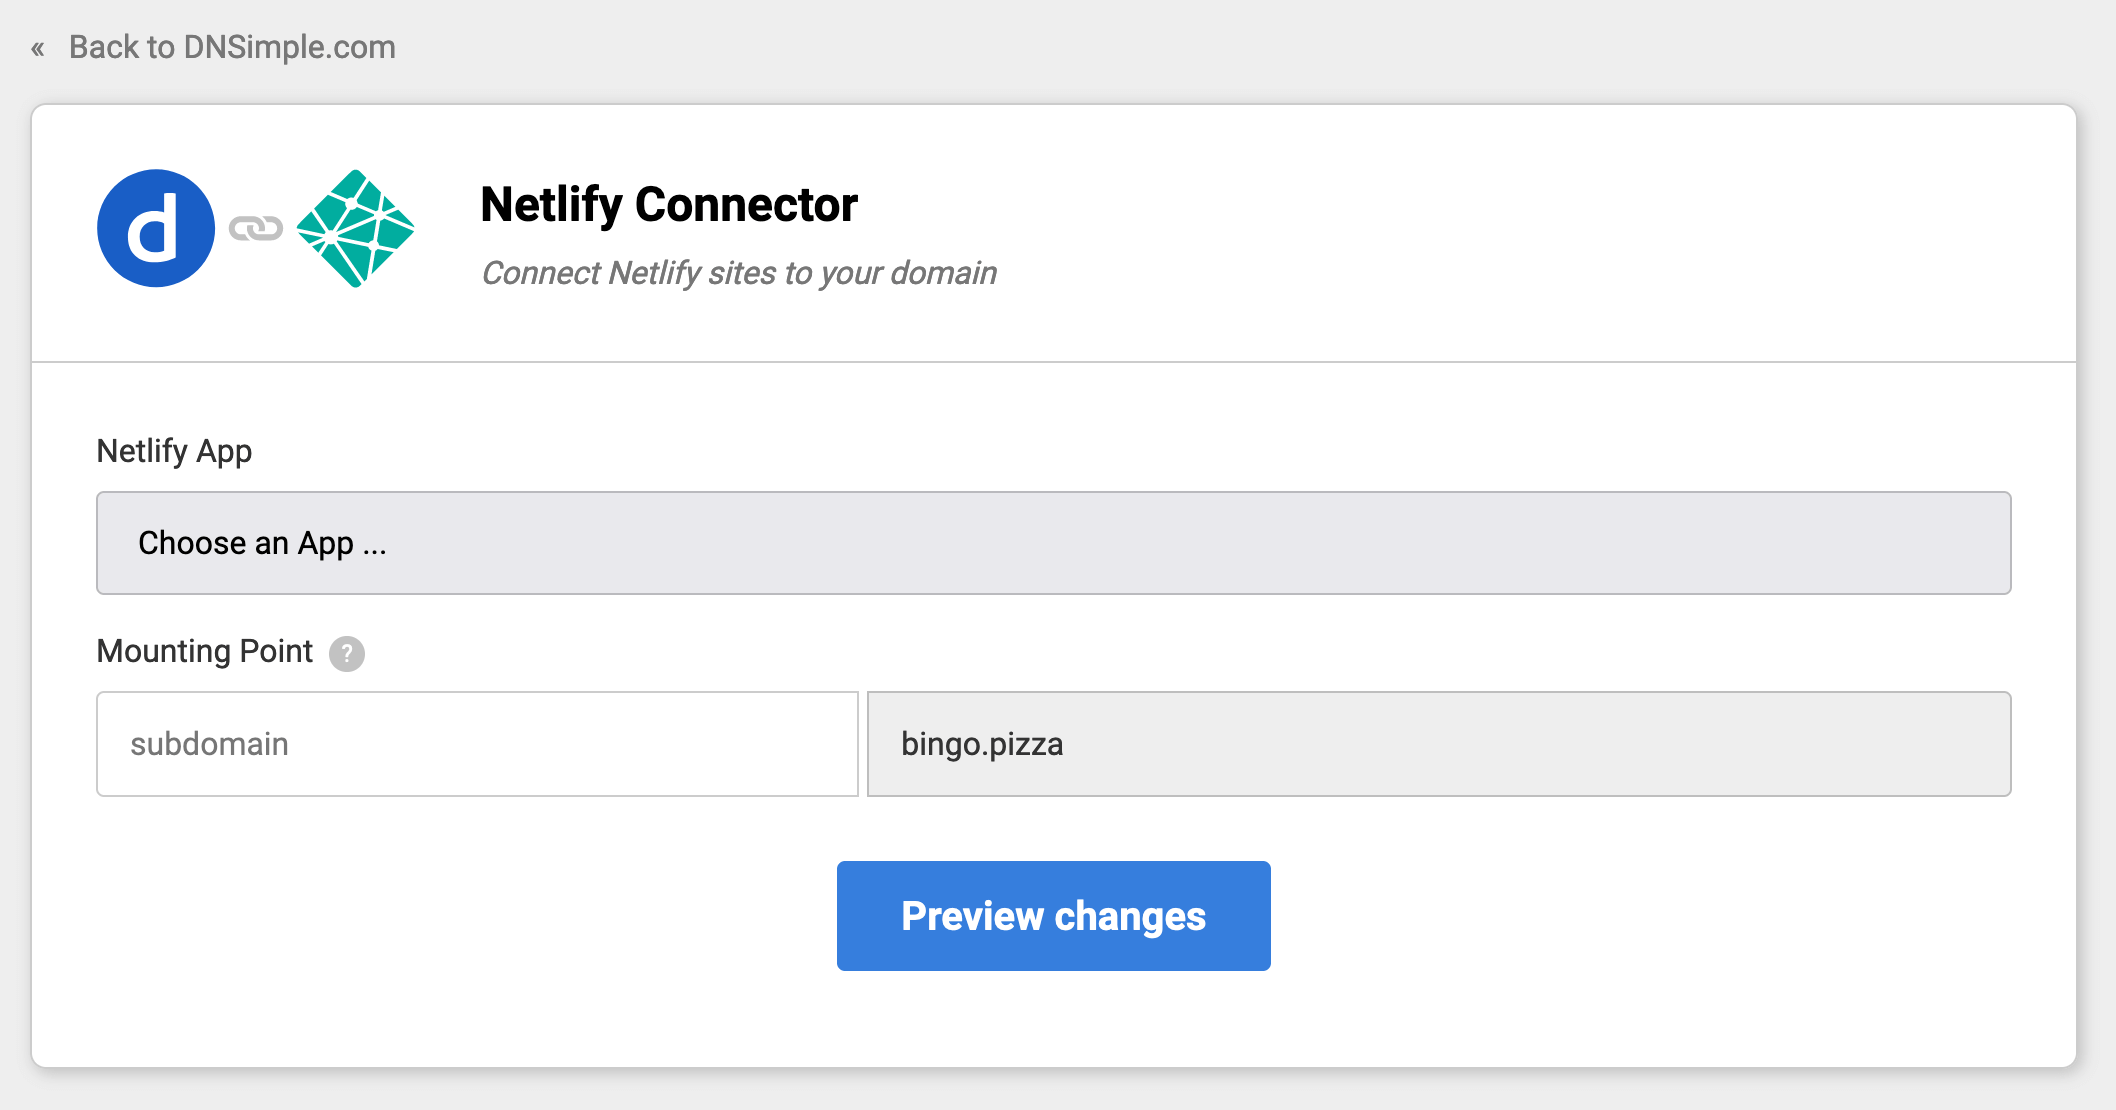
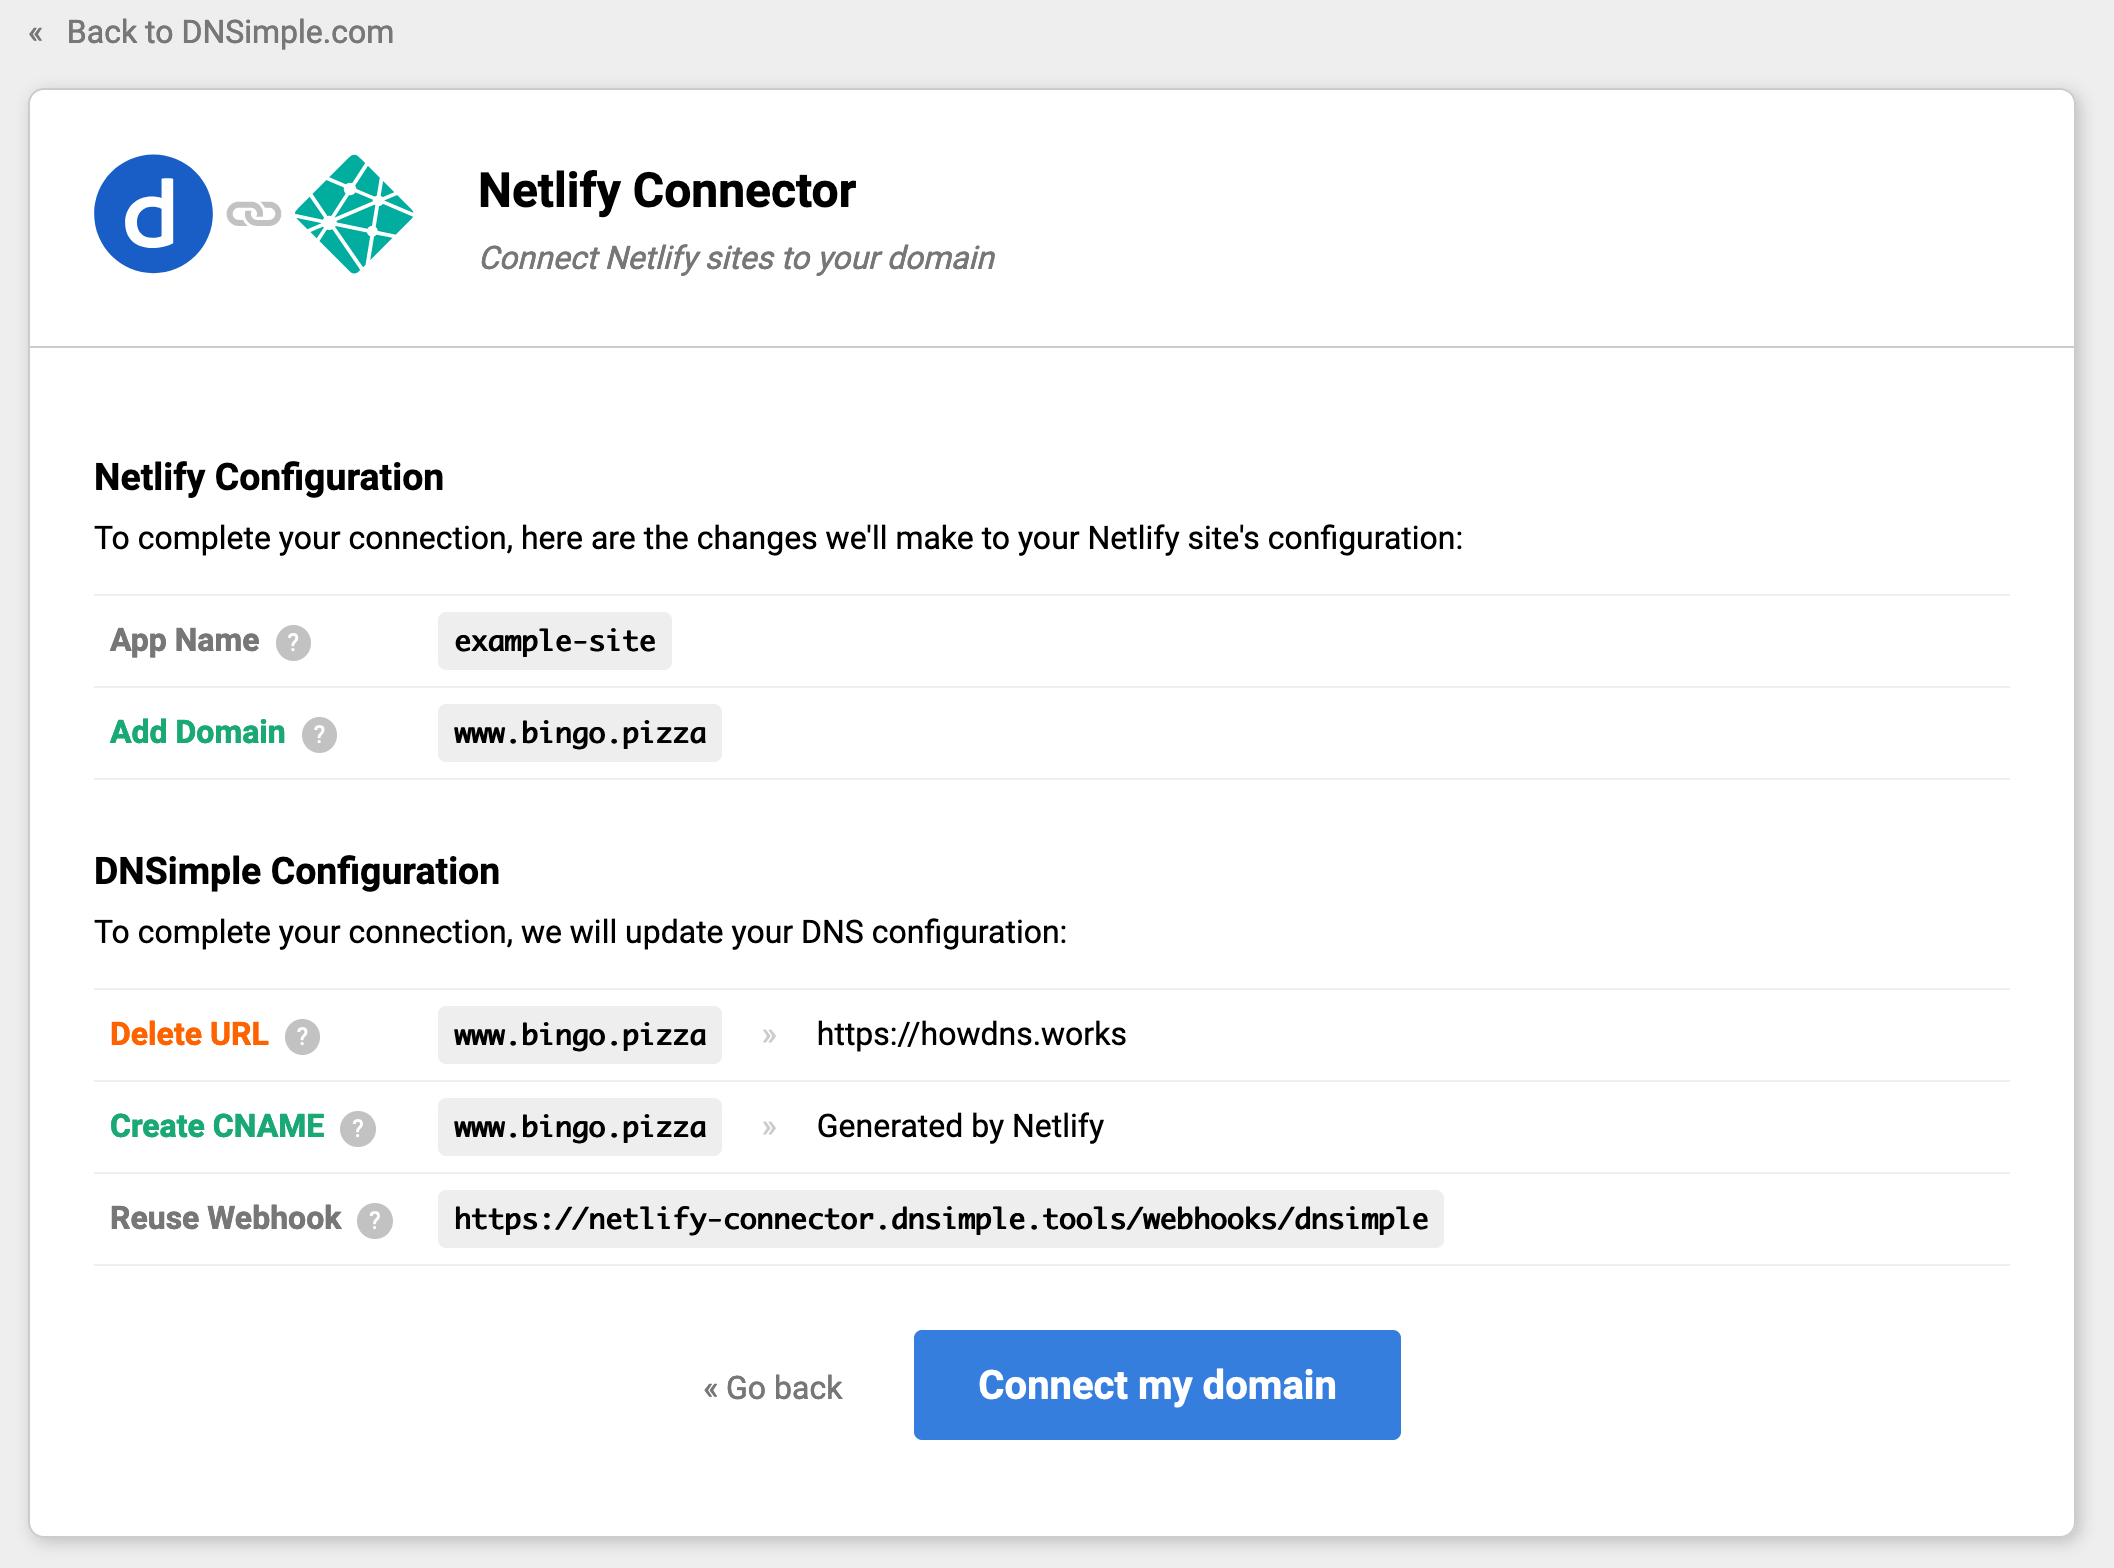
- You will be asked to review the connection configuration. To confirm the information is correct, click “Connect”.
After configuration
When your domain is connected, you will be redirected back to your domain’s Connections tab, with a new card for your new connection. The card will have a green dot next to your domain, along with other information.
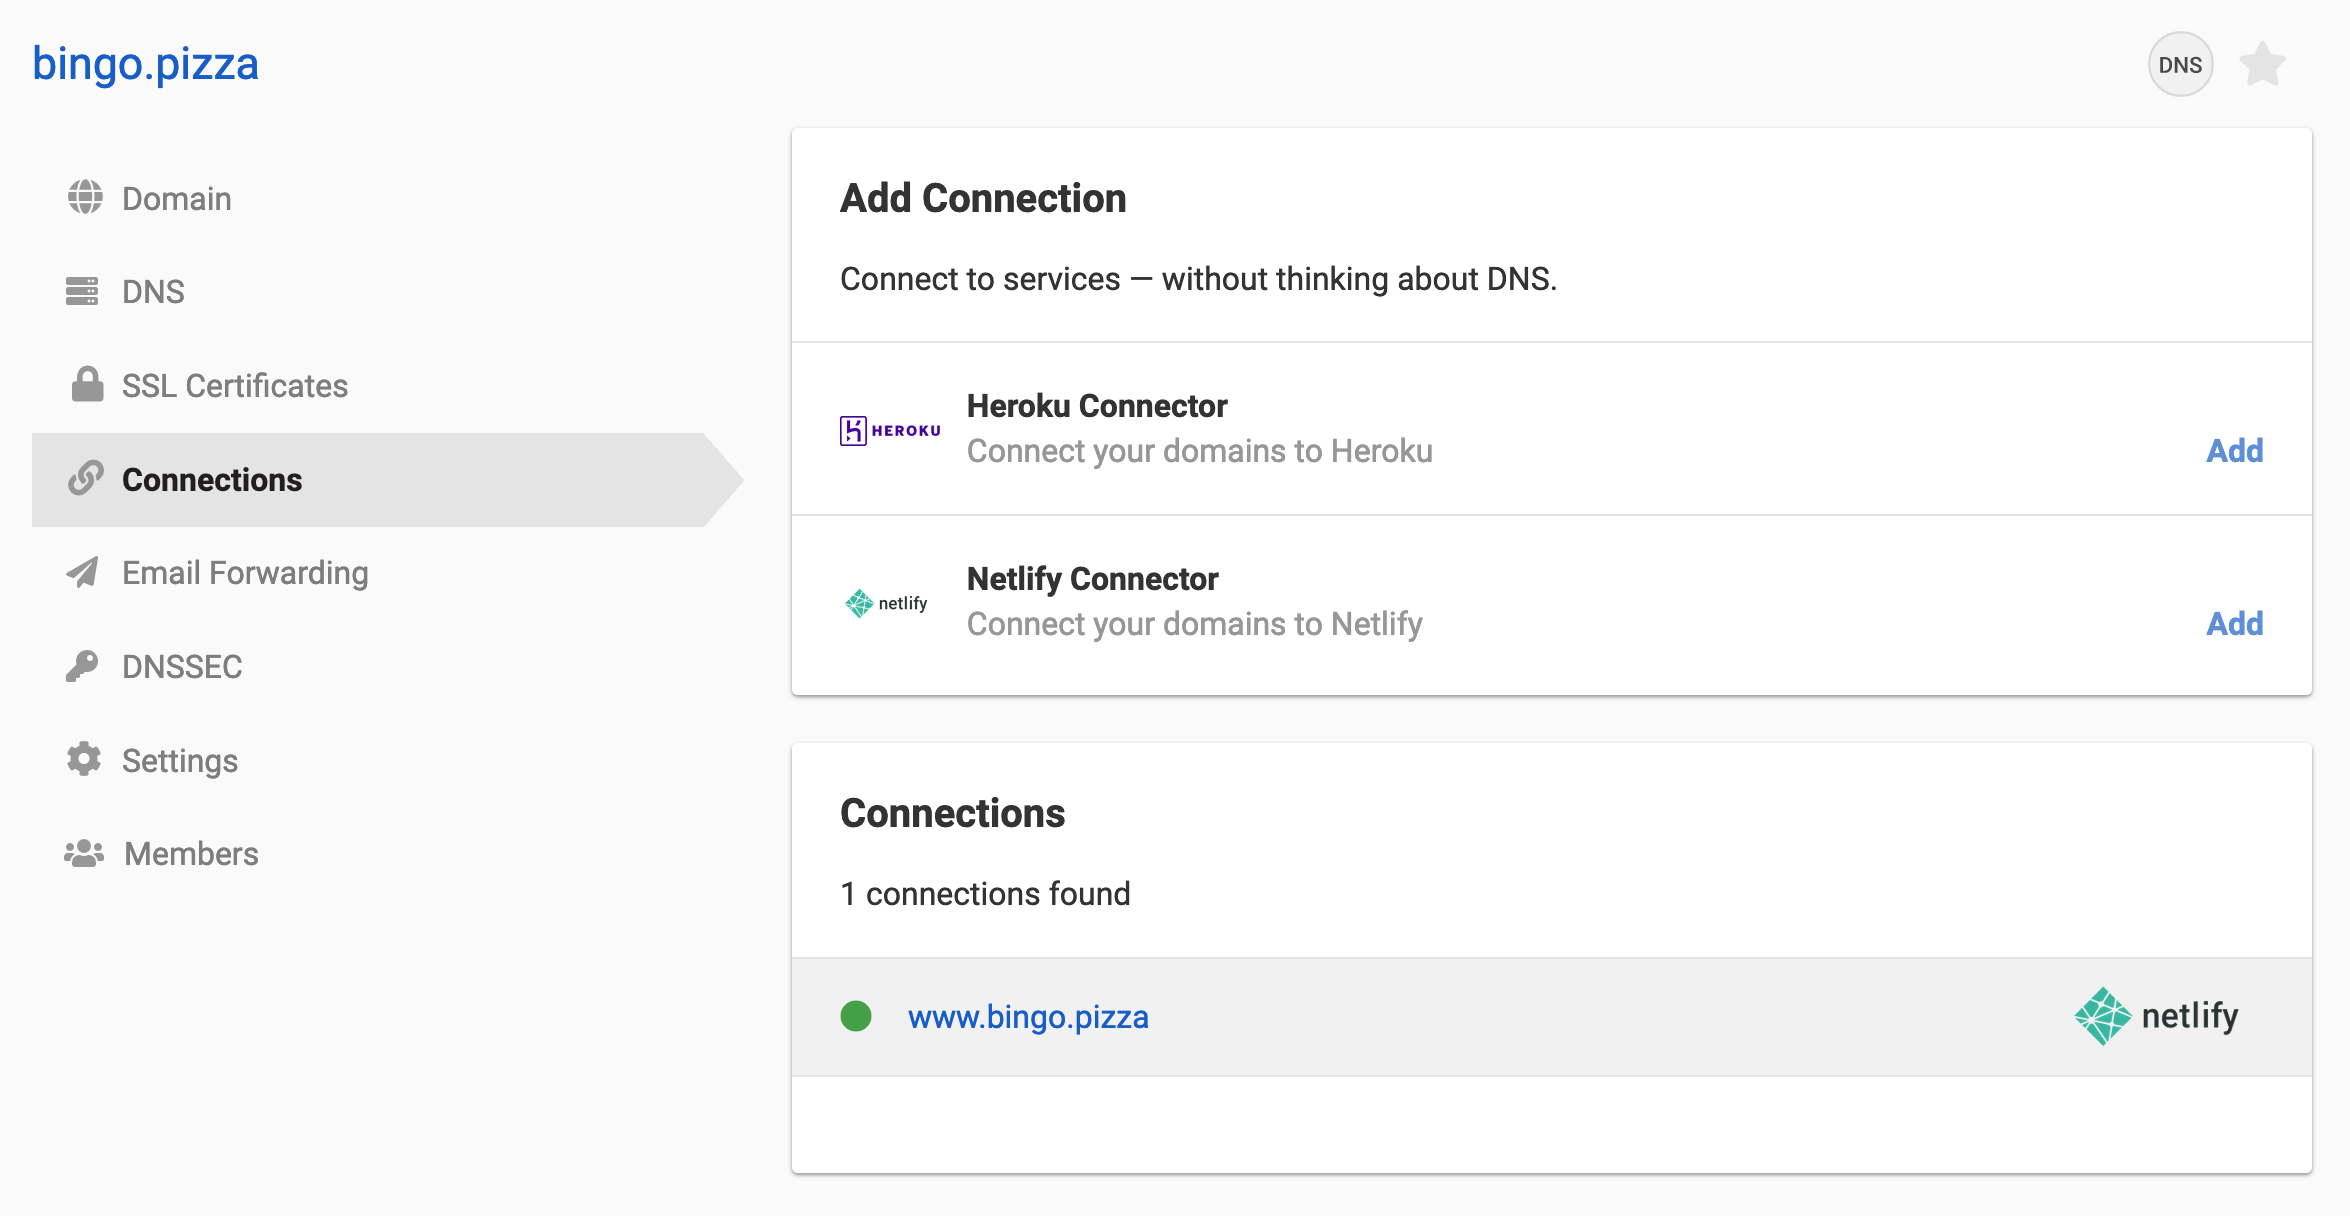
In this tab, you can view the connection’s metadata, or disconnect the Netlify connector from your domain. If you need to establish additional Netlify sites for the domain, click Add, and repeat the process.
Connection monitoring
Connections are checked regularly to ensure the connection is still established. If the connection is broken, either from removing DNS records or changing the Netlify configuration, an email is sent to your DNSimple account email. The email includes instructions for fixing the connection and a link to the page where the domain can be reconnected to the Netlify application.
Have more questions?
If you have any questions, or need assisstance connecting your domains to Netlify, just contact support, and we’ll be happy to help.