How to Install an SSL Certificate on Heroku
Table of Contents
With DNSimple you can request an SSL certificate that you can install on Heroku to enable HTTPS on your Heroku application. DNSimple also provides the ALIAS feature that is necessary if you want to point your root domain to Heroku, as explained in the official Heroku documentation.
Tip
Before you start, review information and prices about our SSL certificates. Most common questions are answered in the SSL certificates FAQ.
Obtain the SSL Certificate
If you have not already purchased an SSL certificate, follow the guide to ordering an SSL certificate. Once the certificate has been issued, return to this page for the installation steps.
Install the SSL Certificate on Heroku
Steps to install the certificate on Heroku
- Log into DNSimple with your user credentials.
- If you have more than one account, select the relevant one.
- On the header menu, click the tab, locate the relevant domain, and click on the name to access the domain page.
- Select the SSL Certificates tab and click on the certificate you want to install.
-
Click .
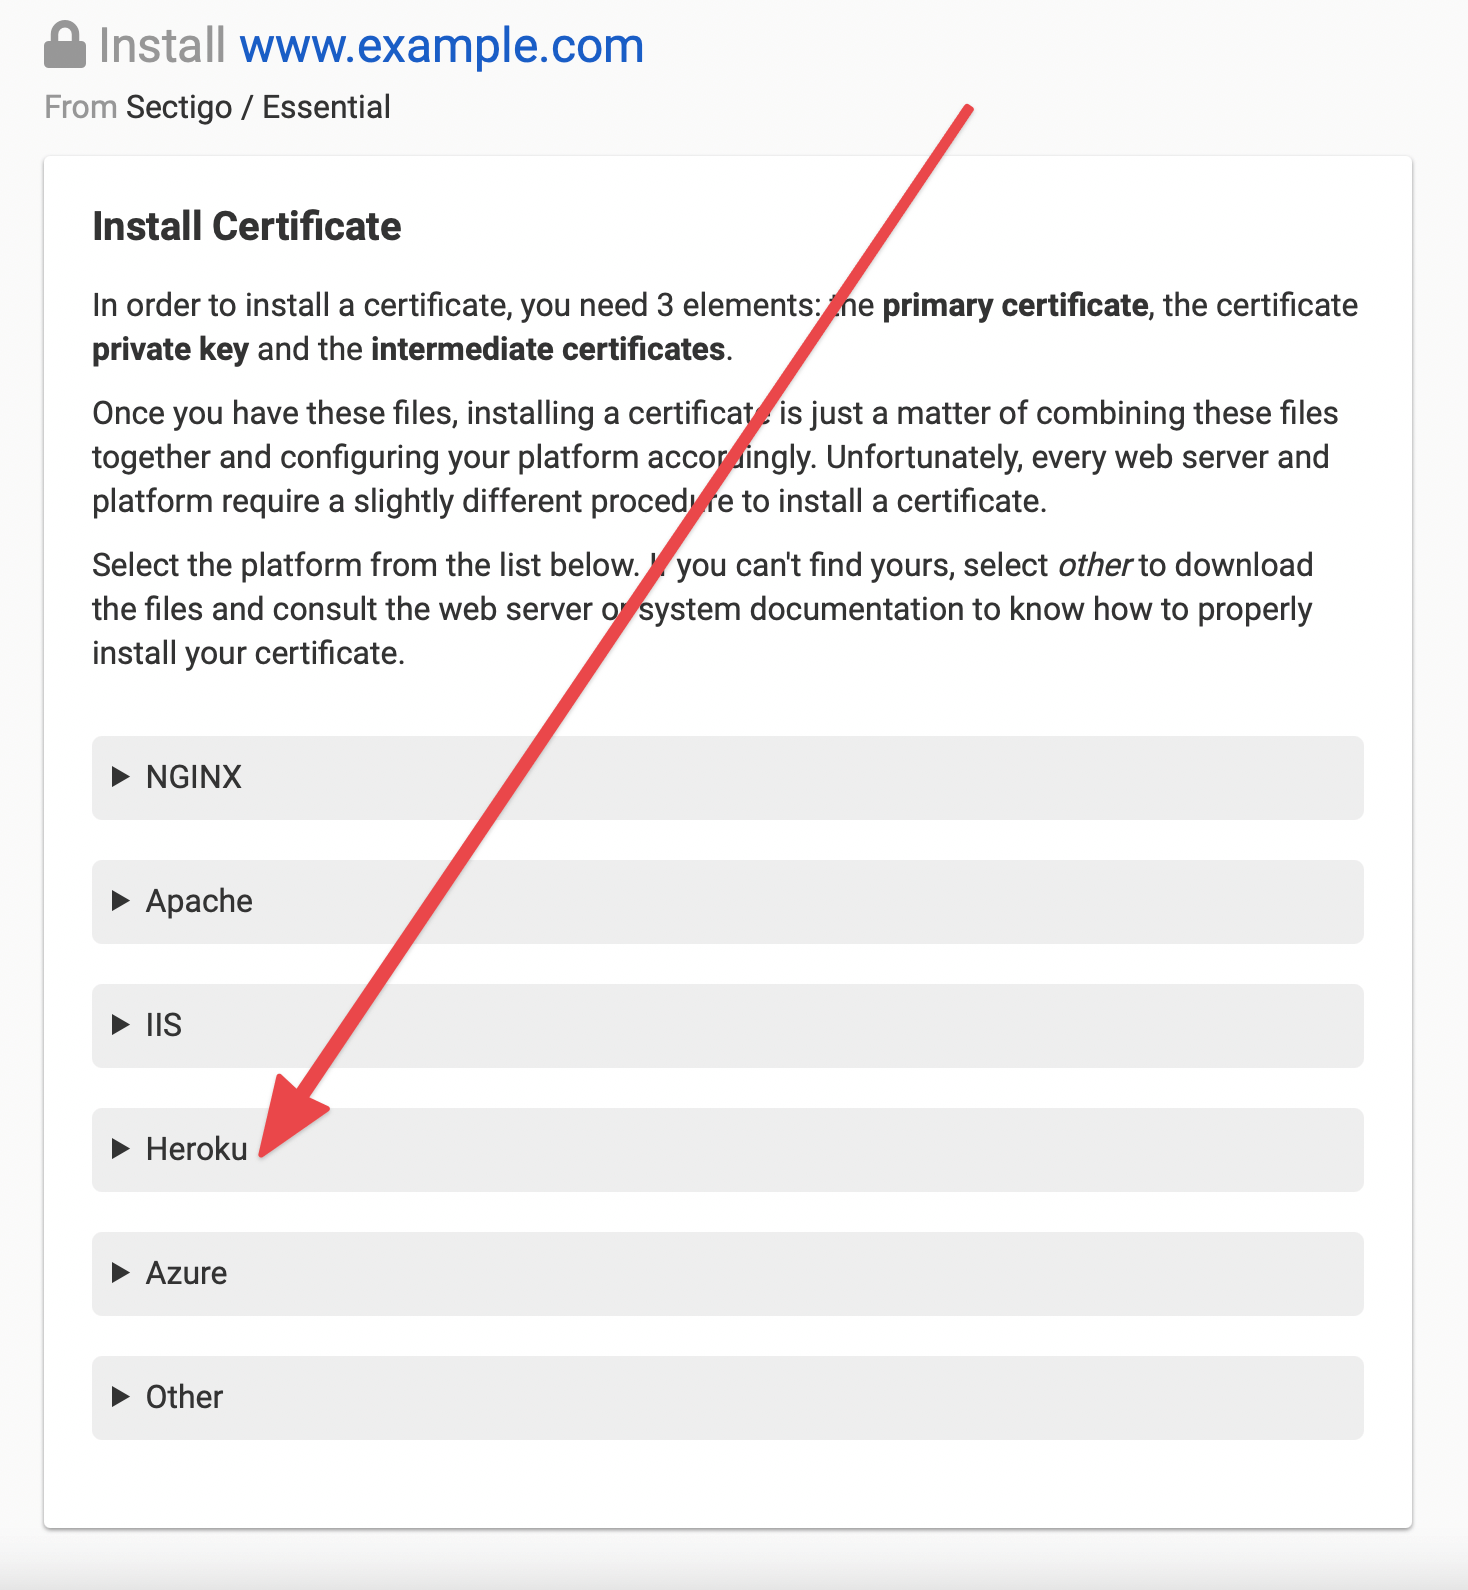
- Click the Heroku section in the installation wizard.
- Follow the instructions presented by the wizard, which will provide the certificate files and Heroku CLI commands you need.
- Use the Heroku CLI to upload the certificate and private key to your Heroku application.
- Verify that your DNS records point to the correct Heroku SSL endpoint (ending in
herokudns.comorherokussl.com), not the genericherokuapp.comendpoint.
Note
If you encounter SSL errors after installation, see Troubleshooting Heroku SSL Errors for common issues and solutions.
Have more questions?
If you have additional questions or need any assistance installing your SSL certificate on Heroku, just contact support, and we’ll be happy to help.