Changing Email
Changing the user email
-
Go to your user page by clicking the account switcher at the top-right corner of the screen, then select .

-
In your user settings, select .
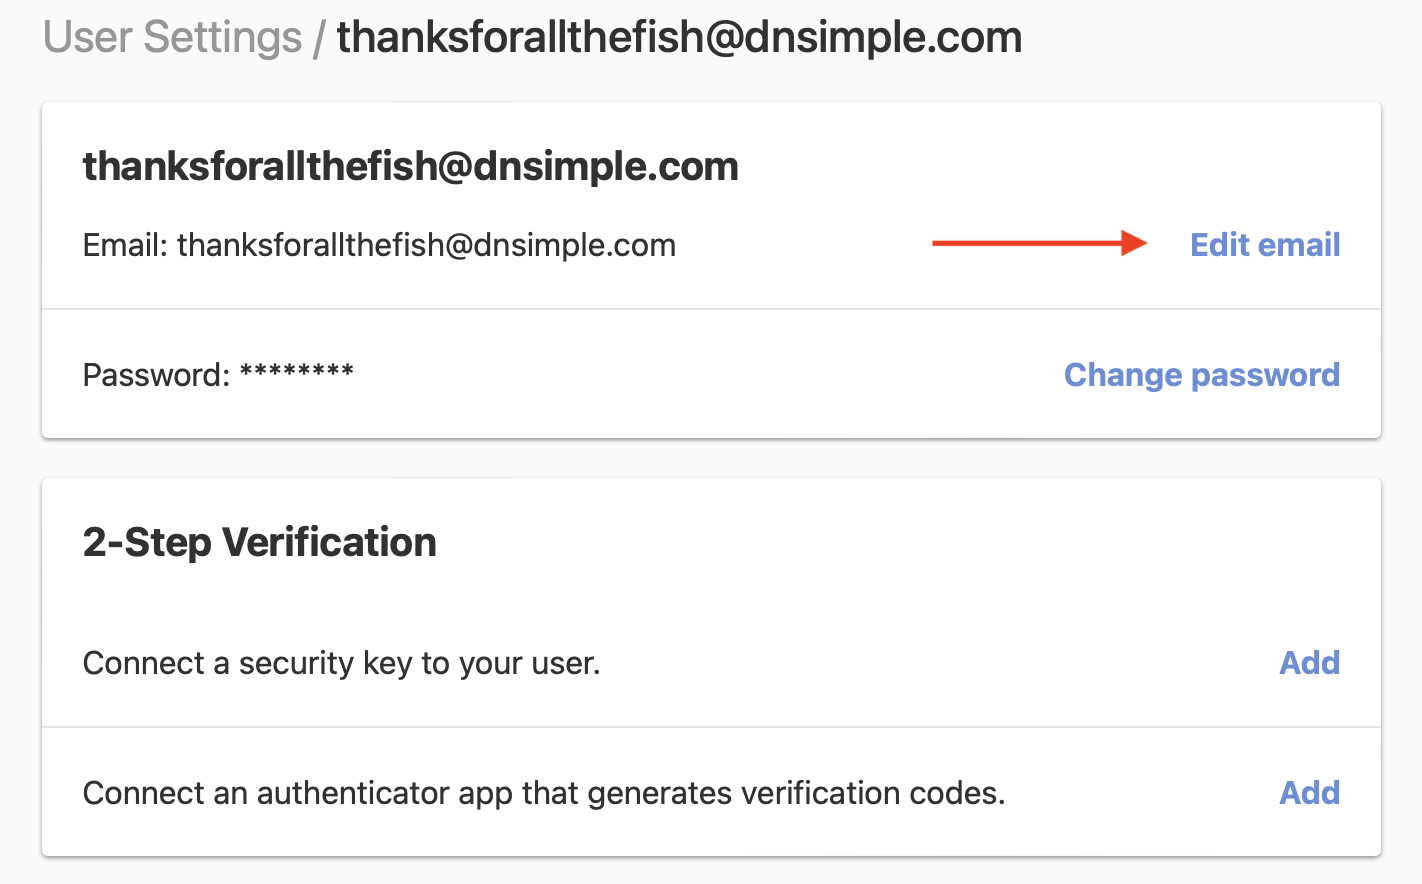
- Enter your current password and the new email address.
-
Confirm your new email, and click .
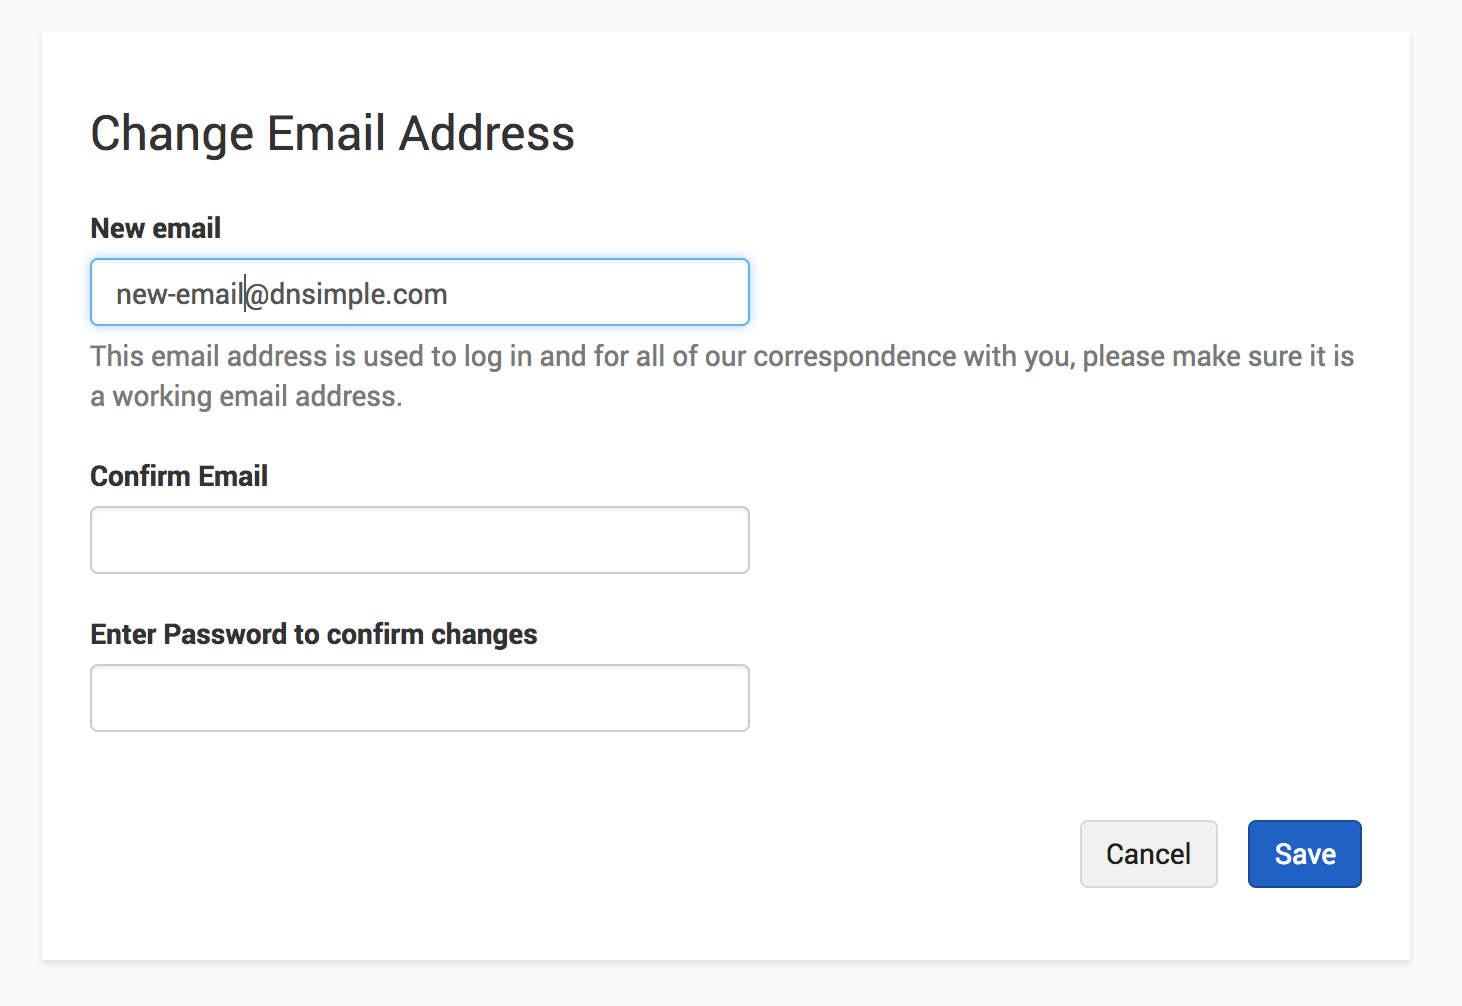
-
A verification email will be sent to the new address. Your email address will not change until you complete the verification process.
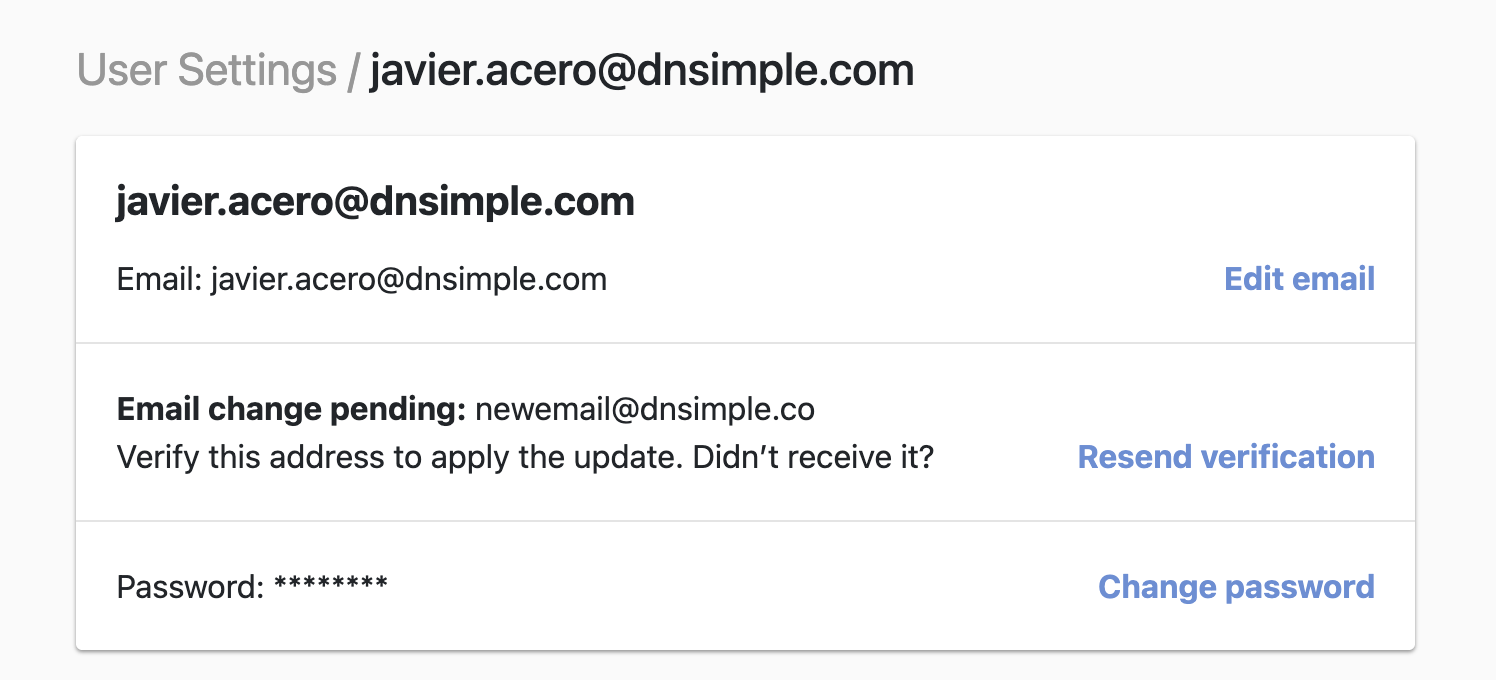
- Open the verification email and click the link to confirm the new address. Once verified, your email address will be updated.
Note
Your current email address remains active and fully functional until the new one is verified. If you haven’t received the verification email, you can request a new one from your user settings page. Verification links expire after 7 days — if yours has expired, requesting a new one will send a fresh link.
Setting or Changing the notification email
- Go to the in the upper right-hand corner of the page.
- Click on the gear icon next to the account you wish to set or change the notification email for.
-
Click on the Notification card.
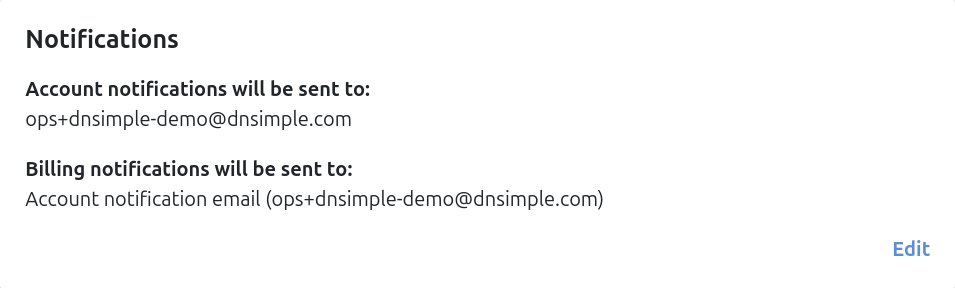
-
Enter the email you would like all account notifications to go to.
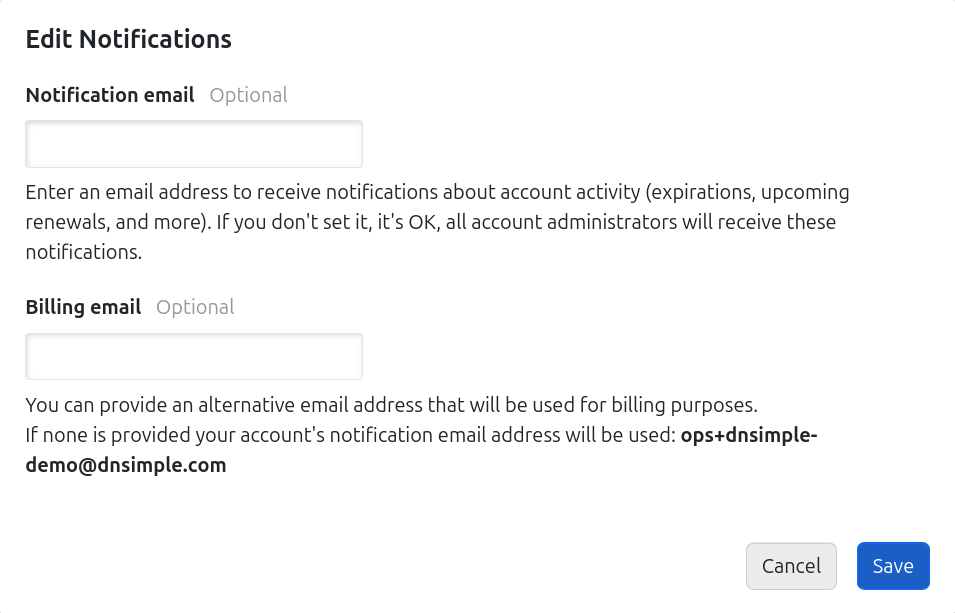
- Click to save changes.
Note
If you do not set a notification email, all admins on the account will receive the notifications by default. If you are on an eligible plan, you can also set a billing email in the billing email field shown above, or from the billing settings page.
Have more questions?
If you have more questions or need any assistance changing your account or user-specific email address, contact us, and we’ll be happy to help.