Rackspace Email One-click Service
Last updated
Table of Contents
Rackspace Email provides hosted email. The Rackspace Email one-click service adds two MX records, to mx1.emailsrvr.com (priority 10) and mx2.emailsrvr.com (priority 20), and a CNAME record for autodiscover, which helps email clients find their settings.
Add the domain in Rackspace first
Add the domain in Rackspace Email before you apply the service, and keep DNSimple as its DNS host. See Rackspace’s guide to adding domains.
Add the Rackspace Email service
To add the Rackspace Email service
- From the domain list, click the domain name.
- Click the tab on the left side.
-
In the card, click , or if the domain already has a service.
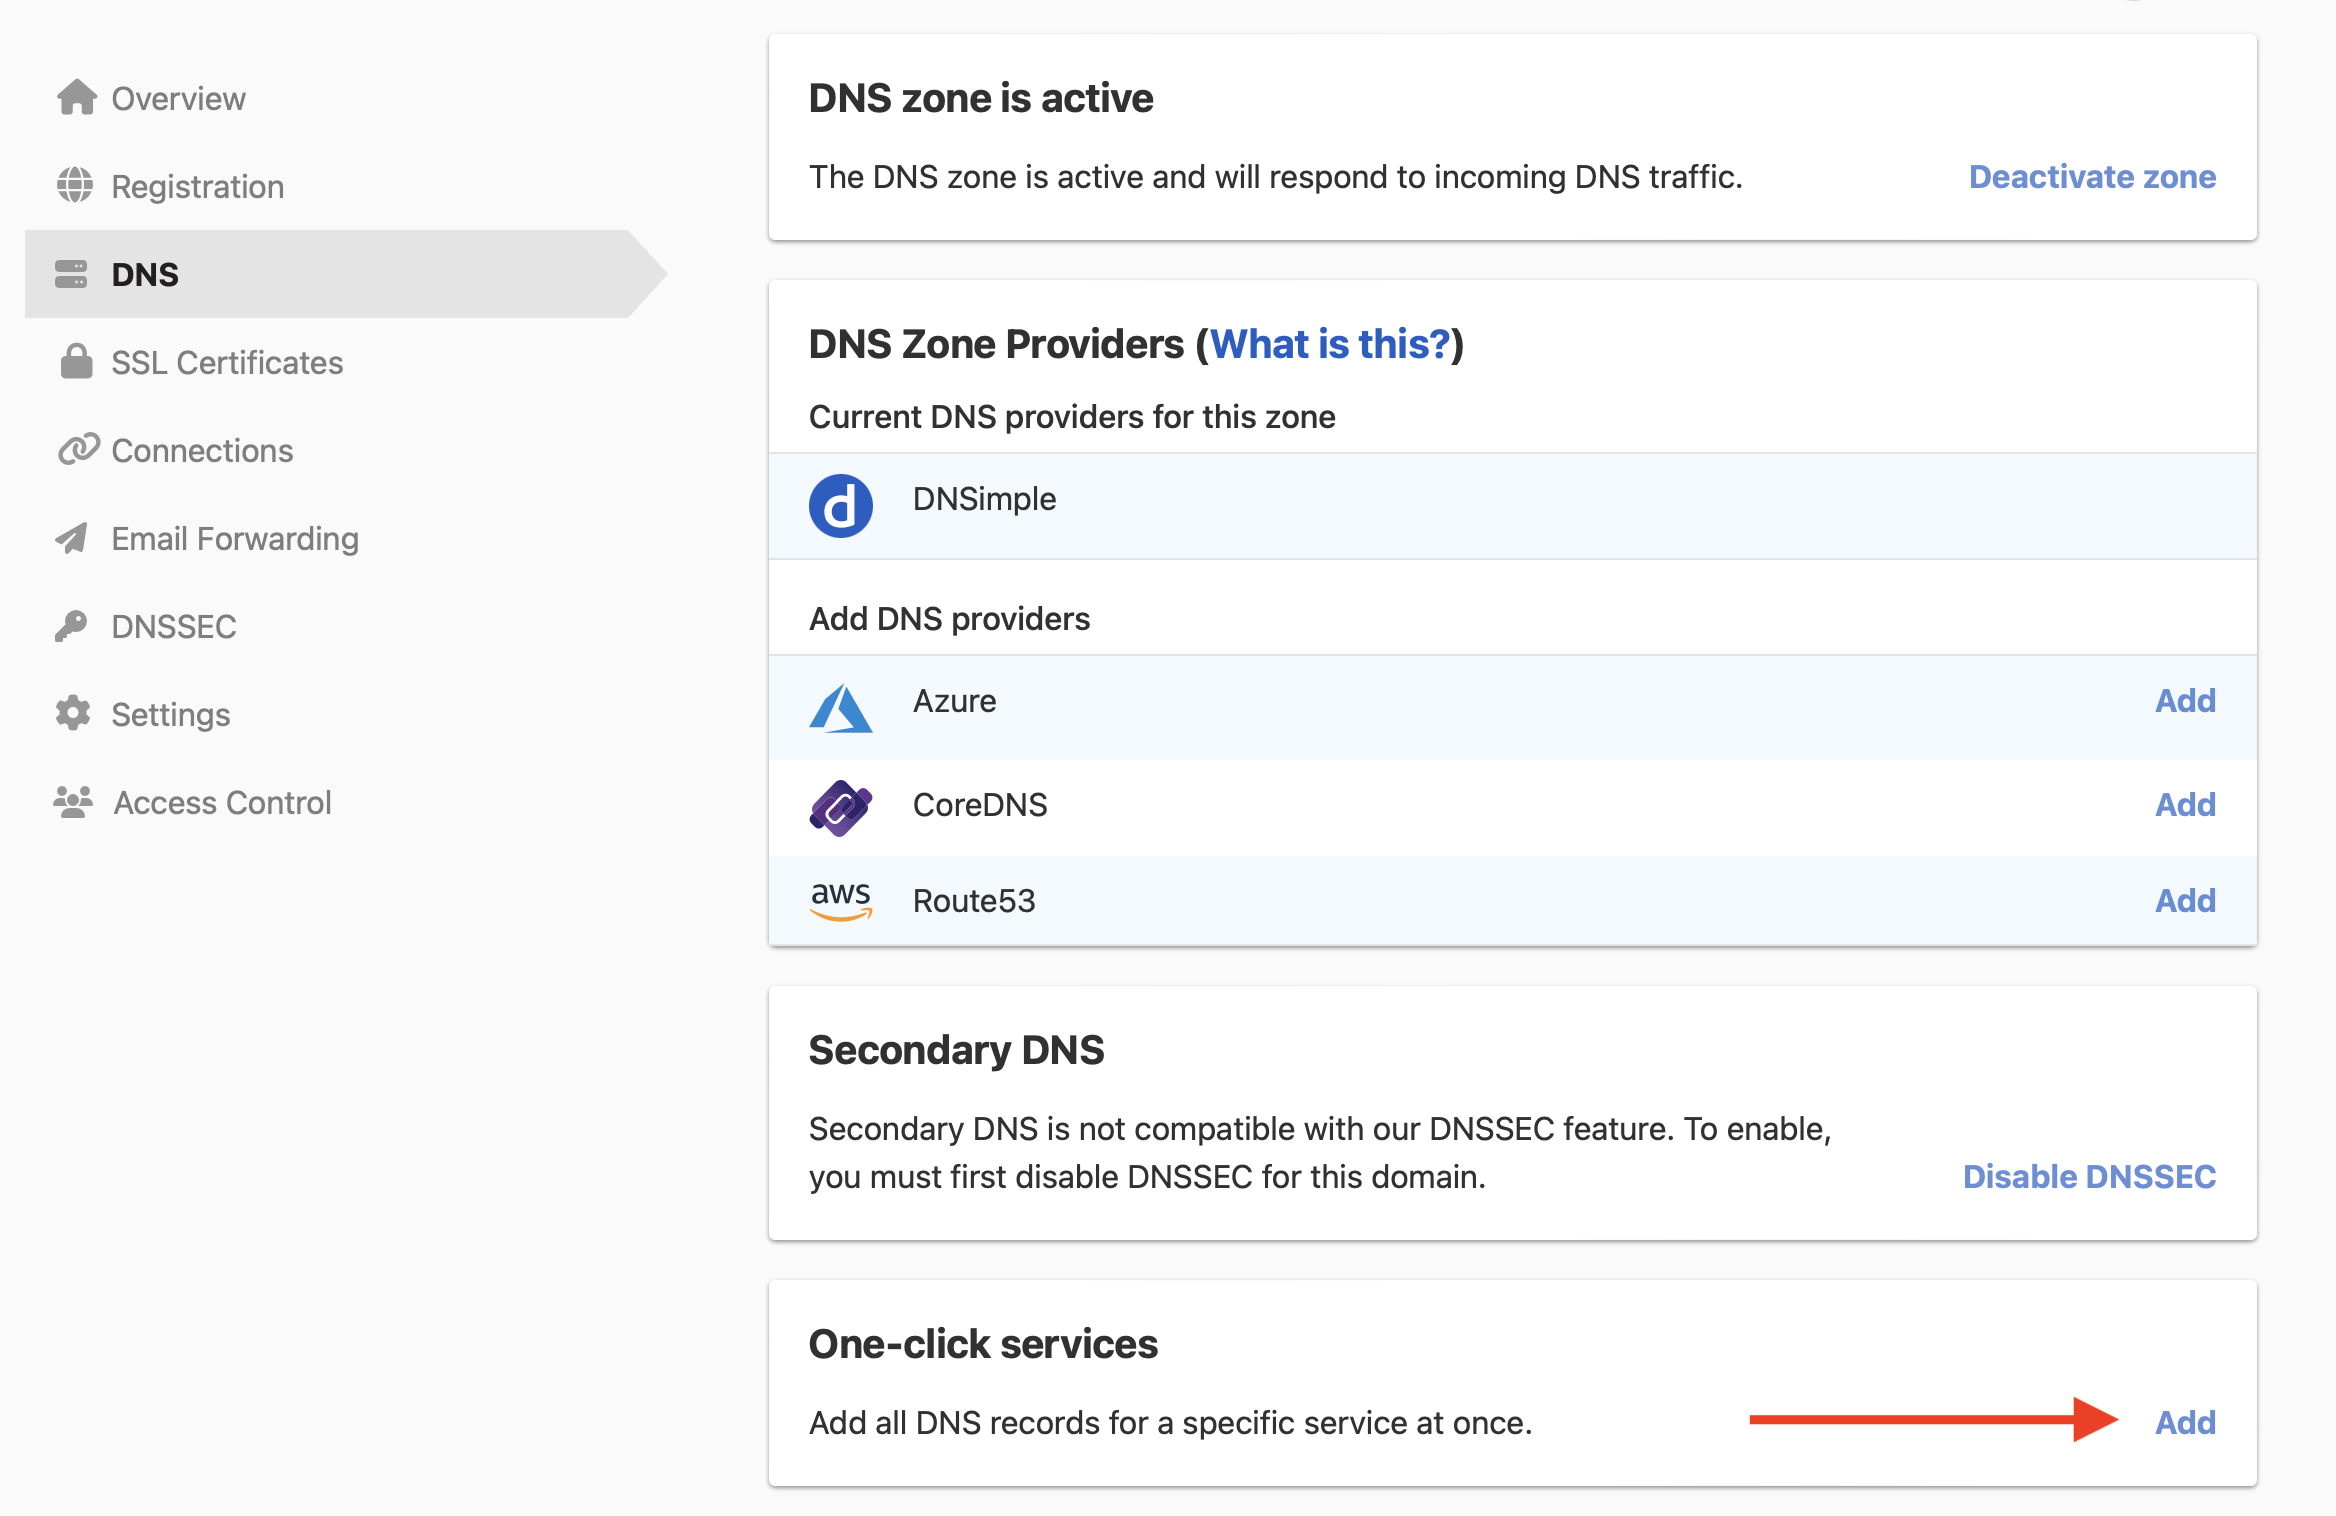
-
Click the tab, and click next to Rackspace Email.

The service has no setup form, so DNSimple adds the records as soon as you click .
Warning
The service’s MX records send all email for example.com to Rackspace Email. If the domain already has MX records for another provider, mail goes to the record with the smaller priority number first. Keep only the MX records for the provider you use. See Managing MX Records When Changing Email Providers.
Rackspace also recommends an SPF record, v=spf1 include:emailsrvr.com ~all, which the service does not add. See Set Up SPF Records and Rackspace’s DNS record definitions. To check the MX records afterward, use Google’s Check MX tool. To remove the service later, see Remove a one-click service.
Have more questions?
If you have additional questions or need any assistance with the Rackspace Email service, contact support, and we’ll be happy to help. You can also read more about DNSimple integrations.