How to Reissue a Sectigo SSL Certificate
Table of Contents
- When to reissue a certificate
- How the reissue works
- Step 1: Request the reissue
- Step 2: Approve the reissue email from Sectigo
- Step 3: Confirm the approval in DNSimple
- Step 4: Install the new certificate
- Have more questions?
Reissuing (also called re-keying) a Sectigo SSL certificate replaces its private key and CSR and gets you a new certificate from the certificate authority, without buying a new one. You request the reissue in DNSimple, approve it from the Sectigo validation email, and then confirm the approval in your DNSimple account. The reissue cannot be completed until you do that last step.
Note
This article applies only to Sectigo certificates. Let’s Encrypt certificates cannot be reissued. If you need to replace a Let’s Encrypt certificate, order a new Let’s Encrypt certificate instead. Let’s Encrypt has rate limits, so only request a new certificate when you need one.
When to reissue a certificate
Reissue your certificate if:
- Your private key has been compromised
- You lost the private key for the certificate
- You need the certificate signed with a different key type, such as switching from ECC to RSA
Your current certificate keeps working while the reissue is in progress.
How the reissue works
A reissue has four steps, and all four are done by you. Between them, our support team submits your request to Sectigo and completes the reissue once Sectigo issues the new certificate.
- Request the reissue from the certificate page in DNSimple.
- Approve the reissue by clicking the link in the validation email from Sectigo.
- Confirm the approval in DNSimple on the reissue status page.
- Install the new certificate once DNSimple emails you that it has been reissued.
Reissues are handled manually by our support team. Depending on the certificate authority, a reissue can take anywhere from a few hours to several days. See how long it takes to issue an SSL certificate for the factors involved.
Step 1: Request the reissue
To request a certificate reissue
- Log into DNSimple with your user credentials.
- If you have more than one account, select the relevant one.
- On the header menu, click the tab, locate the relevant domain, and click on the name to access the domain page.
-
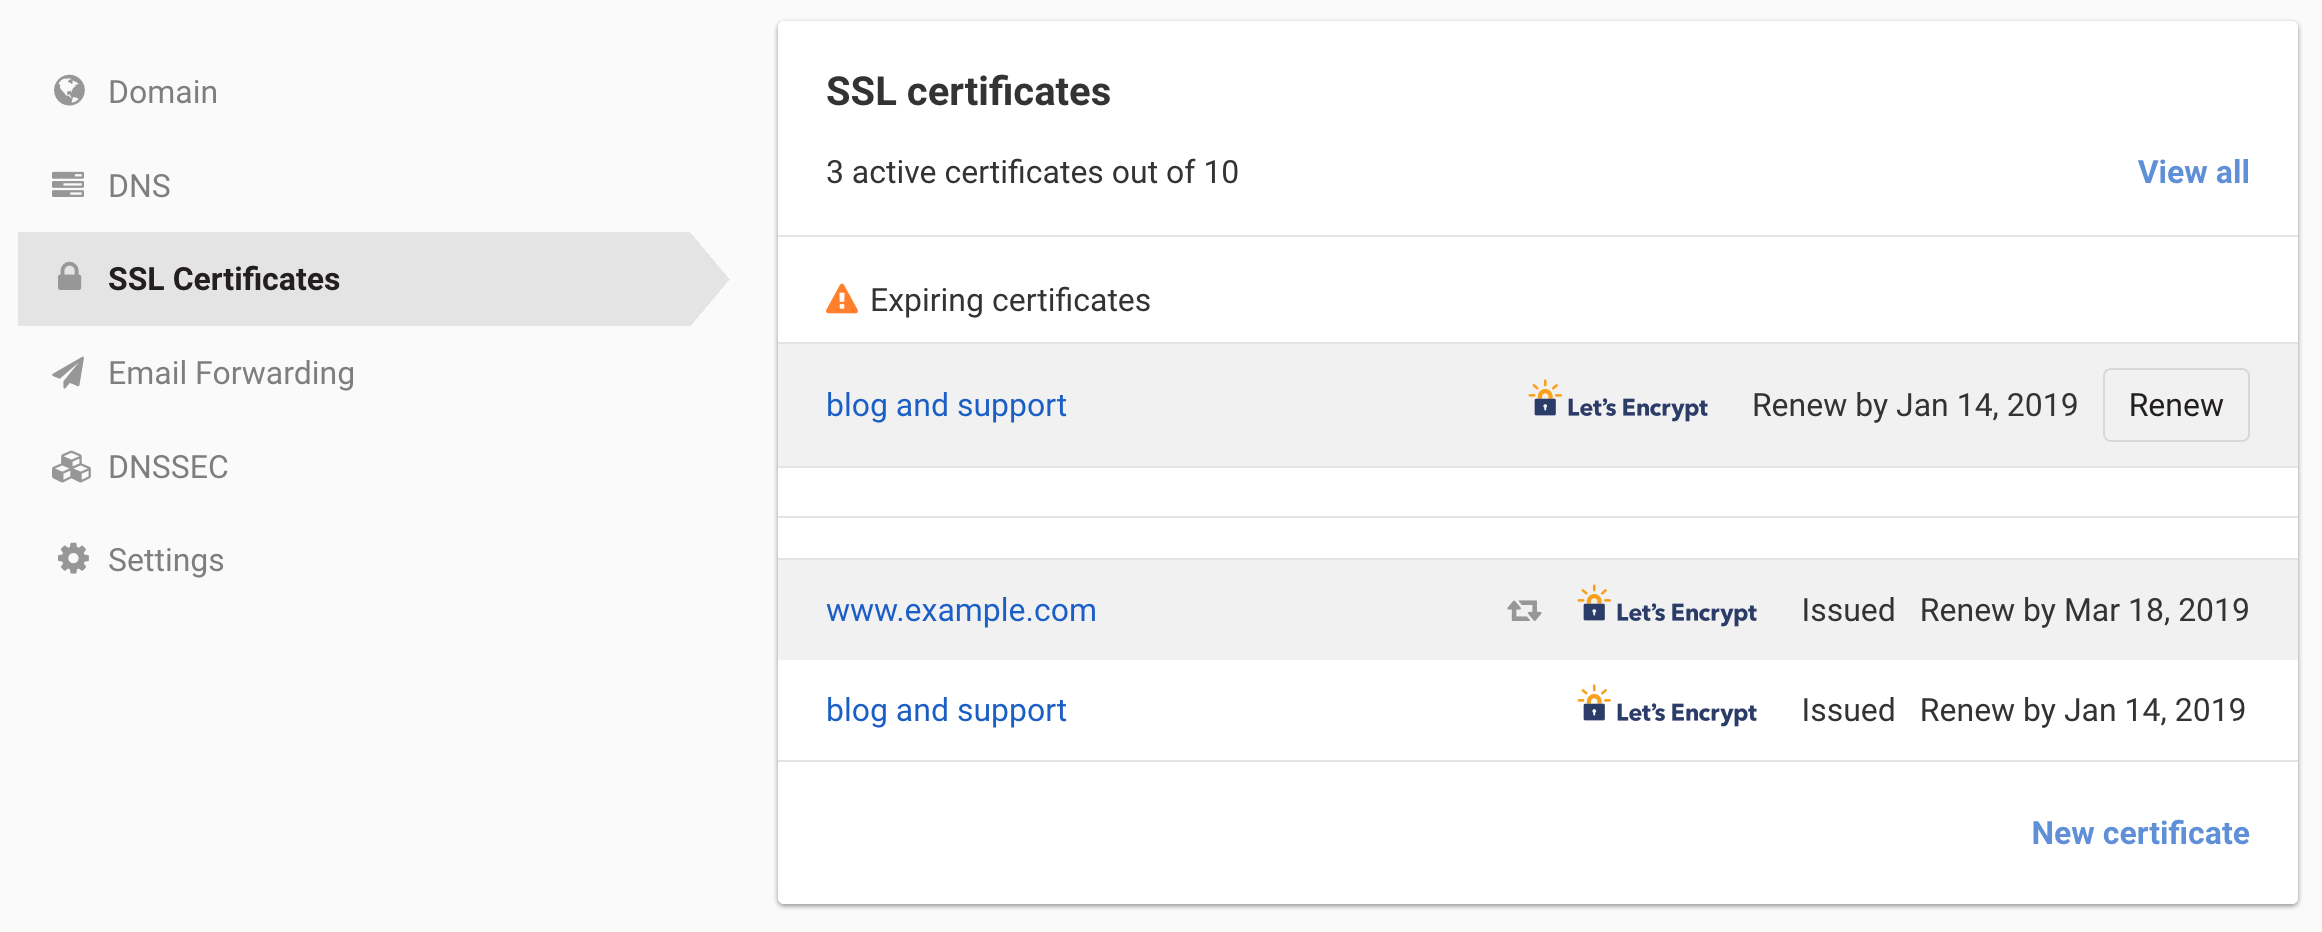
Select the tab and click on the certificate.
-
On the certificate page, click .

If you do not see , the certificate is not in a state that can be reissued. For example, it has not been issued yet or it has expired.
- In , briefly explain why you are reissuing the certificate, such as “I lost the private key.”
- Check the . This is where Sectigo will send the approval email in the next step.
- Under , choose a key type for DNSimple to generate, or choose to provide your own CSR.
- Click .
Step 2: Approve the reissue email from Sectigo
After we submit your request to Sectigo, Sectigo sends an approval email to the validation email address shown on the reissue form. Open it and click the link to validate the certificate, the same way you did for the original order.
Warning
Most stuck reissues are waiting on this email. Watch the validation email inbox and make sure you click the approval link.
Step 3: Confirm the approval in DNSimple
Approving the Sectigo email is not enough on its own. You also need to tell DNSimple that you approved it. Until you do, we cannot complete the reissue, and your new certificate will not appear in your account.
To confirm you approved the reissue
- Go to the certificate page, as in Step 1.
- Click next to “Check reissue status for this certificate.” You can also click the link in the notice at the top of the certificate page.
- On the reissue status page, check that the is . The confirmation button only appears in this status.
- Click .
The status changes to . Once Sectigo has issued the new certificate, we complete the reissue and DNSimple emails you to let you know the certificate has been reissued.
Warning
Only click after you have clicked the approval link in the Sectigo email. Do not confirm before approving.
Step 4: Install the new certificate
When the reissue is complete, the new certificate is available on the certificate page. What you install with it depends on the private key option you chose in Step 1:
- DNSimple generated the key: The new private key is also on the certificate page. The old private key is replaced and is no longer available in DNSimple, so download the new one.
- You provided your own CSR: DNSimple does not have your private key, so there is no key to download. Use the private key you generated along with your CSR.
Install both the new certificate and the matching private key on your server, replacing the old ones. Use the installation wizard on the certificate page for server-specific instructions.
Have more questions?
If you have any questions or need assistance, contact support, and we’ll be happy to help.