Transfer a Domain to Another DNSimple Account
Table of Contents
- Initiating a transfer
- How the recipient can find their account identifier
- Completing the transfer
- Accepting a transfer
- Rejecting a transfer
- Have more questions?
Note
This article discusses how to transfer domains internally from one DNSimple account to another. This is different from transferring a domain away. To transfer a domain away from DNSimple, see this article.
You can transfer a domain between DNSimple accounts any time via the DNSimple interface. Billing responsibility will be transferred to the new domain account once the move is accepted. Transferring a domain to another account will transfer all associated resources, like DNS records, SSL certificates, and email forwards.
If the domain uses domain trustee, the push flow may only prompt for extended attributes that still apply under that trustee configuration.
Working with a Reseller? Follow the steps outlined here to gain access to your account. If you cannot find a domain in your account, see I Can’t Find My Domain.
Warning
Once the transfer is accepted, anyone who previously had access to the domain in your account will no longer be able to manage the domain. When transferring a domain to another DNSimple account, the domain’s registrant information will be updated to reflect the new account. This may result in the domain being locked from external transfers for 60 days.
Initiating a transfer
Note
Once the domain is transferred, you can no longer control it under your current account.
- Click on the relevant domain.
- Click the Settings tab on the left side.
- In the Move domain to another DNSimple account card, click Move.
You will be prompted to enter the destination account identifier of the account that will receive the domain.
How the recipient can find their account identifier
- Open the account switcher in the top-right corner and select the correct account.
- From the account switcher, click Account Settings.
- On the left, make sure General is selected.
- The Account Identifier appears in the Account card on the right, under the account name and notification email. They should copy that value and share it with you
Completing the transfer
- Enter the destination account identifier.
- Click Move domain.
- A banner will appear confirming the request to push the domain.
Warning
Make sure to correctly enter the account identifier. Once the transfer has been initiated, you will not be able to cancel the transfer on your own if the identifier is incorrect. If the identifier is wrong, and you need to cancel the transfer, you will have to contact support for assistance.
Accepting a transfer
If another DNSimple account holder (this includes Resellers) attempts to push a domain into your account, you have to accept it before it will be added. You will receive a notification on your domain list and an email to the account email address indicating the pending push.
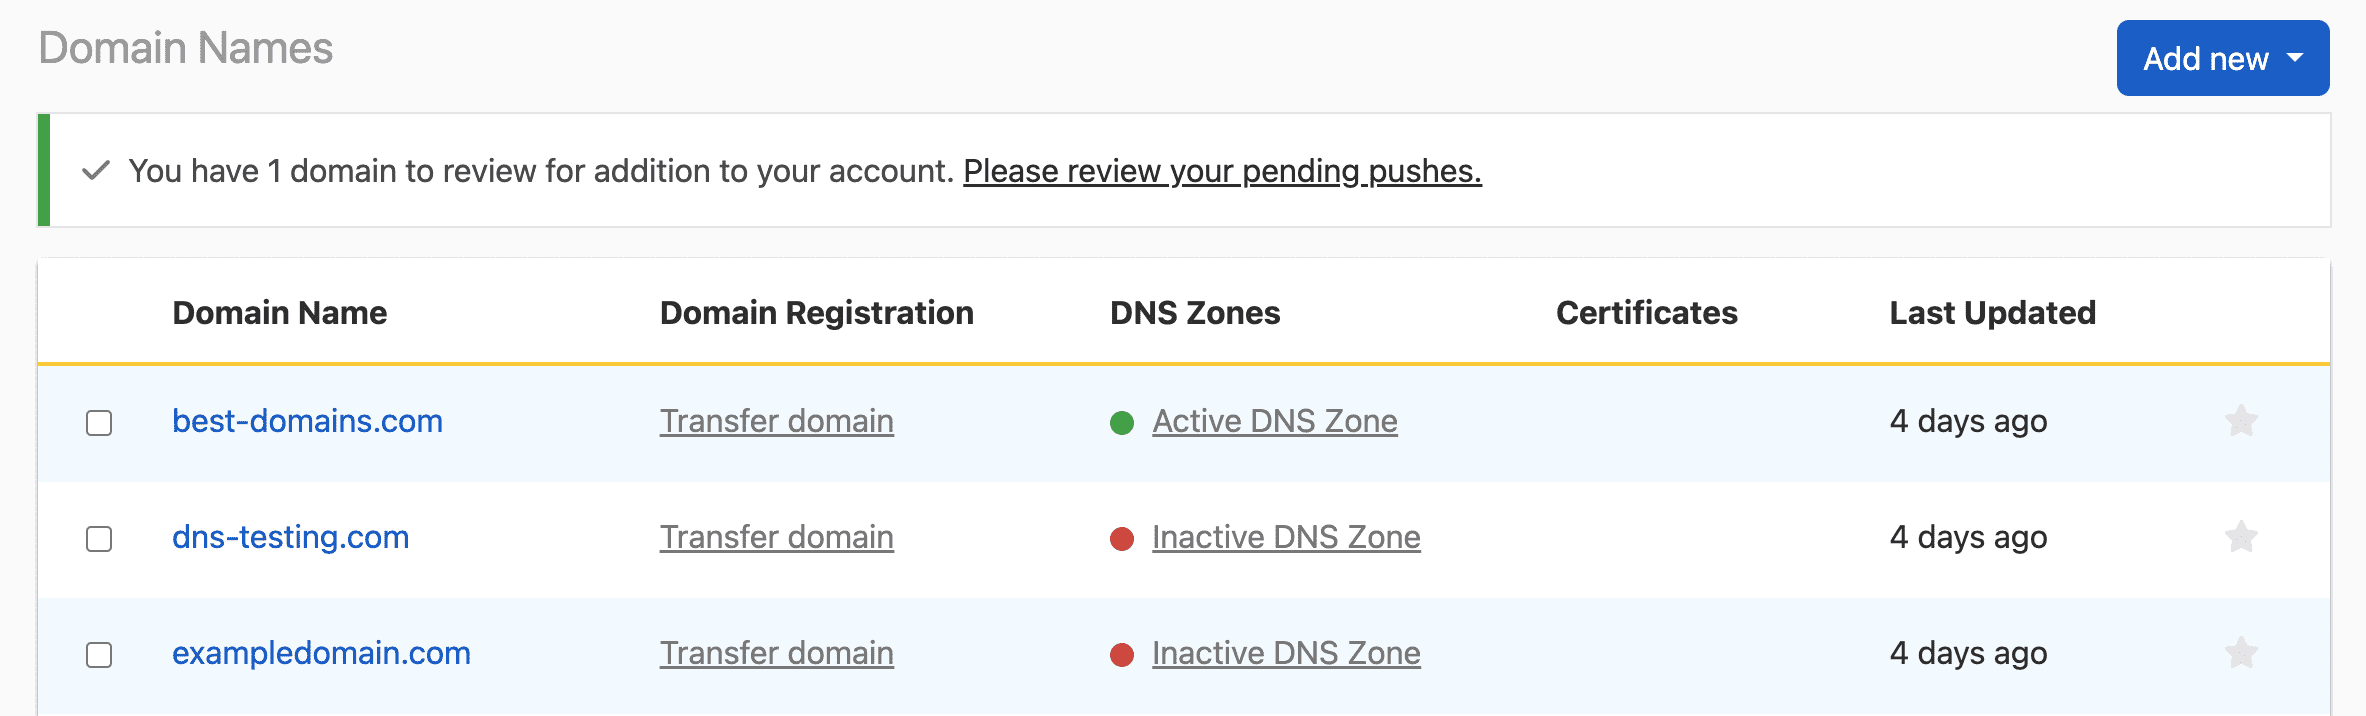
When you review your pending pushes, you will see a list with options to Accept or Reject the domain(s).

Click Accept. You will be prompted to assign a contact to the domain — this will typically be you or someone on your team. You can choose an existing contact or create a new one. After you have assigned a contact, the domain will be transferred to your account. From there, you can configure it as needed.
Rejecting a transfer
To reject a transfer, click the Reject on the list of pending pushes, and confirm that you want to reject the push.
Note
If you reject a transfer request, the domain will remain in the possession of the original owner.
Have more questions?
If you need any assistance transferring domains to other DNSimple accounts or have more questions, just contact support, and we will be happy to help.