Enabling DNSSEC
If you’re new to DNSSEC, start with What Is DNSSEC? to understand what DNSSEC is and how it works. For a comprehensive overview of DNSSEC at DNSimple, see DNSSEC at DNSimple.
Prerequisites
- The DNS resolution service must be enabled for your zone.
- DNSimple as Secondary DNS cannot be enabled on the zone. You can read more about it in our Why DNSSEC and Secondary DNS May Not Work Together.
Enable DNSSEC
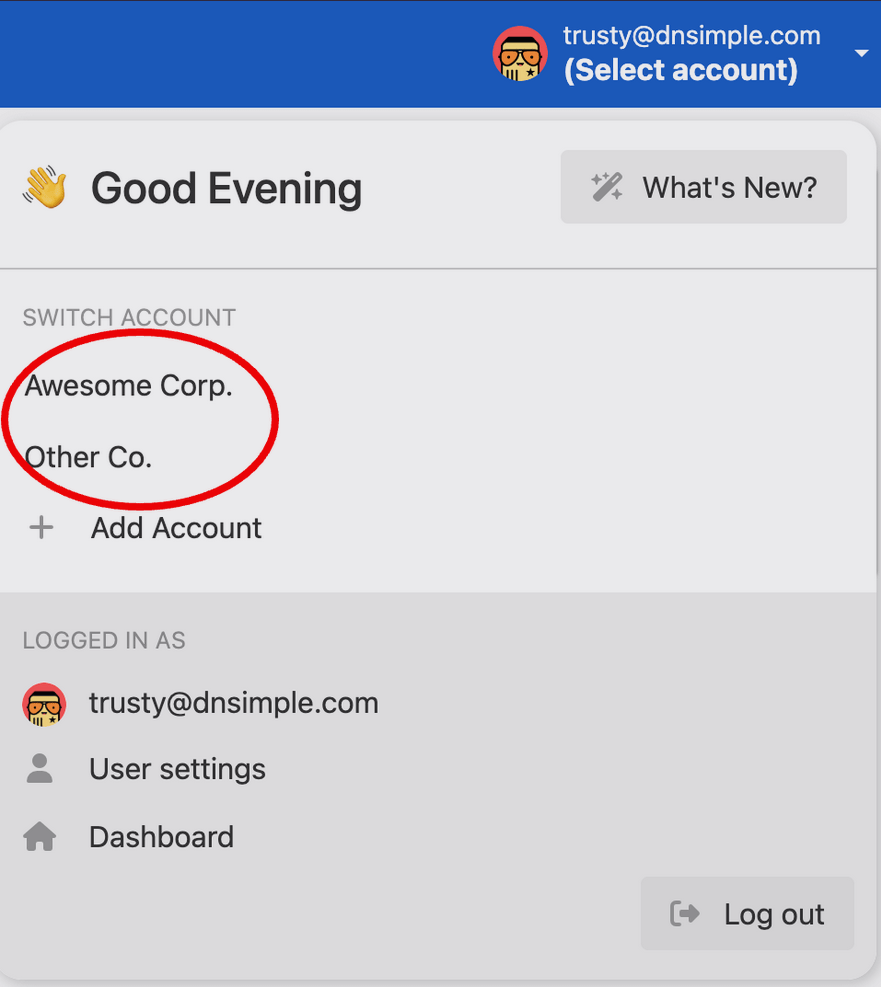
- Use the account switcher at the top of the page to select the appropriate account.
- In your Domain Names list, click the name of the domain you want to enable DNSSEC on.

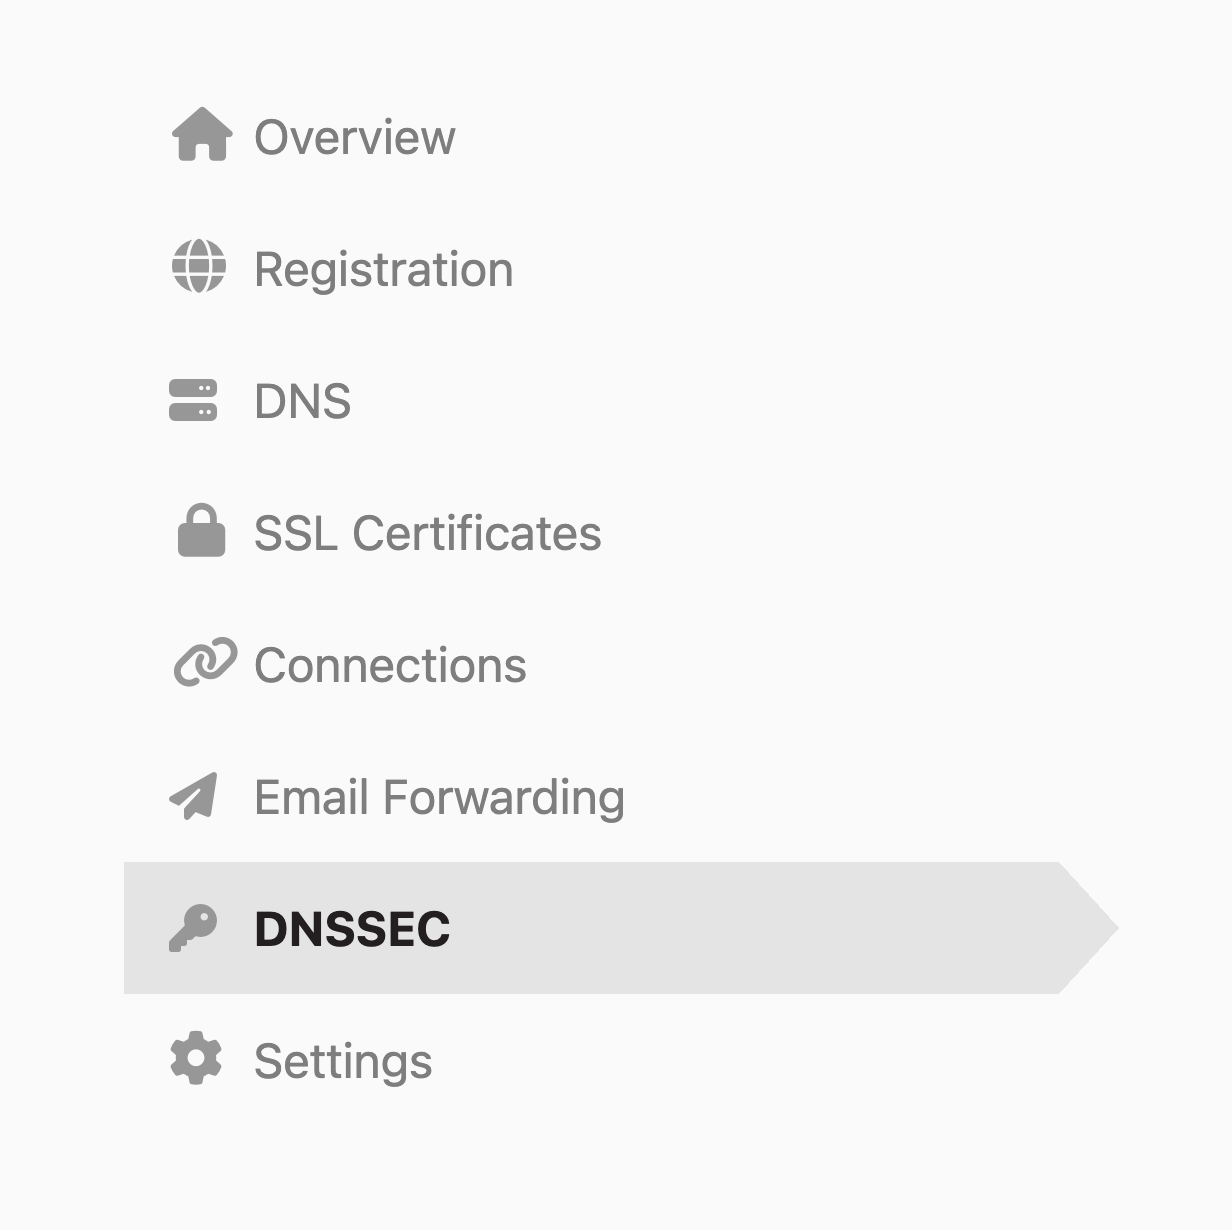
- Click the DNSSEC tab on the left side.
- On the Configure DNSSEC card, click Configure.

- Follow the wizard instructions
Note
To see how to enable DNSSEC with the API, check out our developer documentation.
What Happens Next?
If the domain is registered with DNSimple:
- The zone will be signed automatically.
- The DS record will be provisioned directly at the registry. No additional action is needed.
If the domain is registered elsewhere:
- The zone will be signed automatically.
- You’ll receive an email with instructions to provision the DS record with your domain’s registrar. This information will also be available on the DNSSEC tab during the setup process.
Troubleshooting
If you encounter issues after enabling DNSSEC, see Troubleshooting DNSSEC Configurations for comprehensive guidance on diagnosing and resolving common DNSSEC problems.
Have more questions?
If you have any questions or need assistance enabling DNSSEC, contact support, and we’ll be happy to help.