Heroku One-click Service
Last updated
Table of Contents
Heroku hosts and runs applications. The Heroku one-click service adds an ALIAS record for the domain apex and a CNAME record for www, pointing to the DNS targets Heroku gives you.
Tip
We recommend the Heroku Connector instead. It keeps checking the connection to your Heroku app, which the one-click service does not. The service’s setup page links to the connector too.
Add the domain in Heroku first
Add both the apex and www to your app, then run heroku domains to see the DNS target for each, such as whispering-willow-5678.herokudns.com. See Heroku’s guide to custom domain names.
Add the Heroku service
To add the Heroku service
- From the domain list, click the domain name.
- Click the tab on the left side.
-
In the card, click , or if the domain already has a service.
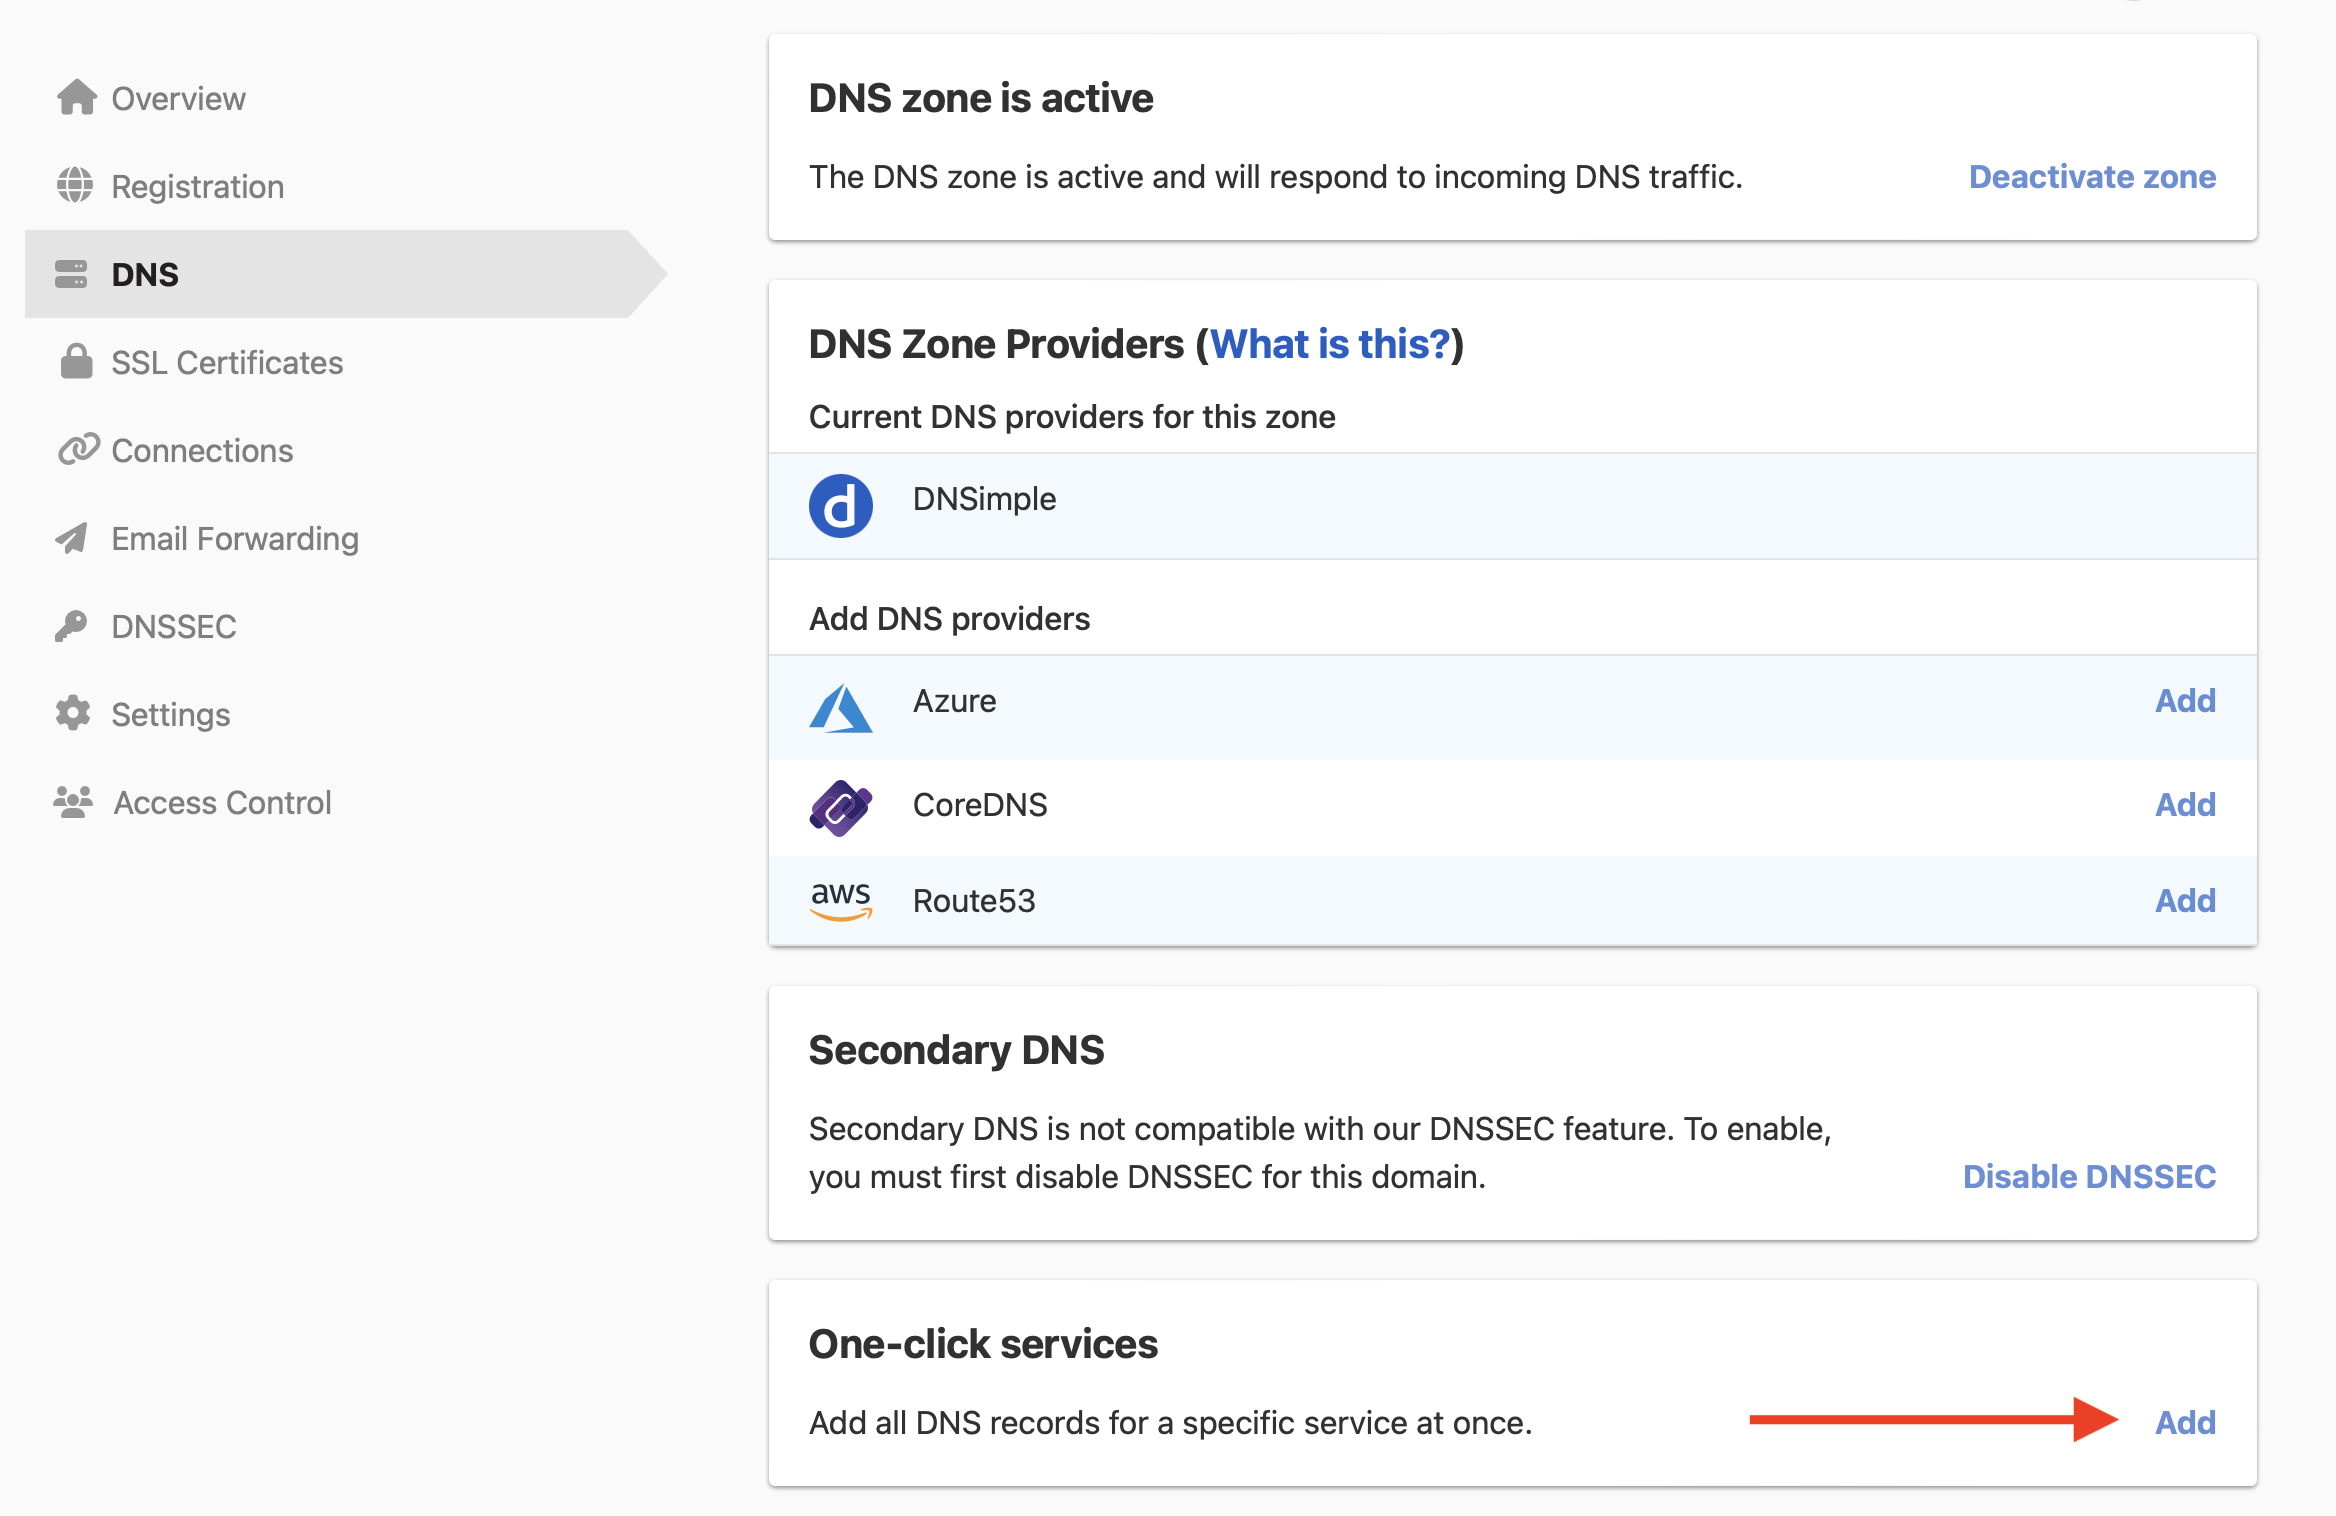
-
Click the tab, and click next to Heroku.

- In , enter the DNS target Heroku shows for the apex.
- In , enter the DNS target Heroku shows for
www. - Click .
To set up the apex yourself instead, see Pointing the Domain Apex to Heroku. To remove the service later, see Remove a one-click service.
Have more questions?
If you have additional questions or need any assistance with the Heroku service, contact support, and we’ll be happy to help. You can also read more about DNSimple integrations.