Transfer a Domain to DNSimple
Table of Contents
- Before starting
- Limitations
- Initiating the transfer
- Approving the transfer
- Transfer status
- Canceling the transfer
- After the transfer
- Have more questions?
Transferring a domain name to DNSimple is the process of moving your domain registration to DNSimple. DNSimple will act as a domain registrar, and you will be able to manage your entire domain configuration in your DNSimple account.
Before starting
Warning
To avoid the possibility of downtime, you should point the name servers for the domain to DNSimple (or another provider) before you begin the transfer. This will prevent downtime and allow you to perform changes to the DNS records during the domain transfer. You should also remove any existing DS records from your domain if you are changing DNS providers.
Limitations
- A domain can only be transferred if it was registered more than 60 days ago and has not been transferred within the last 60 days.
- It can take up to seven (7) days for a transfer to complete, depending on the domain’s Top Level Domain (TLD). To learn more about how to avoid downtime during this period, check out this article.
- Expired domains can be transferred as long as the domain is still in its grace period and has not entered the redemption period. This applies to ICANN generic top-level domains (gTLDs); country code TLDs (ccTLDs) may have different rules.
- WHOIS privacy may prevent the proper delivery of the transfer approval email. You will need to turn the WHOIS privacy service off before starting the transfer.
Initiating the transfer
Preparing the transfer
At your current Registrar:
- Unlock your domain.
- Turn off the WHOIS privacy service.
- Get your domain authorization code. This code is often sent by your current registrar via email.
- Make sure you can receive emails at the email address specified for the current registrant of the domain. You may want to check out how the domain looks in the public whois to verify.
Starting the transfer
At DNSimple:
- Click in the dashboard for the account you want the domain to be transferred to.
- Select .
- Enter the name of the domain that is being transferred and click Start Transfer.
- Enter the authorization code.
- Select a registrant if a contact has already been made. If not, fill in the information needed to create a contact.
- Depending on the TLD, you may have to fill out extended attributes that are required.
- WHOIS Privacy Protection can be enabled by checking the Hide my contact information in WHOIS box, so it is enabled immediately upon completion of the transfer.
- Auto renewal for the domain is automatically checked to be enabled. This can be disabled if desired by unchecking the box. If auto renewal is disabled, check out how to renew a domain.
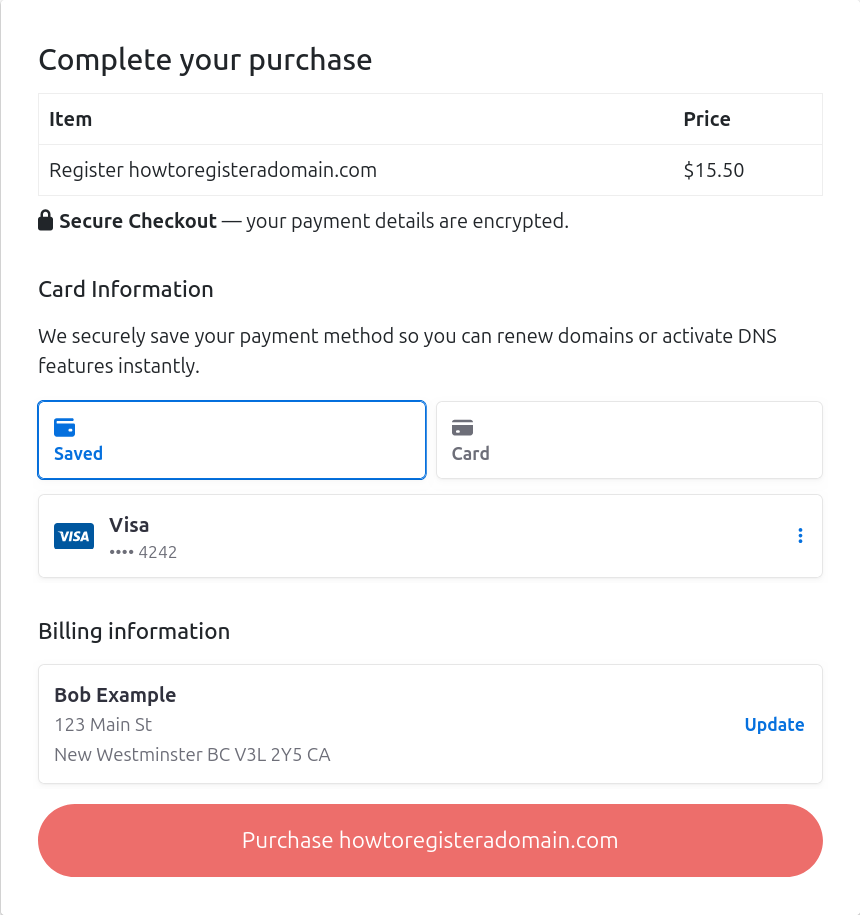
- Click . The card on file will be charged.
If you do not have a subscription, click on Continue to Payment where you will enter payment details.
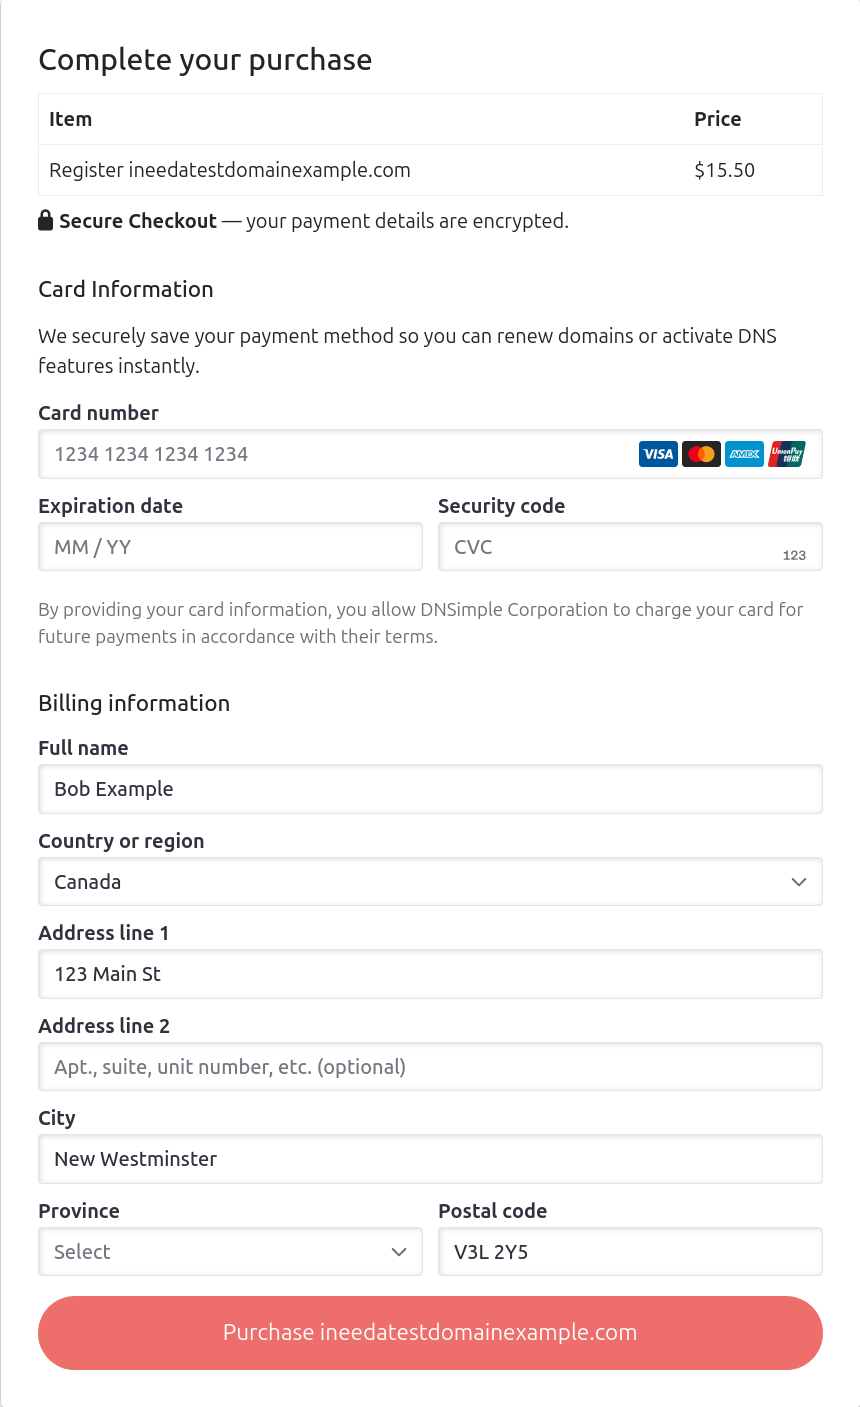
If you have already made a purchase once without a subscription, your card details have been saved. You can choose to use the saved details or add a new card.
Approving the transfer
The domain transfer request will be issued if there are no missing fields. For most domain extensions, the current registrant will receive an email from donotreply@name-services.com to authorize the transfer.
Follow the instructions in the email. We cannot issue the transfer request to the registry without approval of this email.
Once you have authorized the transfer, you may have to wait up to seven days for your domain transfer to complete.
Note
The total transfer price will be held on your card immediately. Your card will be charged once the transfer completes. If the transfer fails, funds will be released.
Transfer status
You can go to your domain names list to check on the status of pending transfers. Click on “transfer in process” to view detailed information about the transfer request.
Canceling the transfer
If the domain is still in the transfer process, you can cancel the transfer, and the domain will not be moved away from your current registrar. To do this, navigate to your domain. Under the “Transferring” card, click “View status”, then “Cancel transfer”.
After the transfer
When the transfer is completed, you will receive a confirmation email from DNSimple. Congratulations! Your domain is now transferred to DNSimple, and you can manage it from your DNSimple account.
Changing name servers
We do not automatically point your domain to our name servers when the transfer completes.
To avoid unexpected downtime and confusion, we do not change the domain name servers upon a successful transfer. When the domain is transferred to us, we will keep using the same name servers previously configured for the domain.
You can now decide to point the domain to DNSimple name servers in one click or manually configure the name servers.
Warning
We suggest pointing your domain to our name servers before the transfer to avoid downtime during the transfer. Some DNS providers will stop serving the DNS for the domain as soon as the transfer is completed.
Expiration extension
Most transferred domains will have the minimum required extension period. For example, .com domains will always be extended by one year when they are transferred.
The price of this extension is included in the transfer fee for most TLDs. You can check to see if this applies to a specific TLD by looking it up on our TLD page.
Have more questions?
If you have any questions about transferring domains with DNSimple, contact us, and we will be happy to help.